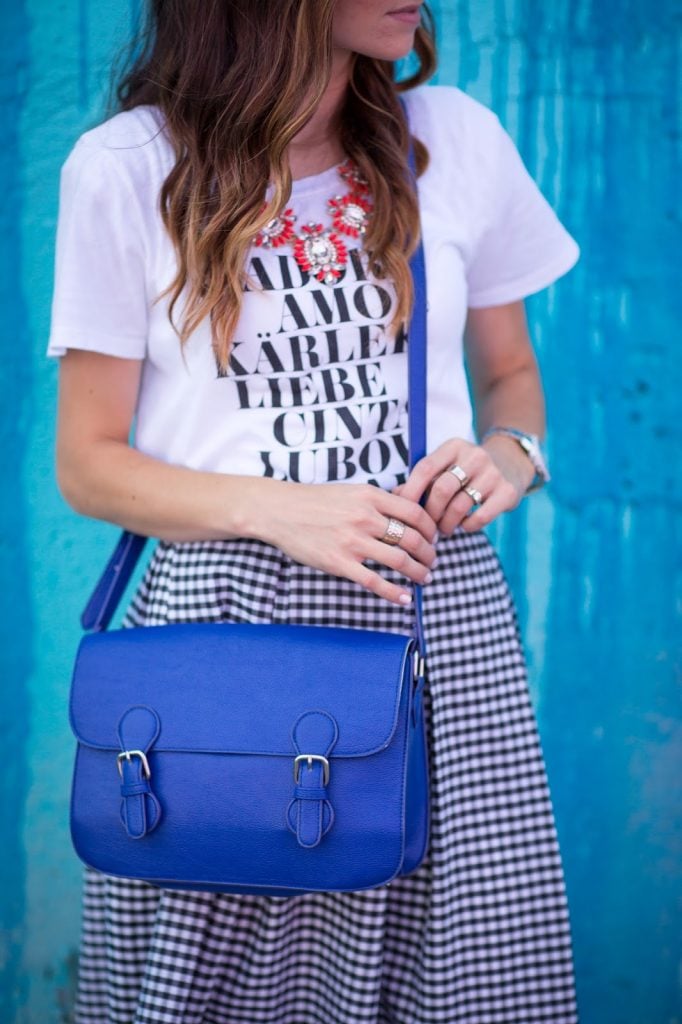
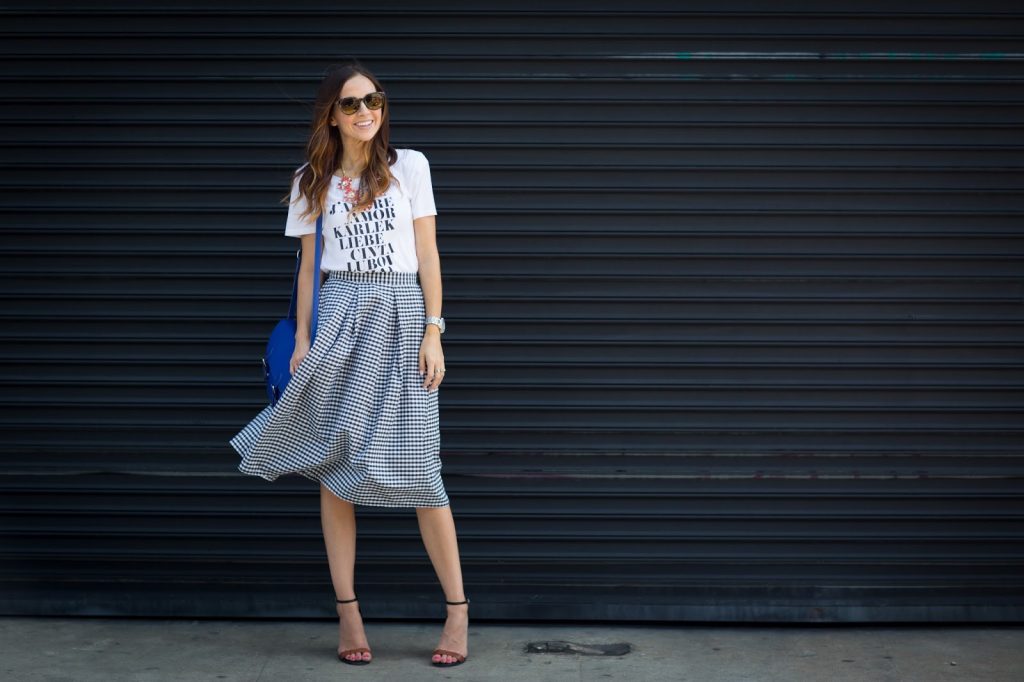
skirt made by me, tutorial below (shop for a similar skirt here)
It’s time for another DIY Friday today, and you guys, I’ve been dying to share this tutorial with you for months! I’m part of Janome’s on-loan blogger program and in exchange for the Janome 4120QDC sewing machine that they loan to me, I do a project for their blog each quarter. For last quarter’s project, I made this gingham midi skirt and after having to wait for them to post it on their end, I’m finally able to share it over here. Midi skirts are the perfect Fall skirt, so now is the perfect time to whip one up!
This type of skirt is super easy and it won’t take you more than an hour or two to create one. In fact, I want to make about 10 more for the Fall — they’re just so versatile, flattering, and fun!
Click through to see the full tutorial!
Materials:
- 1 1/2 yards of 60″ wide fabric (approximately)
- Matching Thread
- 7-9″ Invisible zipper
1. Lay your fabric on a flat surface and cut it in half width-wise so that you have two identical strips that are 30″ wide each.
2. Next, pin box pleats into your fabric, making each pleat roughly 4″ wide. Measure the front half and the back half of your natural waist, and then using those measurements, cut a FRONT and two BACK pieces from the (pinned) pleated fabric (mine had 3 pleats in the FRONT piece and 2 pleats on each BACK piece). Baste across the top edge of the pleats, securing them in place.
3. Using your same waist measurements from your FRONT and BACK pieces, cut 3 waistband pieces 4″ wide. Fold each of them in half width-wise.
4. Matching up your FRONT skirt and waistband pieces (matching up the raw edges), sew them together with a straight stitch. Do the same for the two BACK skirt and waistband pieces.
5. Insert your zipper, connecting your two BACK pieces. Then, with right sides together, sew down the rest of the skirt, finishing the back seam.
6. With right sides together, sew down the rest of the skirt, finishing the back seam.
7. With right sides together, attach the BACK and FRONT of the skirt with a straight stitch down each side.
8. Hem to your desired length, and you’re done! Enjoy your new midi skirt!


That skirt is gorgeous you did an amazing job!
xo
PinkSole
Can’t believe that this skirt is also one of your DIYs! Girl, you’re talented!
http://lartoffashion.blogspot.com
Darling! I really need to learn to sew! I want to be able to make things like this!
Mommysizedheart.blogspot.com
Wow, this is lovely! And I will have to try it! Though I must say, I will most likely hem it to right below the knee. Midi skirts just make me look even shorter than I already am!
Thanks, Merrick!
Philly
http://togetherinitaly.com/about-our-family/
http://togetherinitaly.com
Those midi skirts are definitely a harder silhouette for petite girls! But I’m sure a knee length hemline will be perfect! Good luck making it! xo
Thanks! And yeah, I would have to wear heels 24/7 with a midi… and I don’t know about that commitment, man! haha.
really like pleated skirts, and the pattern is super cute, thanks for sharing
http://curlymade.blogspot.pt/
So cute!
I plan on making it, but reading the instructions, I’m confused by step two. You create the pleats and baste it, but the part that says “Measure the front half and the back half of your natural waist, and then using those measurements, cut a FRONT and two BACK pieces from the (pinned) pleated fabric (mine had 3 pleats in the FRONT piece and 2 pleats on each BACK piece)” is confusing. Do you mean to take your measurements at the waist on the front and back, apply that measurement and cut off the excess?? If so, then the excess that is cut off–is it straight down or A line direction?
Sorry for the confusion!
It’s easier for me to sew the pleats first and THEN measure, since there’s always a little bit of shifting when sewing them. If I measure first and then do the pleats, it always comes out too big or too small. Does that make sense? However, if it’s easier for you, measure and cut first and THEN pleat. Either way works!
But if you do it according to my directions, cut straight down the fabric — not in an A-line direction — when you trim off the excess. The pleats will give it the fullness even though your seams are straight. Hope that helps!
This is really helpful! Thanks!
I can tell you’ve changed photographers. I love love this skirt and hope to make a few this fall. Thank you for sharing.
Gorgeous ! Beautiful shots, too!
I love the midi trend… Wonder what midi looks are good for maternity?
I hope to try them this fall 🙂
I think midi skirts can be totally cute for maternity — just pull it up over your bump to give it a high-low hemline and wear it with a tee or a pullover sweater!
Wow that skirt looks great on you!! I love how you styled it!
The Style Storm
<3, Christina
do you draw all the infographics yourself?! they are so amazing! i want to make this skirt in every color!
yes, I do draw them myself. And thank you!!
how do you draw them? on paper and then scan them onto the computer? or do you have a program where you fraw it on a tablet or computer? it’s so fascinating
I use a wacom tablet and then draw them directly into photoshop. It’s pretty easy and user friendly!
that’s so cool! one day maybe when my blog is bigger i will invest in one of these. maybe i should invest in some drawing classes first though! thanks for answering my questions! i’ve been reading your blog for a while but i don’t know why i never commented. i guess i just figured you wouldn’t answer maybe, but thanks again!
I’m really excited to make this skirt. The directions don’t give any info on which material is used. What fabrics will work best for this skirt?
Any kind of woven fabric works great. This is a lightweight cotton.
Love it! I’m a bit funny about skirts being too tight around my mid-section (makes me ill!), could I use elastic instead of a zipper? And how would I go about that?
Maybe try this tutorial instead?? https://www.merricksart.com/2015/01/5-tips-for-throwing-valentines-day.html
Hello!
I LOVE this pattern, thank you so much for making it available to all of us. I do have one question though, how much should I allow for seam allowance on the waistband?
Thank you!
Shae
You are so super talented! My mum’s a seamstress, I’m gonna get her to make this for me but with a flower print material! Thank you so much for this! 🙂
These is so lovely, thanks for sharing. Do you have a good tutorial on how you insert your zipper? I have been struggling a bit with this with a couple of your patterns. Thanks.
I don’t currently, but I’m working on one! thanks for asking!!
I have a fabric that I love and would look great for this project but it is a 45 inch width. Is there a way that I could adapt this pattern to fit those dimensions?
you can definitely use a 45 inch fabric, but your skirt will be shorter than midi.
It doesn’t show how to finish the zipper
I’m a bit confused…. is the crossgrain mean to be the waistband (30″ along the width, folded up into box pleats?) or is the length of 1.5 yds meant to be the waist?
The 1.5 yds is just for the pleated part of the skirt. The width of the waistband will depend on your personal measurements. The waist width and skirt with will only be the same as each other AFTER the skirt is pleated. Does that make more sense?
You are sweet to respond so quickly. Yes, and thank you.
Awesome pics in your tutorial loved it!! <3 If you guys want to make a pencil skirt please check out my youtube video: https://www.youtube.com/watch?v=5sF4Jmo1hKI
Enjoy love AzuraTv xoxo
Hi, we are still confused about the waistband. Where do you get the fabric from if, as you say, “The 1.5 yds is just for the pleated part of the skirt.” Do we need to buy more fabric for the waistband? We are also assuming that the second piece of fabric for the back is cut in half before being pleated. Is this correct? Thanks.
Yes, you’ll need to buy about 1 3/4 yards to have enough for the skirt and the waistband.
And I pleated my back fabric first and then cut, but you can do it either way. Hope that answers your questions — good luck!
Perfect clarification. Thanks for the timely response!
Hi, i was wondering where did you get this fabric? thanks!
I bought it at a local fabric store. But I’ve seen super similar fabric at Jo-Ann’s in the shirting fabric section!
Can I ask what type of fabric you used for this skirt? 🙂
Just a lightweight cotton-poly blend. It didn’t have any stretch, but you can use something with stretch. I’d honestly recommend something a little more heavy weight though because the lightweight fabric doesn’t have as good of a drape and tends to bunch a little when I walk. hope that helps!
Thanks so much! That really does help. 🙂 I’ve been looking at this project for a while, and I’m thinking of trying it in something like a polyester suede… Hopefully it turns out!
Thanks again! You’re the best!!
Merrick, this is stunning! I’m totally going to make it this weekend.
I have a gorgeous gingham taffeta, do you think that would work for this tutorial?
Yes! That should work great 🙂
Beautiful!! Can’t wait to make my own. You have a great way of explaining each steps and breaking it down.
P.S. I think step 6 is a repeat of step 5.
what type of frabric did you use?
Thanks For Share Awesome Custom Designed Skirt
T Shirt Online
I find he idea of making career on blogging simply amazing! This is one of those things you can possibly do away from office. After I gave birth to my child I decided I don’t want to do nothing while I am home so my husband told me to write good resume and find something I would be interested in. For this he gave me contact of guys who specialize in writing resumes https://craftresumes.com/write-my-resume/ and now I work as web-designer without going out and spending time with my baby. I am happy to have such opportunity to combine work with being mother.
[…] Skirts are one of the common things to be found in the summer wardrobe, and you can easily add some fun and unique touches to them on your own and enjoy wearing some updated version of the skirts. This one has been sewed up with the pleats, and you would just love it and here are the details of it merricksart […]
Excuse me while I go pull out all the dresses I love but don’t wear anymore because of uncomfortable necklines or no sleeves. Brilliant Idea!