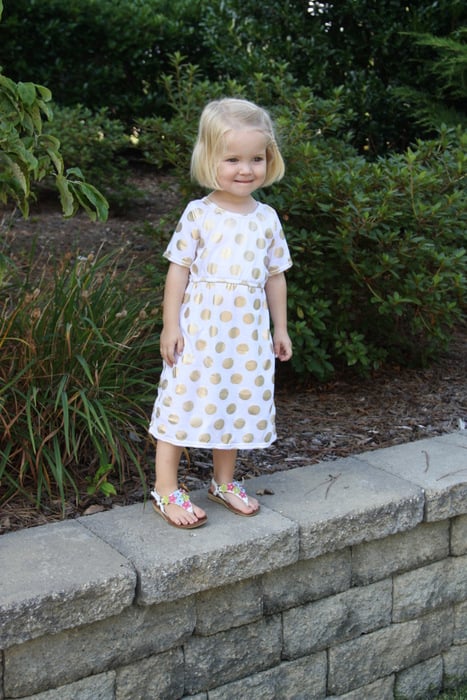
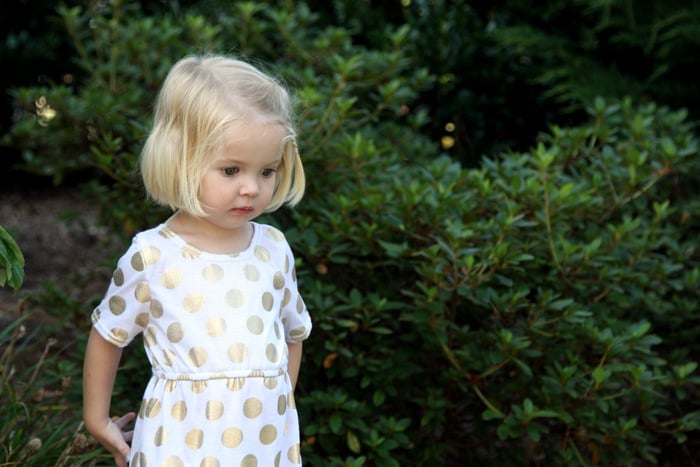
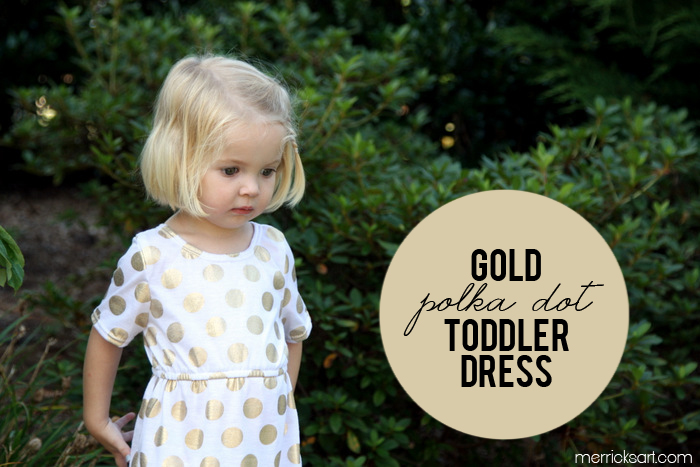
During the Fabric Weekend in LA that I attended a month or so ago, we stumbled upon some amazing gold polka dot fabric in Angel Textiles. Although I had no immediate inspiration for it, I bought a couple of yards anyway…because who can pass up on gold polka dotted knit? Especially when it was $2/yard.
But when my niece’s third birthday was suddenly right around the corner, I knew I had to make something with it. And it turns out it made a perfect little summery dress for her. It will also be perfect for the holidays with some tights and a cardigan, don’t you think?
I also love that since the dress is so basic, it’s easy to layer a shirt underneath, add a belt, a ribbon at the waist, a peter pan collar, a brooch or pin, or any number of accessories. It’s incredibly versatile!
 |
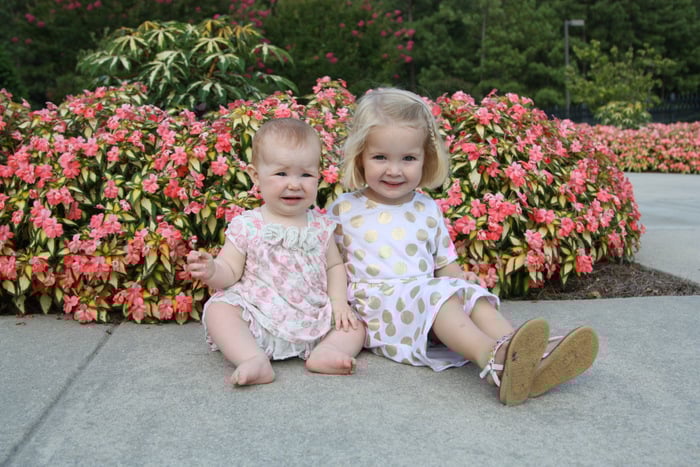
| my sister and her two sweet baby girls |
- medium weight jersey knit (similar here, although it’s cotton, not knit)
- matching thread
- double needle (optional)
- elastic
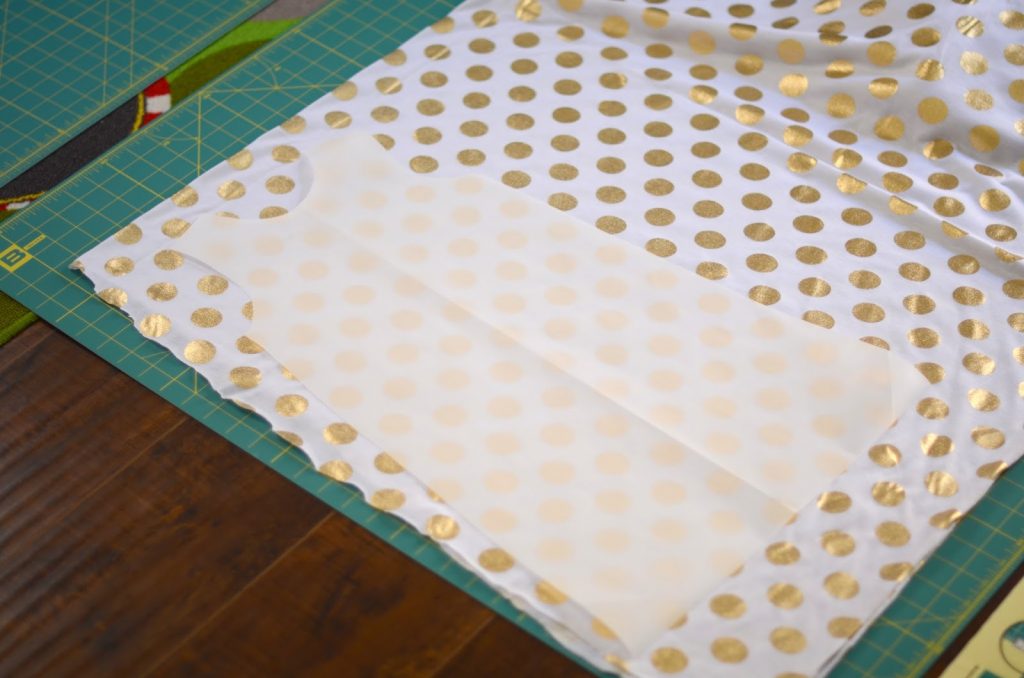
- parchment or pattern paper

Do the same to make a sleeve pattern, adding a half inch seam allowance.
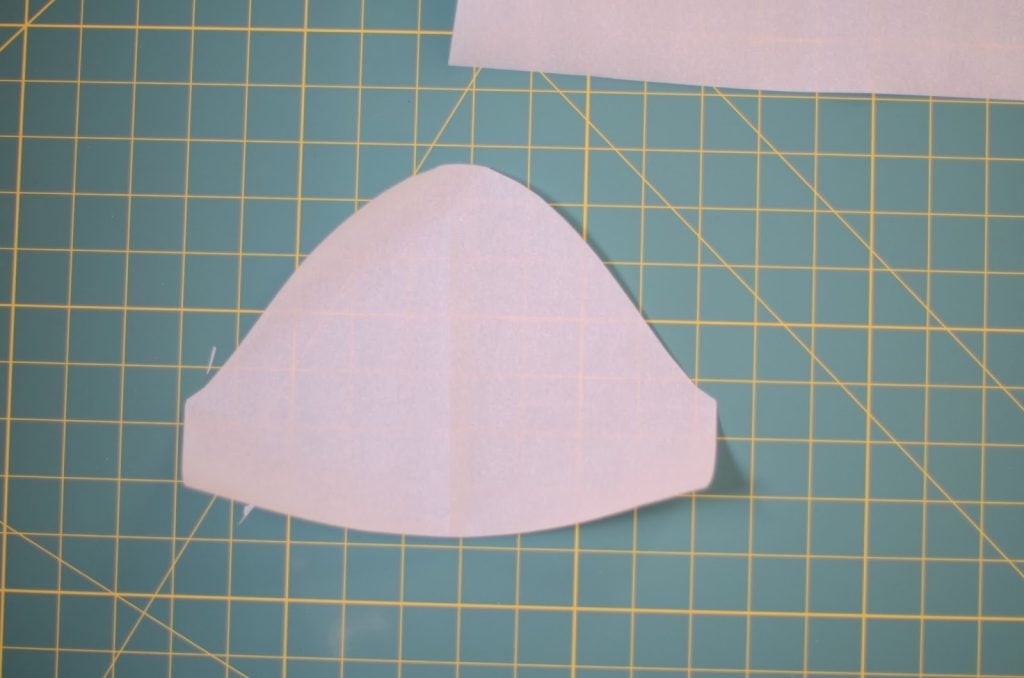
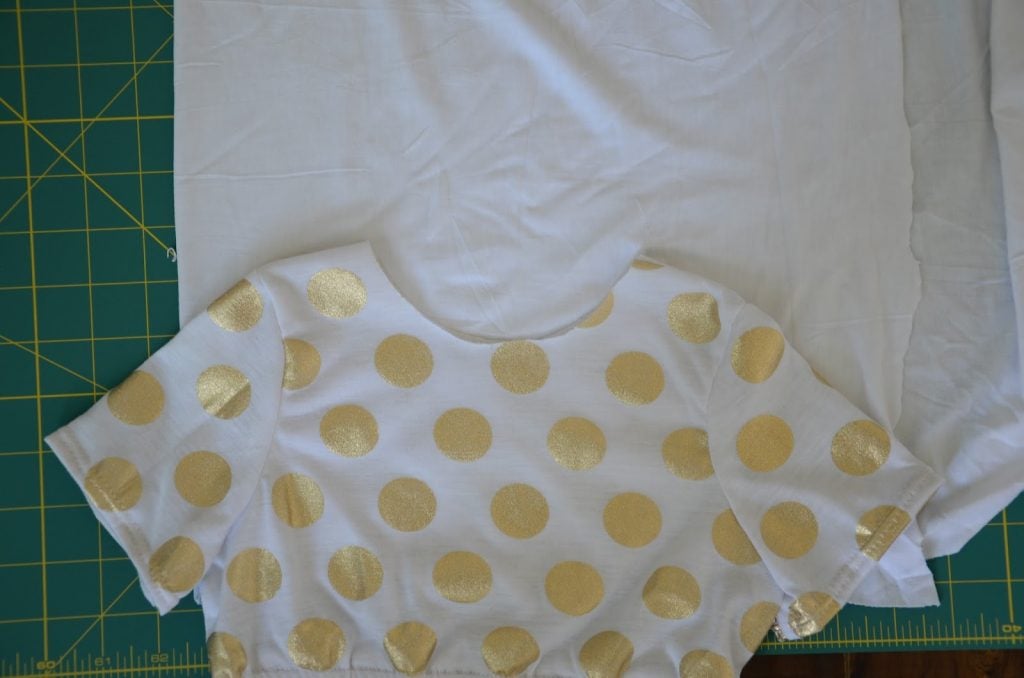
Step 2. Using the pattern you just made, cut out two (2) dress pieces and two (2) sleeve pieces.
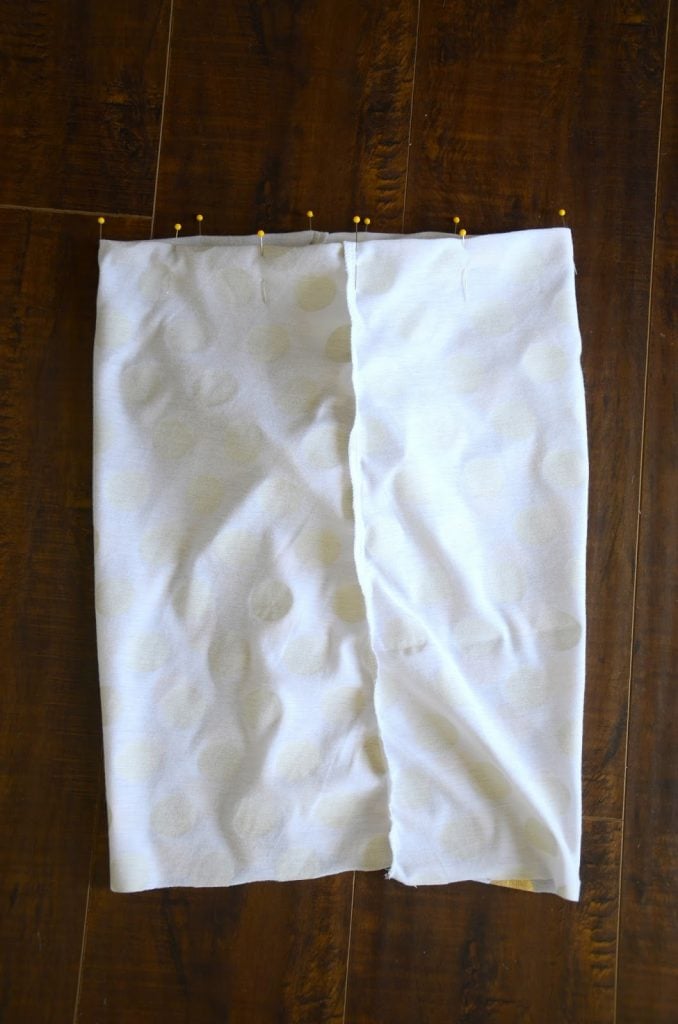
Step 3. With right sides together, sew the shoulders and the sides of the dress with a straight stitch and a half inch seam allowance.
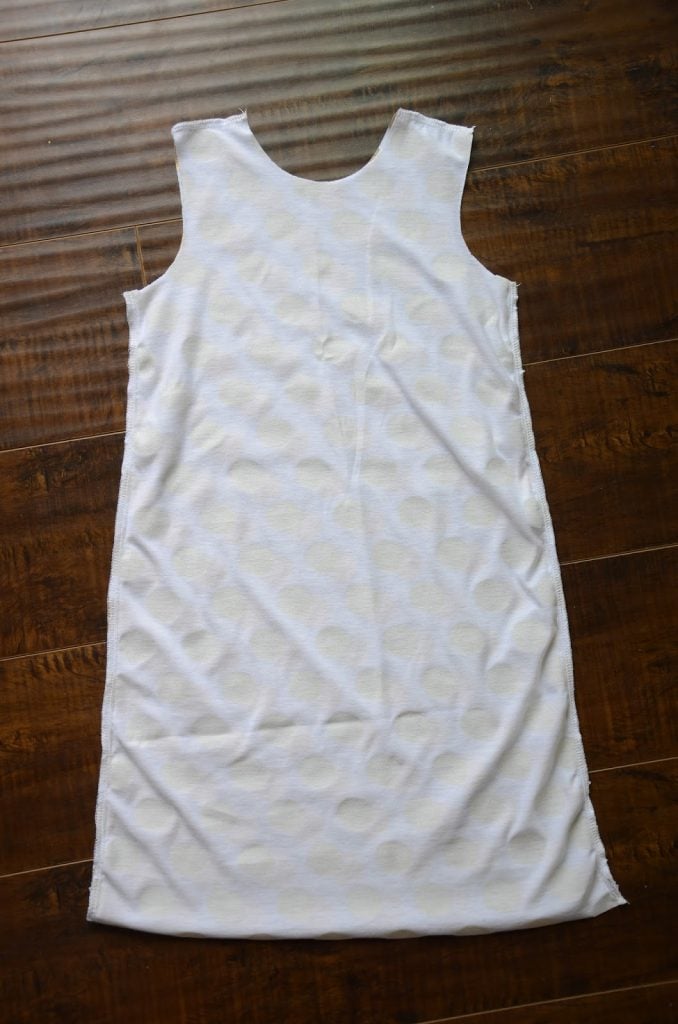
(not pictured): fold the sleeves in half with right sides together and sew up the short side to make a sleeve. Repeat for second sleeve.
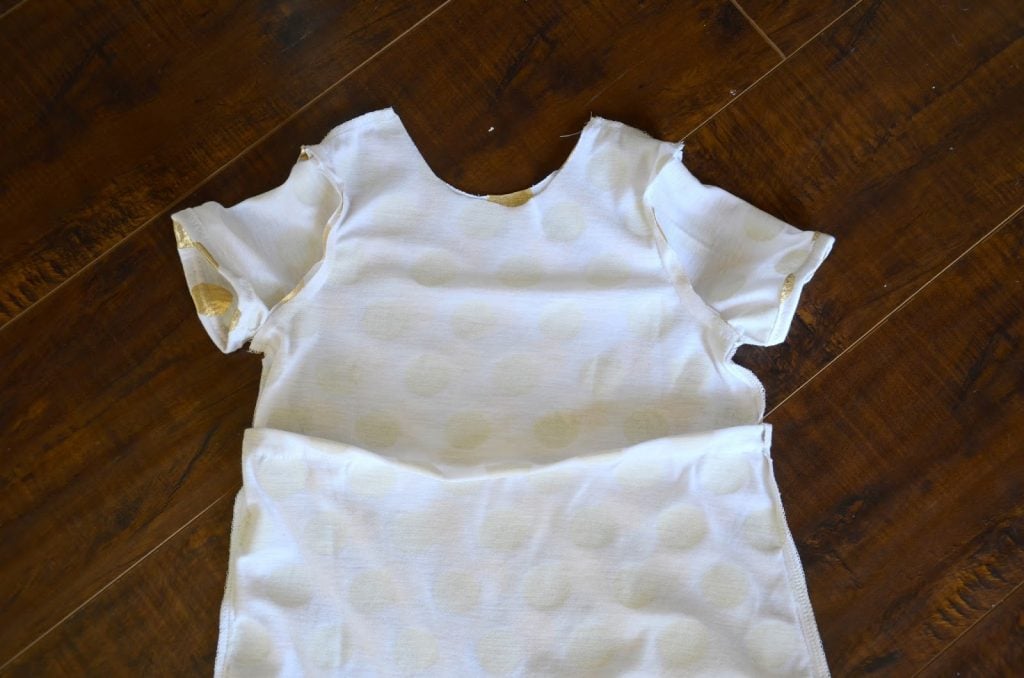
Step 4. Insert the sleeve into the arm hole and pin. Then sew around the arm hole with a half inch seam allowance.
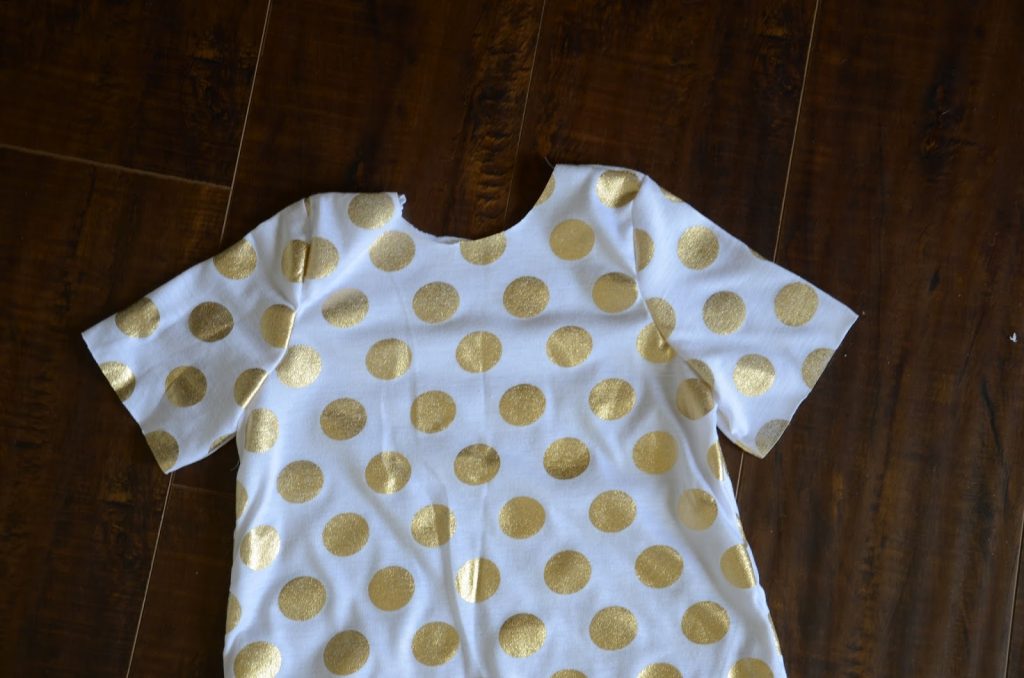
Repeat on the second sleeve. Now your dress should look like this:
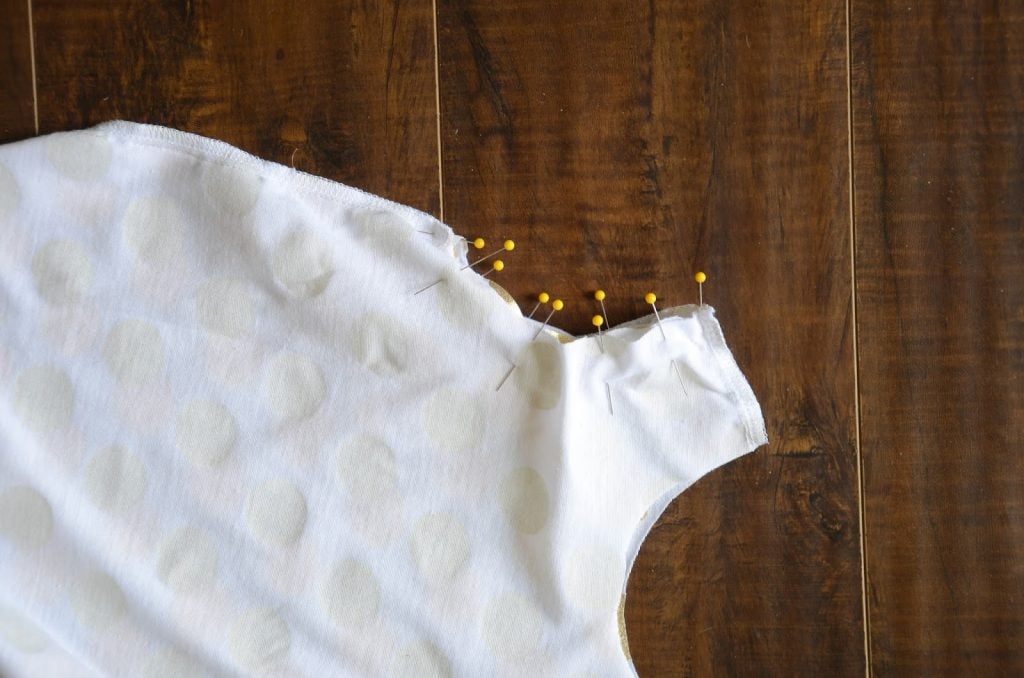
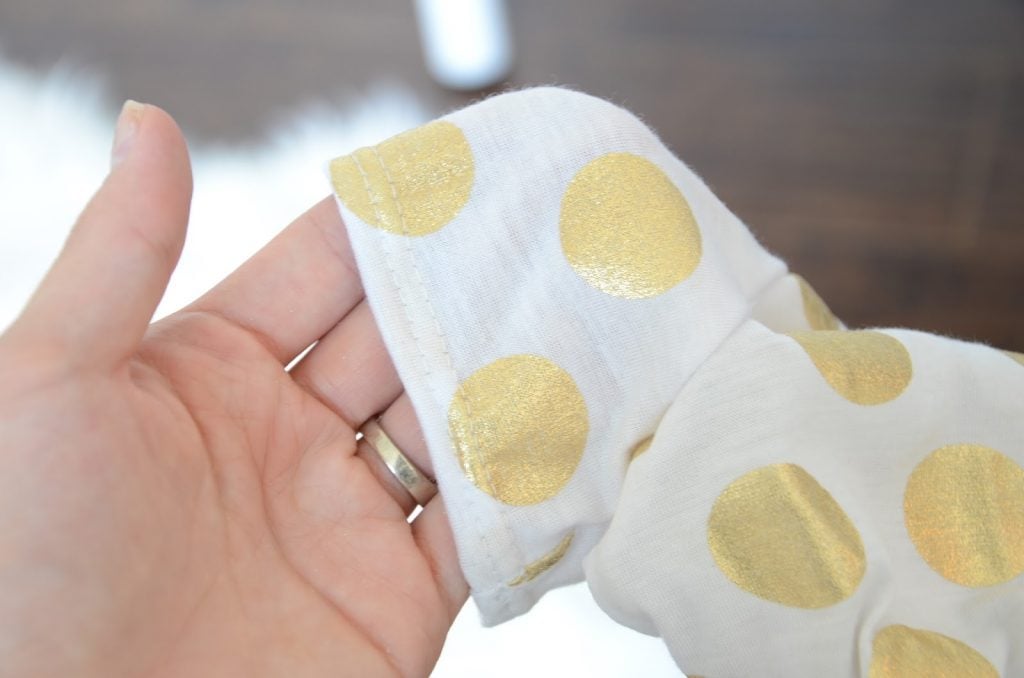
Step 5. Fold the sleeve edge under twice and hem with a double needle (optional — a single needle is fine but doesn’t allow for any stretch), as seen below. Repeat on second sleeve.
When you open your dress after sewing this seam, it should look like this…

…and the inside should look like this.
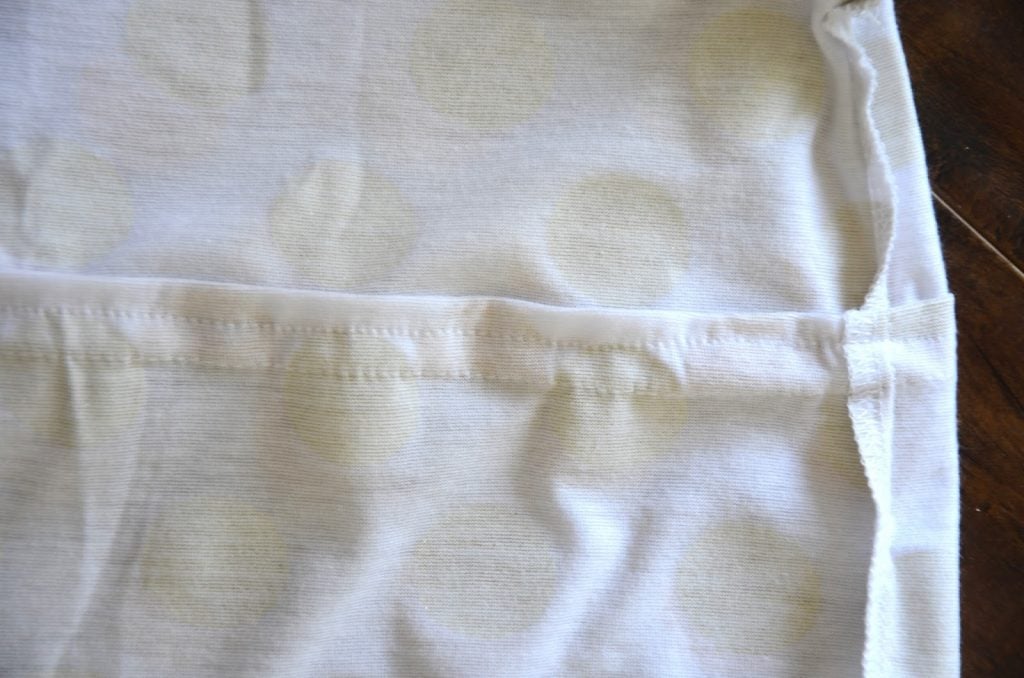
Press the fabric flap (seen below) up toward the dress neckline, and sew another seam parallel to the first seam, creating a casing for your elastic. Make sure you leave an opening in the seam to insert the elastic.
Step 7. (not pictured) Cut a piece of elastic to your desired length and insert into your casing through the opening you left. Sew the ends of the elastic together and sew up the casing opening.
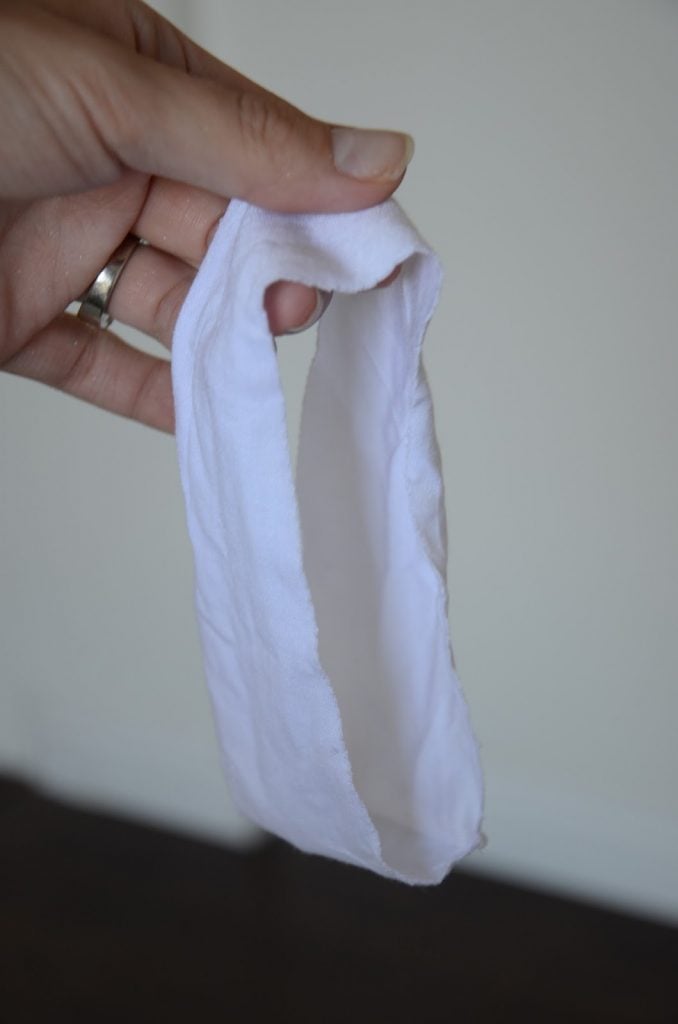
Step 8. Now let’s move to the neckline. Measure your neckline and then cut a strip of fabric (I just used a plain white stretchy knit) 1 1/2 inches shorter than the measurement. Sew the ends together to create a circle of fabric (as seen two photos below).
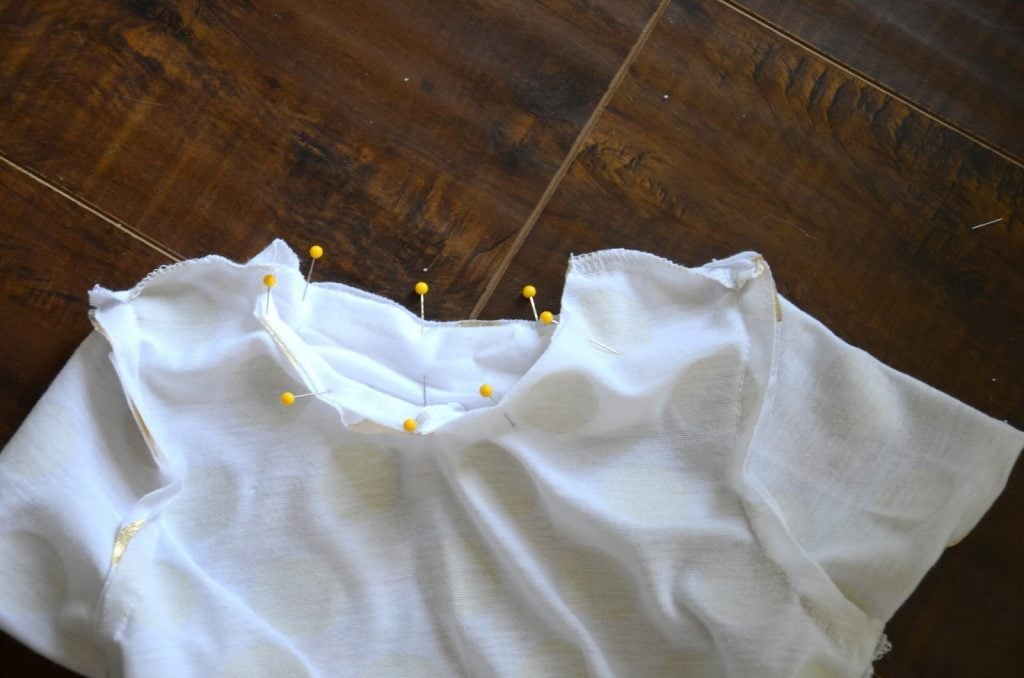
Stretching as you go, pin the circle of knit to your neckline with right sides together. Sew around the neckline at a half inch seam allowance.
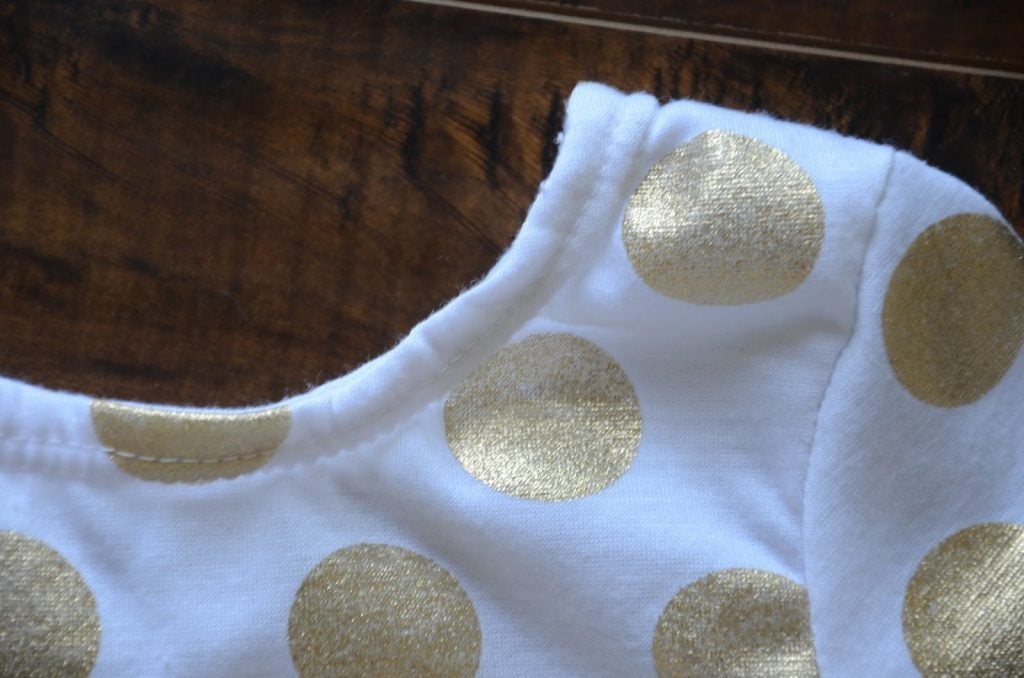
Step 9. Fold over the circle of fabric and press under the neckline so it isn’t visible, as seen below. Then with a double needle, stitch around the neckline to secure the knit underneath.


This is sooo cute! Great job. 🙂
I love the girl. Very beautiful.
http://www.elegantweddinginvites.com
she's the sweetest and that dress just makes her shine. so beautiful 🙂
What a doll! My girls would love such a comfortable dress.
So so cute! I LOVE to sew and make things for myself and my one year old little boy and it's nice to see people still sewing within this generation because it is definitely becoming a lost art for young women. I just started following your blog and I love it!
So lovely and so simple, really nice, I'll have to make one for my little girl, thanks
So cute. I mean, it'd have looked good on B too, but I happen to think it looks slightly better on H. But maybe that's just because I'm her mama.
Darling! I saw Janssen's pictures of her in this adorable dress and hoped a tutorial was coming 🙂
LOVE it! I have 3 girls and finding cute dresses for them is near impossible so I love this tutorial!
Maybe you can make the same one for me. My birthday is coming up, ya know! 🙂
Oh my gosh. She is one adorable little girl – I love her sweet smile and she looks so proud to have a dress made by her aunt! Someday when/if I have a daughter, I'd love to make her a dress like this!
brynnash.blogspot.com
Love it! Totally doing this with my polka dot fabric! Also, it must be said, F and H look like brother and sister!
forget a toddler dress – i want one of these for me!
She is adorable. You're sister looks just like you! I love the pattern and the way the elastic is with the dress. So cute and with a tank it would make a super cute beach dress!
Adorable..have to admit, when I first saw the title of the post, the first thing that popped in my head was "doesn't she have boys?"
This is so sweet! Wish I had a girl to put in it 😉
Would love for you to stop over to Who Needs a Cape and link up to our Super Sunday Linky party to show the dress (and your gorgeous girls) off! Hope we see you there http://whoneedsacape.com/2013/08/super-sunday-link-party-9/
duh – meant your sisters girls 😉 lol
Love it! The fabric looks really good with your niece's coloring too!
You have the cutest little boys in the world, and Janssen has the cutest little girls in the world. What a blessed family! 🙂
Ah how did you find that fabric soo cheap ? I've been searching like mad online and cheapest I can find is $26 a yard ! Sooo pretty.
The LA fabric district is just a gold mine of good fabric — I got lucky!
[…] Shorts by Studs and Buttonholes, Tule by Leah Duncan for Art Gallery Fabrics, Gold Polka Dot Dress Tutorial by Merricks […]
Thanks for sharing the post..
Thanks for sharing the nice post.