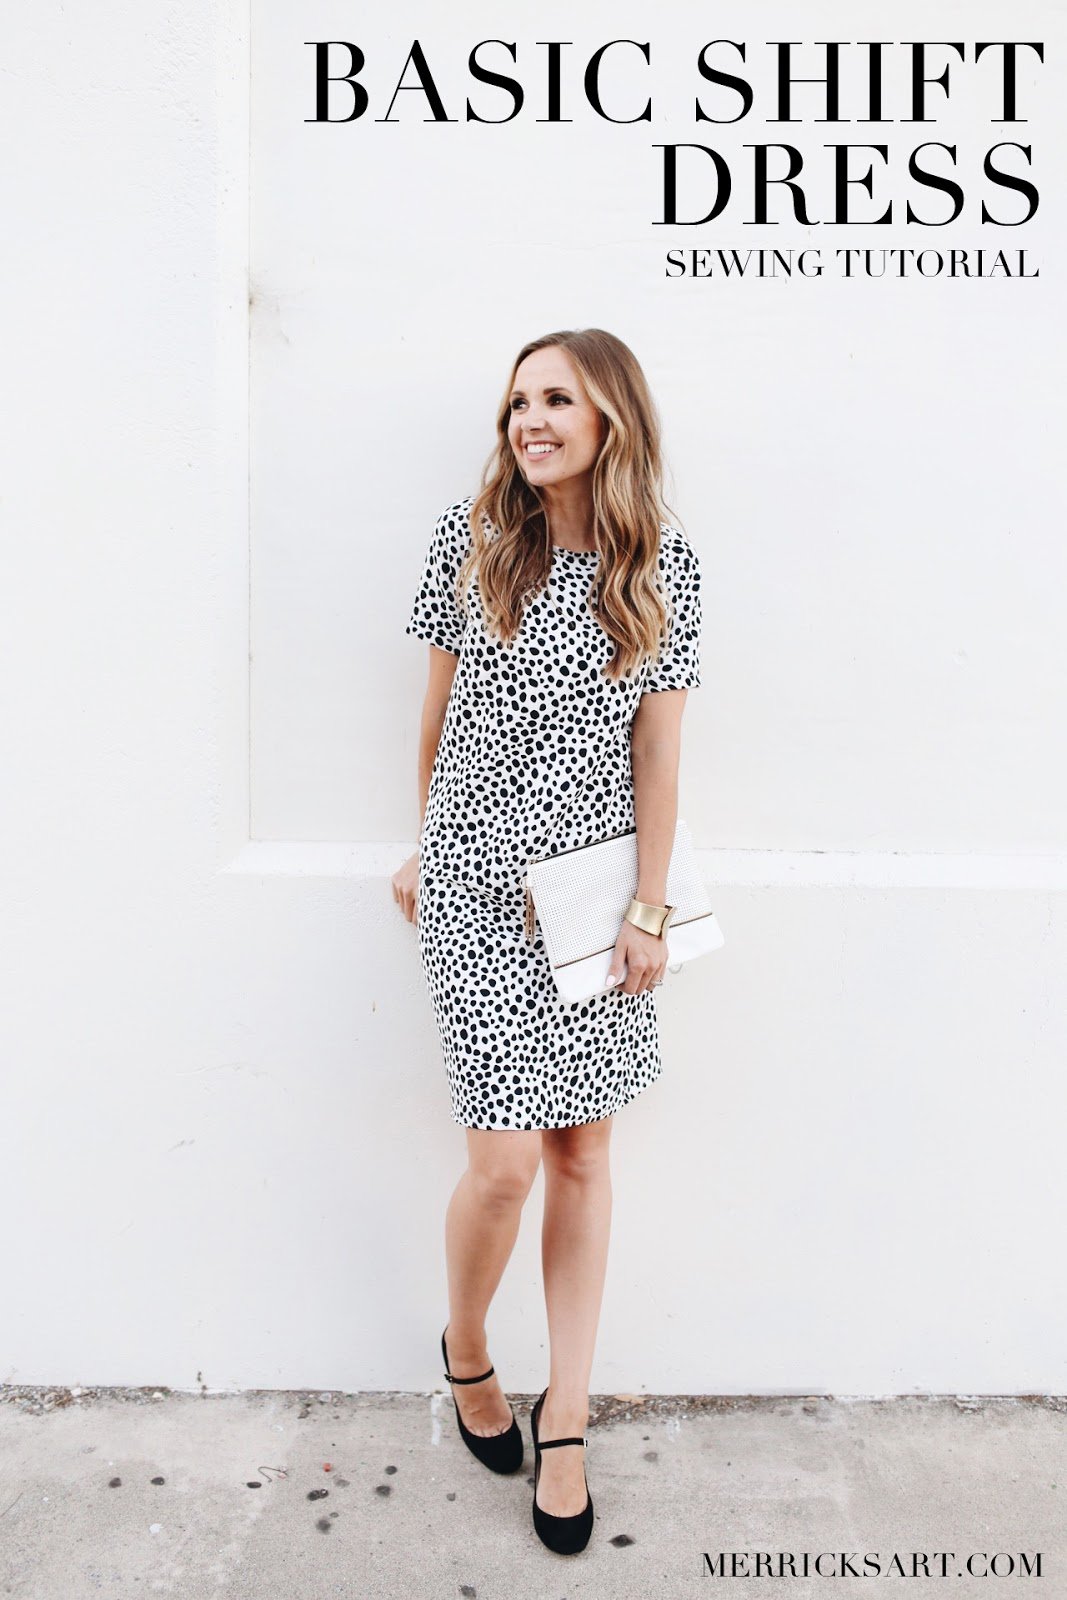
This easy shift dress pattern is a great beginner sewing project. If you’re looking for a good summer project, try this sewing tutorial.
This shift dress pattern is an easy summer sewing project
A few years ago, I found this gorgeous dalmation print fabric at the LA fabric district. It sat in my stash for years until I finally made it into this gorgeous shift dress. This shift dress pattern is actually super simple — if you’re looking for a good summer sewing project, this is a good one.
You can see my other beginner sewing projects RIGHT HERE.


Here are the materials you’ll need:
- 1 or 1 1/4 yard 60″ wide fabric (if your fabric is 45″ wide, you’ll need probably 2 yards)
- matching thread
What kind of fabric should you use?
This fabric was a scrap that I found in a bin at the LA fabric district, so I don’t know the exact blend. But I think it’s a polyester. It’s a woven fabric, but has a bit of a stretch to it.
For this dress, you could use:
- cotton
- a thick knit (like ponte knit or scuba knit)
- eyelet
- chambray
- corduroy
- polyester
- linen
These aren’t the only options, but hopefully it helps you realize that you can make this pattern with a lot of materials.
If your local fabric stores are closed, I recommend fabric.com for good, affordable fabric options.
How to make the pattern for this dress
First, you’ll need some pattern pieces. I don’t provide printable patterns, but I teach you how to make your own pattern in THIS VIDEO.
In step one of the pattern image below, you’ll see the pattern pieces being cut. Here’s how to do it.
Take your fabric and fold both sides in toward the middle so they (almost) touch, as shown. Now both outside edges should be folded edges. First, cut the FRONT of the dress. Use an existing shift dress or a tank top and a pencil skirt as a pattern, folding them in half and laying them on the folded edge. Cut around them, adding a 1/2″ seam allowance. Repeat for the BACK of the dress, making the neckline a few inches higher. Next, cut out 2 SLEEVES, and a NECKLINE LINING front and back (cut the scoop of the lining exactly as you did the necklines on the FRONT and BACK, but making them 2″ shorter in width so they have to be stretched when attached to the dress).
So you’ll now have the following pattern pieces:
- Dress front
- Dress back
- Sleeves (2)
- Neckline lining front
- Neckline lining back

Here are step by step instructions to make the rest of the dress
The following steps are in reference to the pattern illustration above
It’s time to tackle the sleeves
Now it’s time for the neckline
IF YOU LIKED THIS POST, YOU MIGHT ALSO LIKE THESE POSTS:
-
Easy tie dye sweatshirt video tutorial
-
Tassel hem swimsuit coverup sewing tutorial
-
Tie shoulder jumper sewing project


So incredibly pretty!
Love,
http://www.thestyleventure.com
thank you!!
Adorable as always! Is this a knit or woven fabric?
it’s a woven, but it has a little bit of stretch to it!
So SO adorable!!! Love this dress!
http://lartoffashion.com
Thank you, Natali!
Absolutely gorgeous! Happy Birthday, Merrick!
So Amazing your basic shift dress,fashionable look.
Stunning look.
Where do you get your fabrics? And what kind of fabric is this?
Here’s a post I did all about where I get fabrics: http://www.merricksart.com/2014/05/my-8-favorite-places-to-purchase-fabric.html
And this is a stretchy polyester!
Merrick! Thank you for this tutorial! I just finished my shift dress and I love it. Though, it is tight near the bottom and difficult to walk, so I wanted to add a slit. Any tutorials on how? Seems easy to do, but I always feel this way and ultimately… need directions. I looked online and couldn’t find anything simple enough. thanks again! =)
I can’t wait to try this! What type/weight of fabrics do you recommend for this? I want to make it for a fall wedding so something that will be cool enough to dance in but still keeps me warm since the reception is outdoors.
Honestly anything works. This is a polyester blend that’s a little bit thick and has a slight stretch. But for fall you could do flannel, gingham shirting fabric, linen, ponte knit, really anything. I think a ponte knit or double knit might work best for the warm/cool issue you mentioned. Hope that helps!
I’m hoping to sew this as my first item of Clothing.. However I know that shift dresses are generally a bit like a bag on me. How would you suggest altering the pattern to be a little more fitted please?
Thanks!
This is so cute, but I’m a little confused. Is there a pattern somewhere to go along with the tutorial? The little hand drawing of the pieces doesn’t look like a pattern exactly.
Can someone tell me where I can GEt the pattern. I would love to make this. Thanks
Just wondering if there a actUal pattern that goes with the tutorial
Please start at the beginning of the post. She explains how to make the pattern
Yes, How do I obtain the pattern for this dress? I need a pattern to go by.
HI Alberta, I don’t currently provide patterns for my clothing. But I have a video on how to create your own patterns right here: https://www.youtube.com/watch?v=vgh7EHTnQPk
This video does not work. It’s say not available. Please can you assist with another link. Thank you.
Video does not provide pattern instructions.
Thank you very much for sharing! I also like to sew dresses for myself. I very often can not find the right dress for me in the store, so sew exactly what I want, a very good idea. I often complement my regular dresses with daring jewelry from the site https://www.bikerringshop.com/collections/skull-necklaces it helps to add “sharpness” to my look!
Wish there was more of an explanation of why the neckline needs to be SHORter and STRETCHed. Just curious, but maybe it will make more Sense when I make This Dress today. Love this site merrick !!!
Where is the tutorial for the shift dress?
Teaching video is no longer available. I tried both pinterest as well as googled the article. Can u send video via email? Im a beginner sewer. Thanks
[…] Learn how to draft your own shift dress. […]
[…] This shift dress is easy to sew and looks great dressed up or down. […]
I LOVE YOUR CONTENT, i think beautiful dress should decorate rings. https://gthic.com/collections/skull-rings/
The fabric is fantastic and I love this dress. I could have paired it with some sparkly earrings and I think it would have been even better!https://ericajewels.com/products/white-stone-helix-hoop
[…] You need 1 or 1 ¼ yard of 60” wide fabric or 2 yards of fabric with 45” width to sew this dress. merricksart […]
[…] Source […]
[…] A shift dress for ladies is kind of dress perfect for winter ball nights. Pair them with your favorite heels and a pouch to complete the look. The dress is made up of fabric like linen, cotton, rayon, wool, Viscose, or even silk. Get yours in simple steps like done here. merricksart […]
So far, this is the easiest dress to make at home that I found online. I particularly appreciated the steps you shared throughout the tutorial, which added a personal touch and made the process even more enjoyable. Thanks for sharing the fabrics you used as well as recommending other materials.
Actually, I’m currently trying this out and instead of a polka dot design, I’ve opted for a plain one. I can’t wait to wear my finished shift dress, and I’m already thinking about all the different fabrics I can use to create more patternmaking for fashion design variations of this stylish dress. Thank you for sharing such an easy to follow tutorial!
I’m crying a river. YouTube video on creating the pattern is no longer available. Where else can i get it?
Your video isn’t available any more. Where can i find it please?
[…] First, cut the FRONT of the dress. Use an existing shift dress or a tank top and a pencil skirt as a pattern, folding them in half and laying them on the folded edge. Cut around them, adding a 1/2″ seam Merrick’s Art […]