Don’t you just love a beautiful wreath? Especially during the holidays, a pretty wreath makes such a pretty first impression of your home, and always makes me happy to come home and walk through the door. My wreath from last year was thrown together really last minute and was so basic and boring, so I teamed up with Jo-Ann’s and challenged myself to make a really beautiful wreath on a budget. All my materials cost right around $30, and considering how pricey wreaths are these days, I feel really good about that considering how big and beautiful it is.
In fact, I loved it so much that I used last year’s wreath form and my leftover greenery to make a centerpiece wreath for my kitchen table that you can see right
here.
I’m sharing the full easy tutorial today, so click through to see it!
Materials:
– medium sized natural-looking wreath (mine is 24″ across, I think) – 60% off $24.99 at Jo-Ann’s
– natural-looking greenery (I used parts of 5 different branches, all 60% off)
– natural-looking red berries (I used 3 different stems, and some small berry clusters, all 60% off)
– mini red ornaments (60% off)
– ribbon (I used 2 1/2″ ribbed red ribbon and some leftover burlap)
– wire cutters
– floral wire
– white spray paint
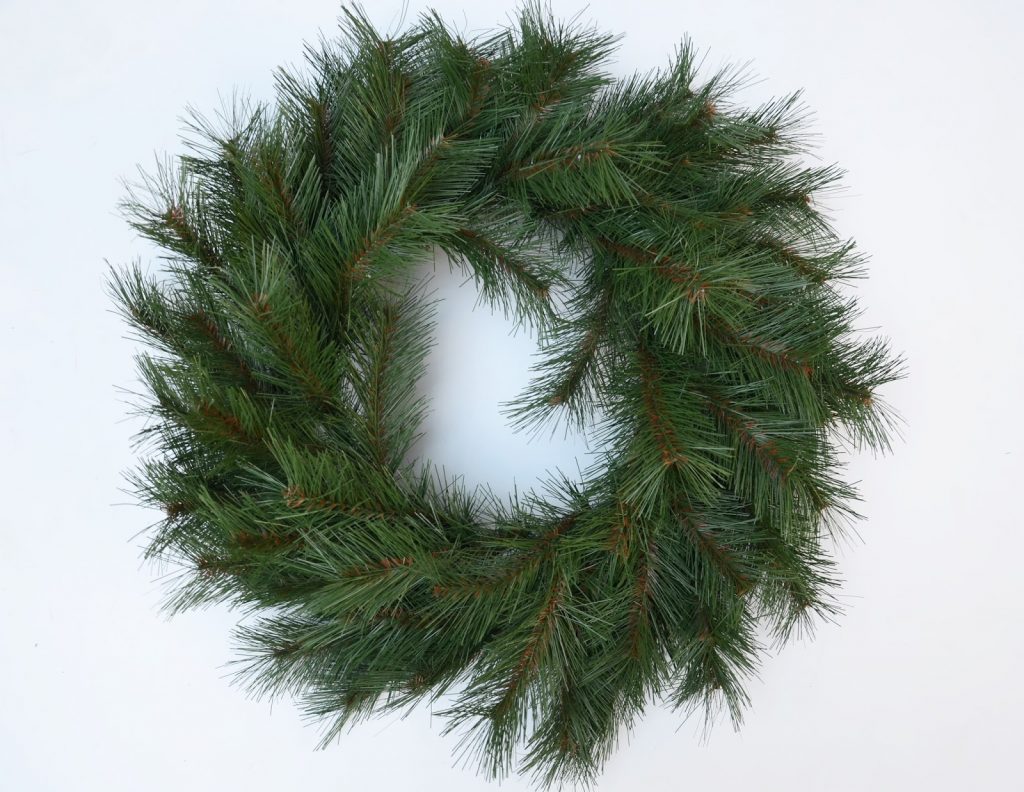
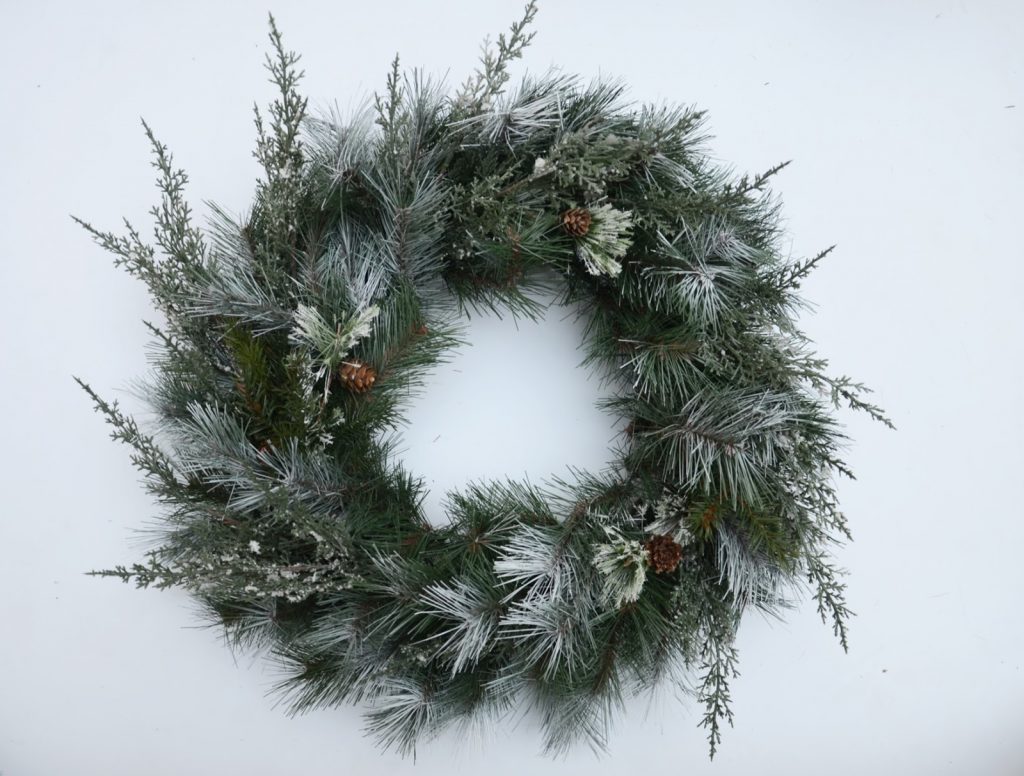
Start with a plain medium size wreath. Spread the branches out so it looks more natural, but keep the branches all pointing in the same circular direction.
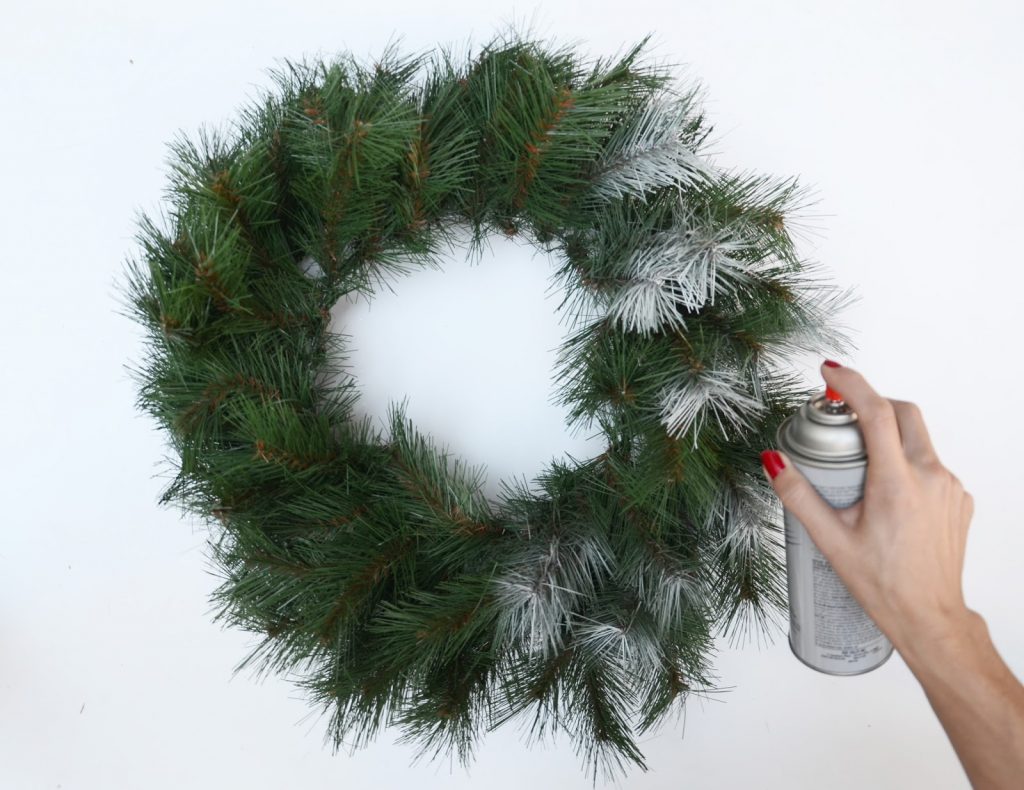
Step 1. Use the spray paint to carefully spray the edges of some of your branches to create a flocked look.
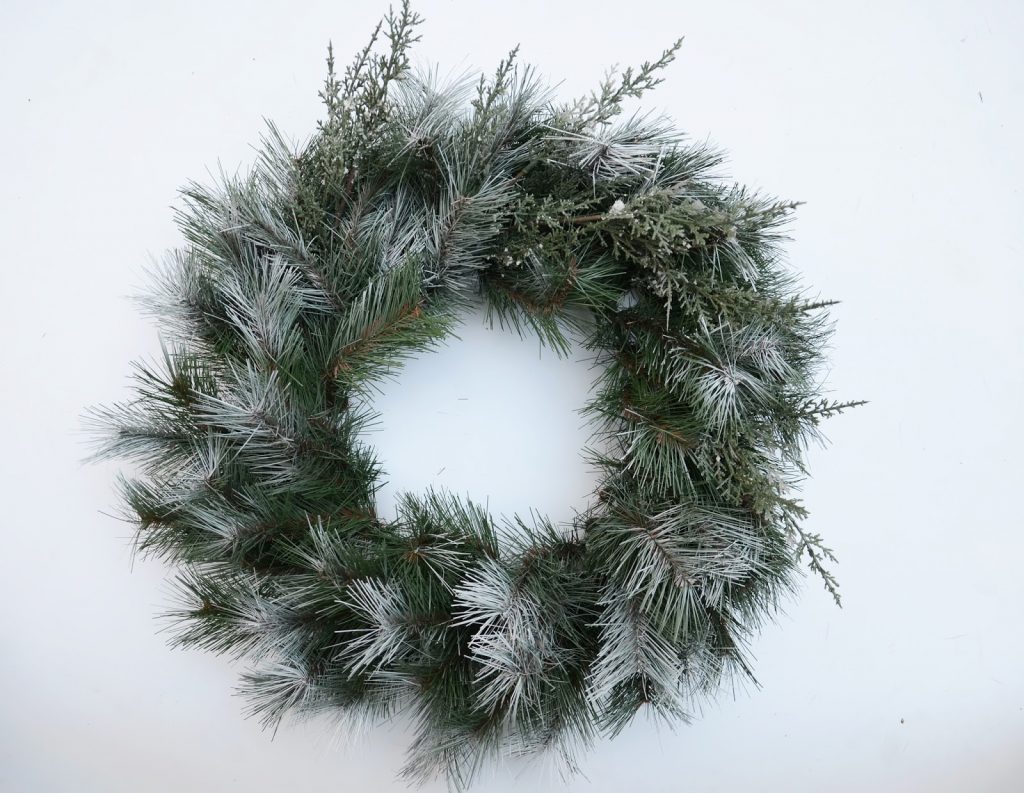
Step 2. Next, let’s start adding some dimension and fullness to the wreath. Cut up your branches and start sticking them into the wreath (securing with wire when needed), following the circular direction of the branches.
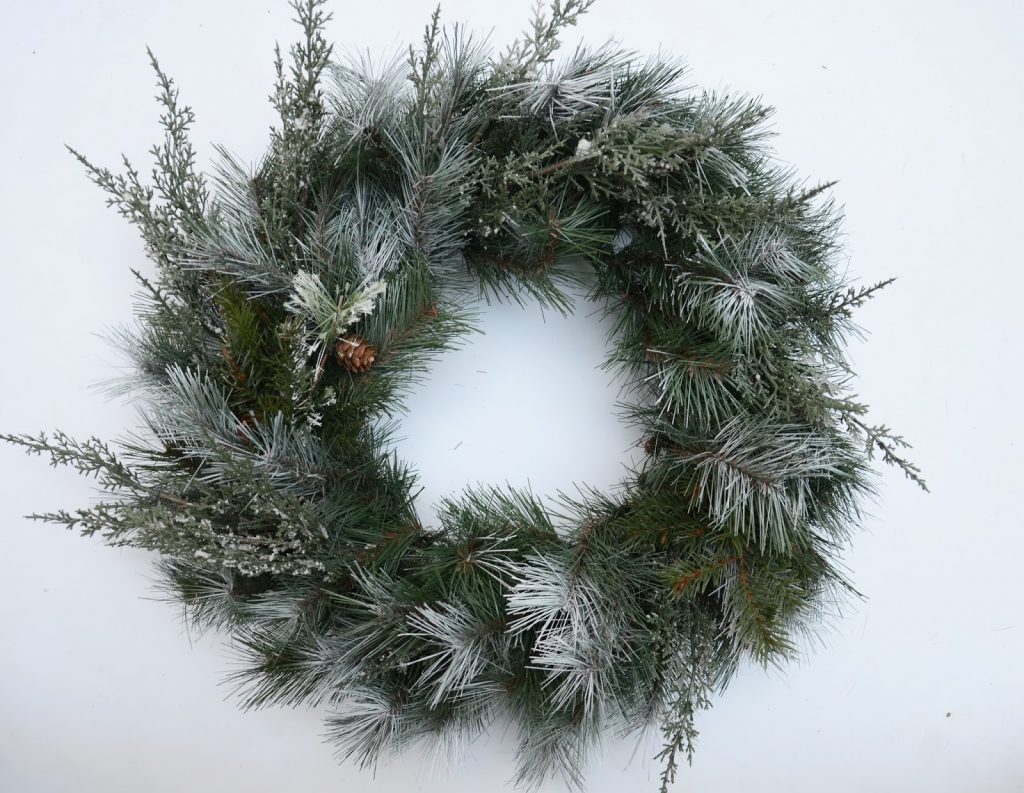
Continue adding more branches to make it more full.
Optional: individually flock some of your branches. Hold the spray paint 3-4 inches away from the branch and then blast the paint at it to create a snowy look.
Let them dry and then tuck them in your wreath. Finish filling in your wreath with your greenery.
Step 3. Now it’s time to add the berries. Cut them down into smaller branches and then carefully tuck them into the wreath, securing with floral wire.
Step 4. For the ornaments, I found they were the most secure when tied around the neck of the ornament, as shown below.
Fill your wreath in as much as you’d like. I tucked all the berries into the center area, but you can spread them throughout the wreath.
Step 5. Tie a ribbon bow (1 or two, depending on your preference), and then secure them to the wreath with some wire. Now hang it up and love it.
This post was brought to you in partnership with Jo-Ann’s.














Beautiful wreath, great DIY and so easy to make at home!
http://lartoffashion.blogspot.com
This is lovely! I’ve always wanted to do this on my own. Thanks for sharing!
Love love love! Especially the spray paint finishes…way better than paying all that money they ask for pretty wreaths in store. 😉 Xo, Alison
http://www.simplyfairbyalisonjeanine.com
This wreath is gorgeous! You’ve got such a crafty eye for making things… I sure don’t!
Paige
http://thehappyflammily.com
I love how you spray painted the wreath to make it look snowy! I might have to do that here, if I don’t ever get any snow.
I just made wreaths yesterday on my blog: http://www.thecraftydisaster.com
so pretty
this is fabulous! love the idea of spray painting it!