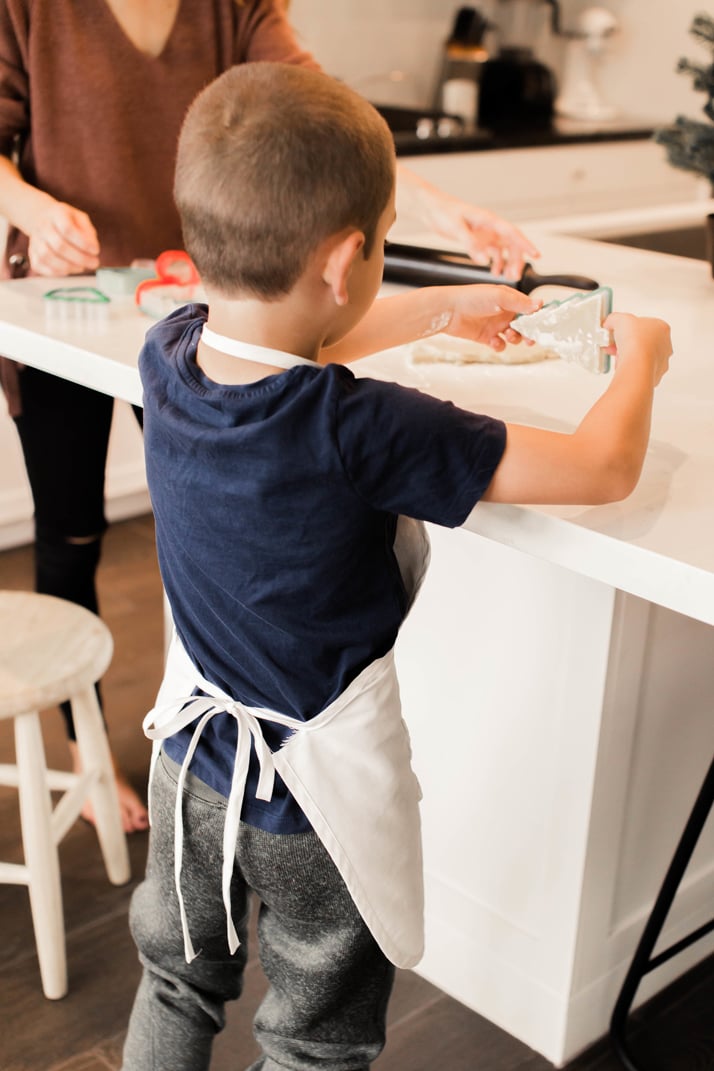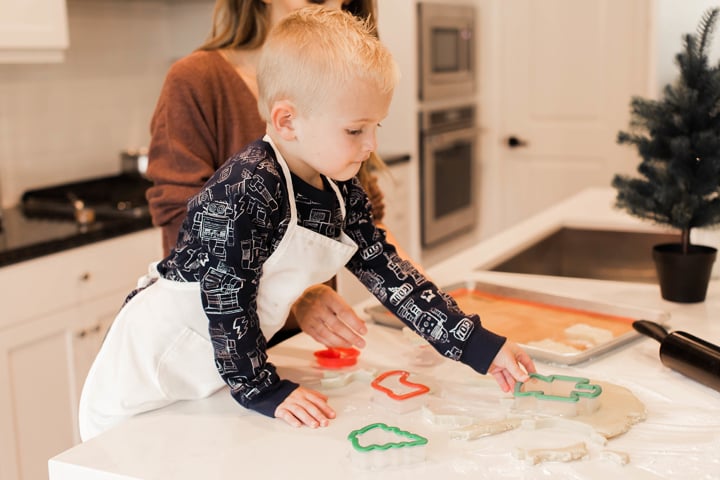
Handmade gifts are some of my favorites to give. Sometimes, something from the store just isn’t right for a certain someone in your life.
So today I’m sharing a really simple DIY apron that you can make for your kids, your grandkids, your spouse, your friends — anyone!
Kids especially love them though because they feel so grown up!


The best part about this is that you can hand make your aprons OR you can buy them (there’s a 3 pack right here!) and then personalize them however you’d like.
You could also use any kind of cotton fabric with a fun design — my kids would die of happiness over a starwars or Lego fabric apron.
I made these little ones a few years ago and they ask to wear them every time we’re working in the kitchen together!

Here’s what you’ll need:
1 yard lightweight denim or cotton fabric
2 packages double fold bias tape
matching thread
embroidery thread (optional – only if you’re embroidering them!)
tapestry needle (same note as above)

Step 1. Cut your pieces. You’ll need the main apron piece (mine was about 18 inches wide and 23 inches tall for my 5 year old), and a pocket (mine was about 9 inches wide and 5 inches tall).

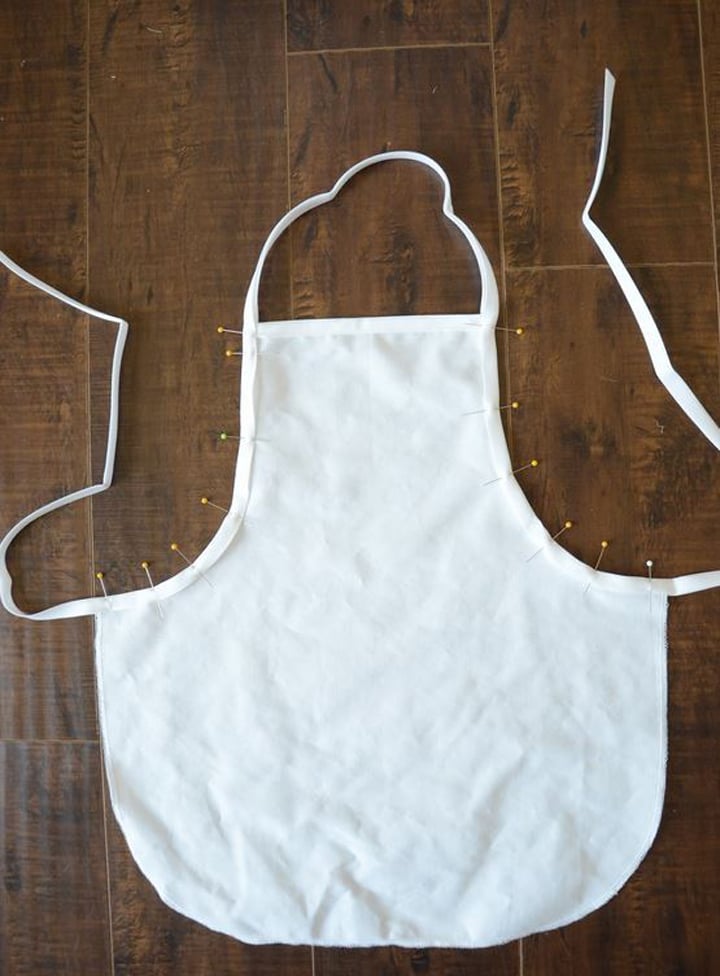
Step 2. Cut a piece of bias tape to fit across the top of the apron. Open up the double fold and slide the edge of the fabric inside. Sew across the top of the bias tape, as shown above.

Step 3. Now repeat step two for the bottom of the apron, all the way around, as shown above.

Step 4. Now measure how long you want your ties, plus how long you want the neck loop. Add this to the measurement for the scooped sides of the apron and cut your bias tape accordingly. Attach it to the sides of your apron as shown. Make sure you sew down the ties and around the neckline, stitching up the bias tape. [note: I did mine out of order and had to backtrack, so you’ll see the bottom edge hasn’t been sewn in the photo, but make sure you sew it first!]

5. Now it’s time for the pocket. Serge or zigzag around the edge. Then fold in all the edges about a centimeter. Make small clips with your scissors around the curved edges to make it lie flat and smooth. Sew across the top straight edge.
Once the top of the pocket is sewn, pin it to the apron, as shown below. Sew around the pocket, attaching it to the apron.


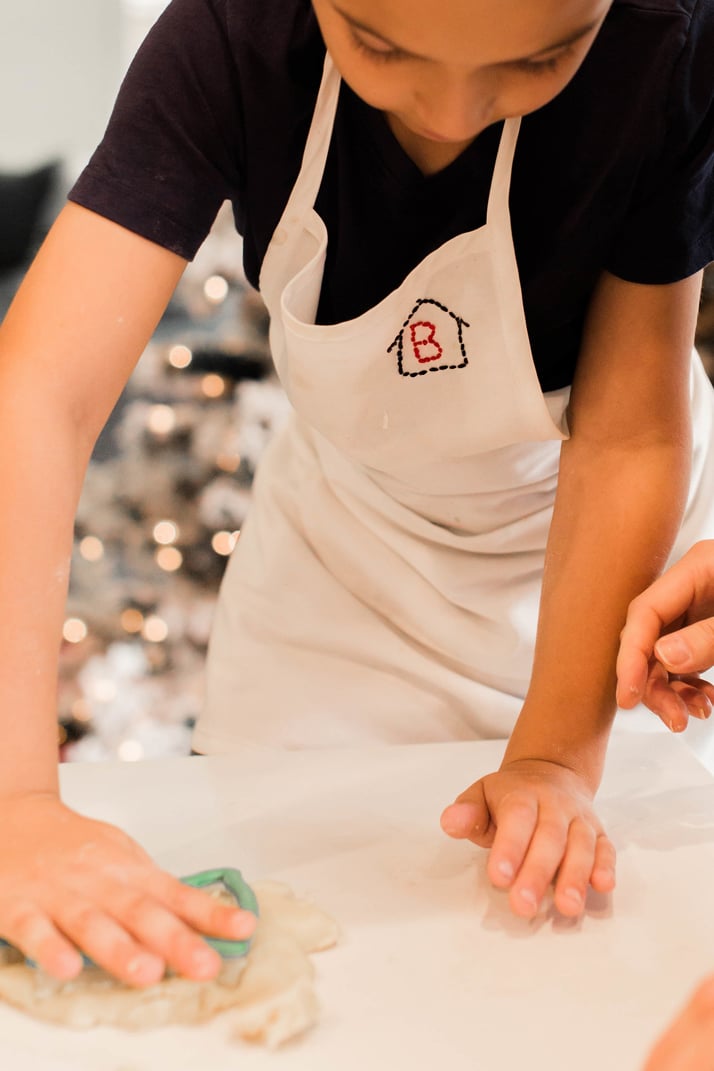
Use your imagination and get creative with the personalizing! Our last name is White, so we refer to our home as the White House frequently. I played off of that and created each of the monograms with a little house, and their first initial inside of it.
Try it with paint, fabric markers, or any other kind of method of personalizing it!


Lovely Apron.I will definitely Try this Embroidery Packs YOU Impressed me.
Great Post, i have been looking for an apron pattern.
[…] HANDMADE APRON (for kids or adults) […]
[…] them each a new apron would be a great way to encourage them to join you in the kitchen. I have a HANDMADE APRON TUTORIAL HERE, but you could also buy THIS ONE and personalize it, or there are lots of cute children aprons out […]
Shop PinsStep brand is offering ladies pump shoes online. Check out PinsStep Shoes collection online today, PinsStep.com From Big to Small available all Sizes: 35,36 to 42,43,44,45 (Customize – Made to Order)