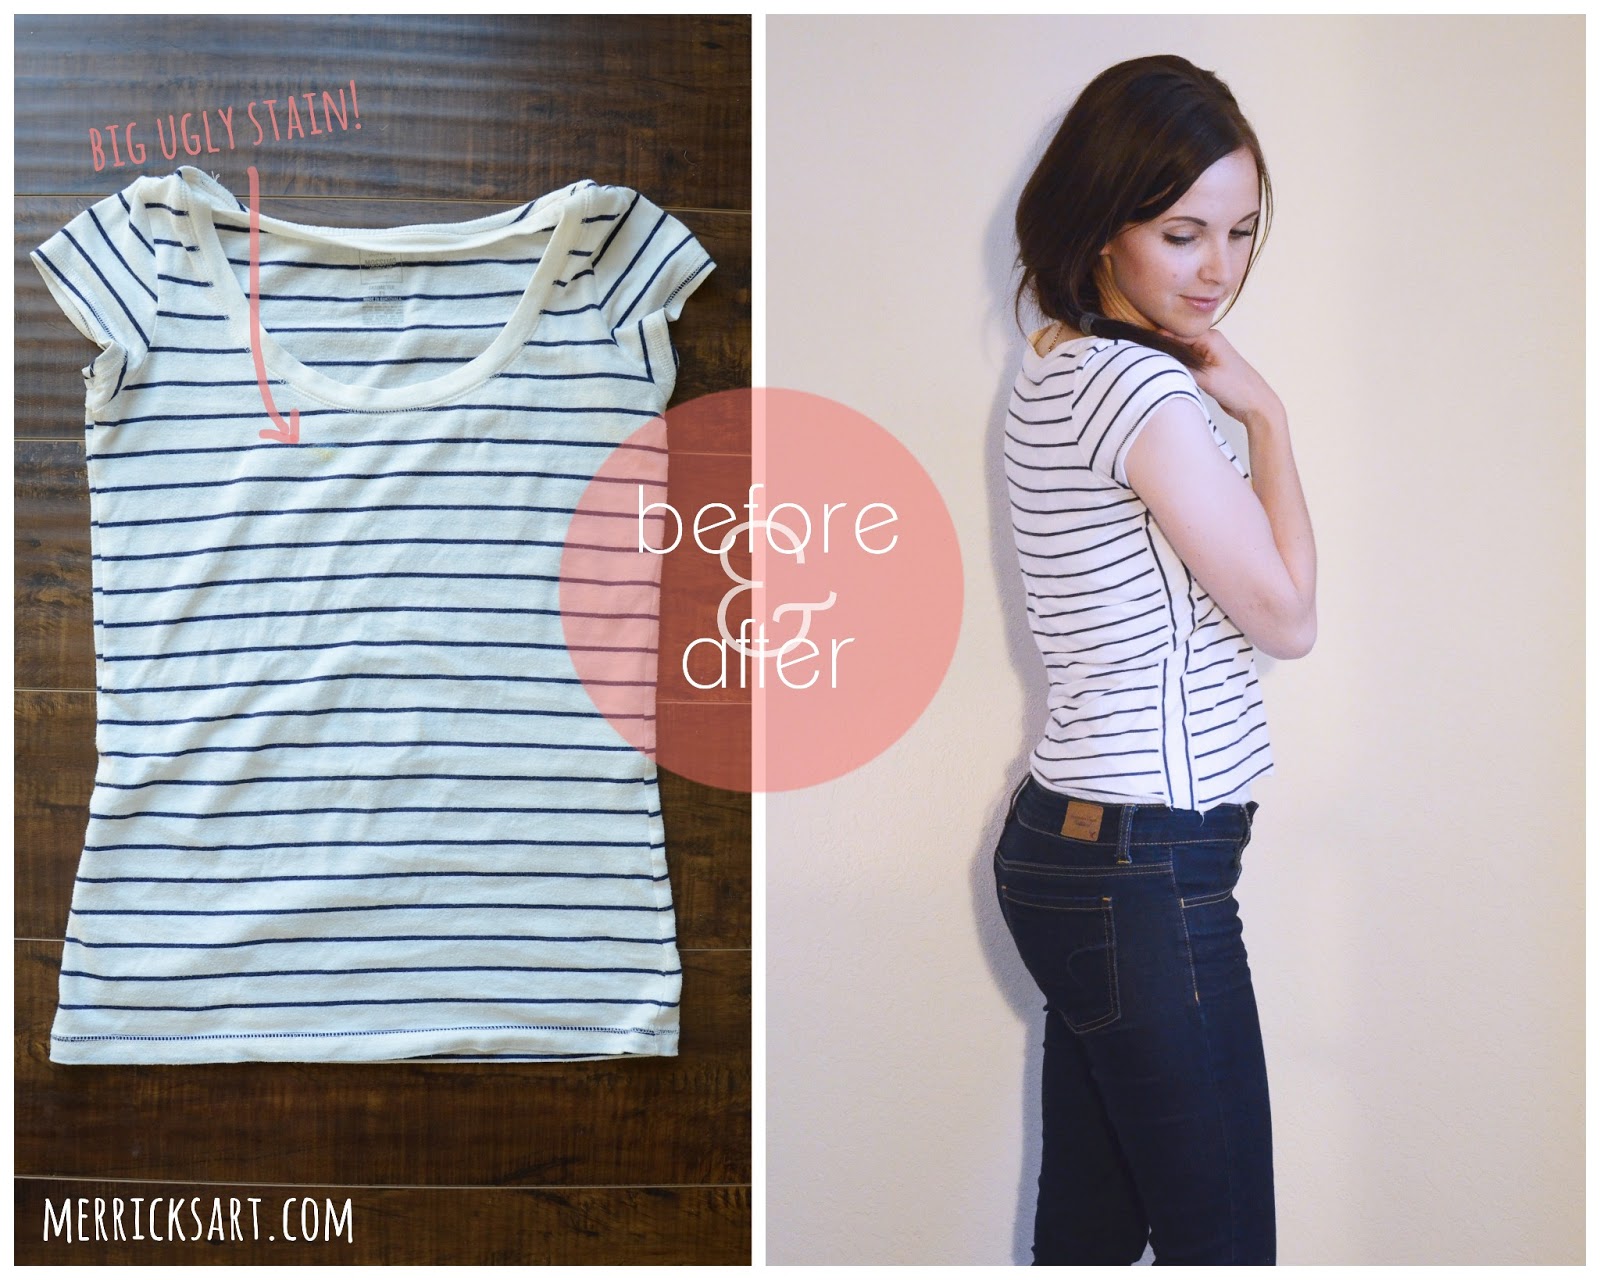
This is a two part tutorial — part two is coming next week. This old tee was fitted AND had a big stain on the front, so in order for it to be usable to make this dress I needed to deepen the neckline (to cut out the stain) and add some width to the sides. So this tutorial will cover those two things, and then next week’s tutorial will show how to add the skirt to make a full dress.
Materials:
- seam ripper
- scissors
- washable fabric pencil/marker
Step 1. First we’re going to deepen the neckline. I chose to make my neckline a deeper scoop neck, but this tutorial could also be used to turn a scoop neck tee into a v-neck (which I’ll show you in a minute).
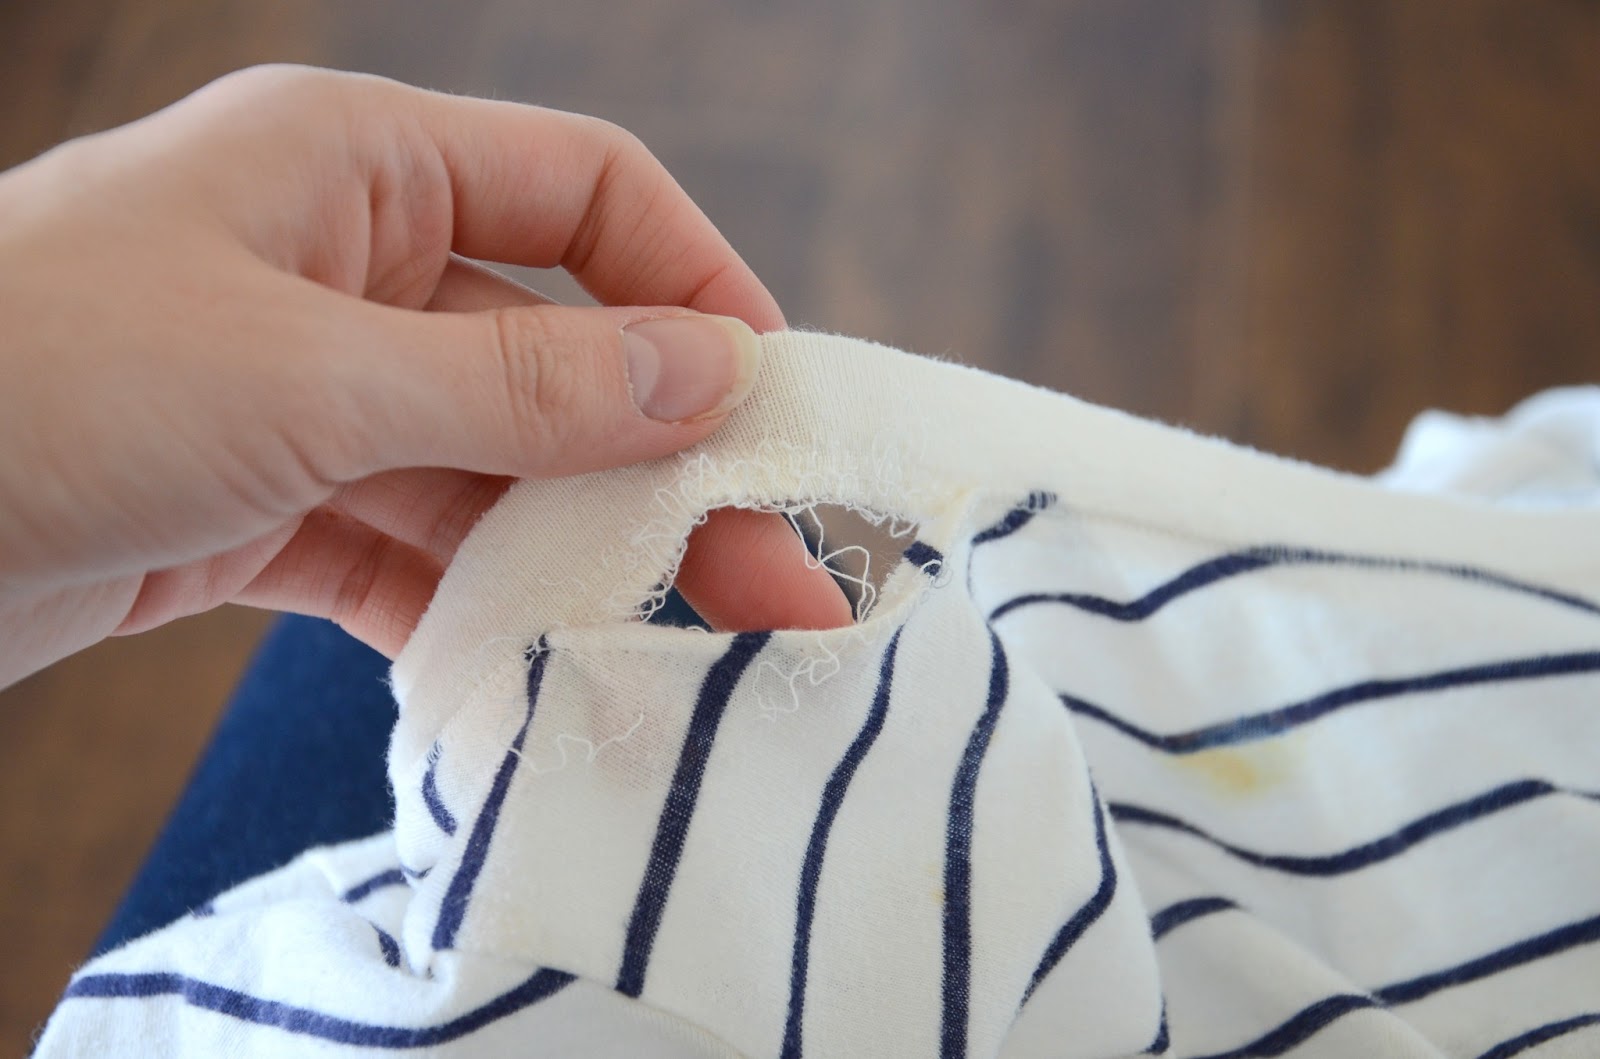
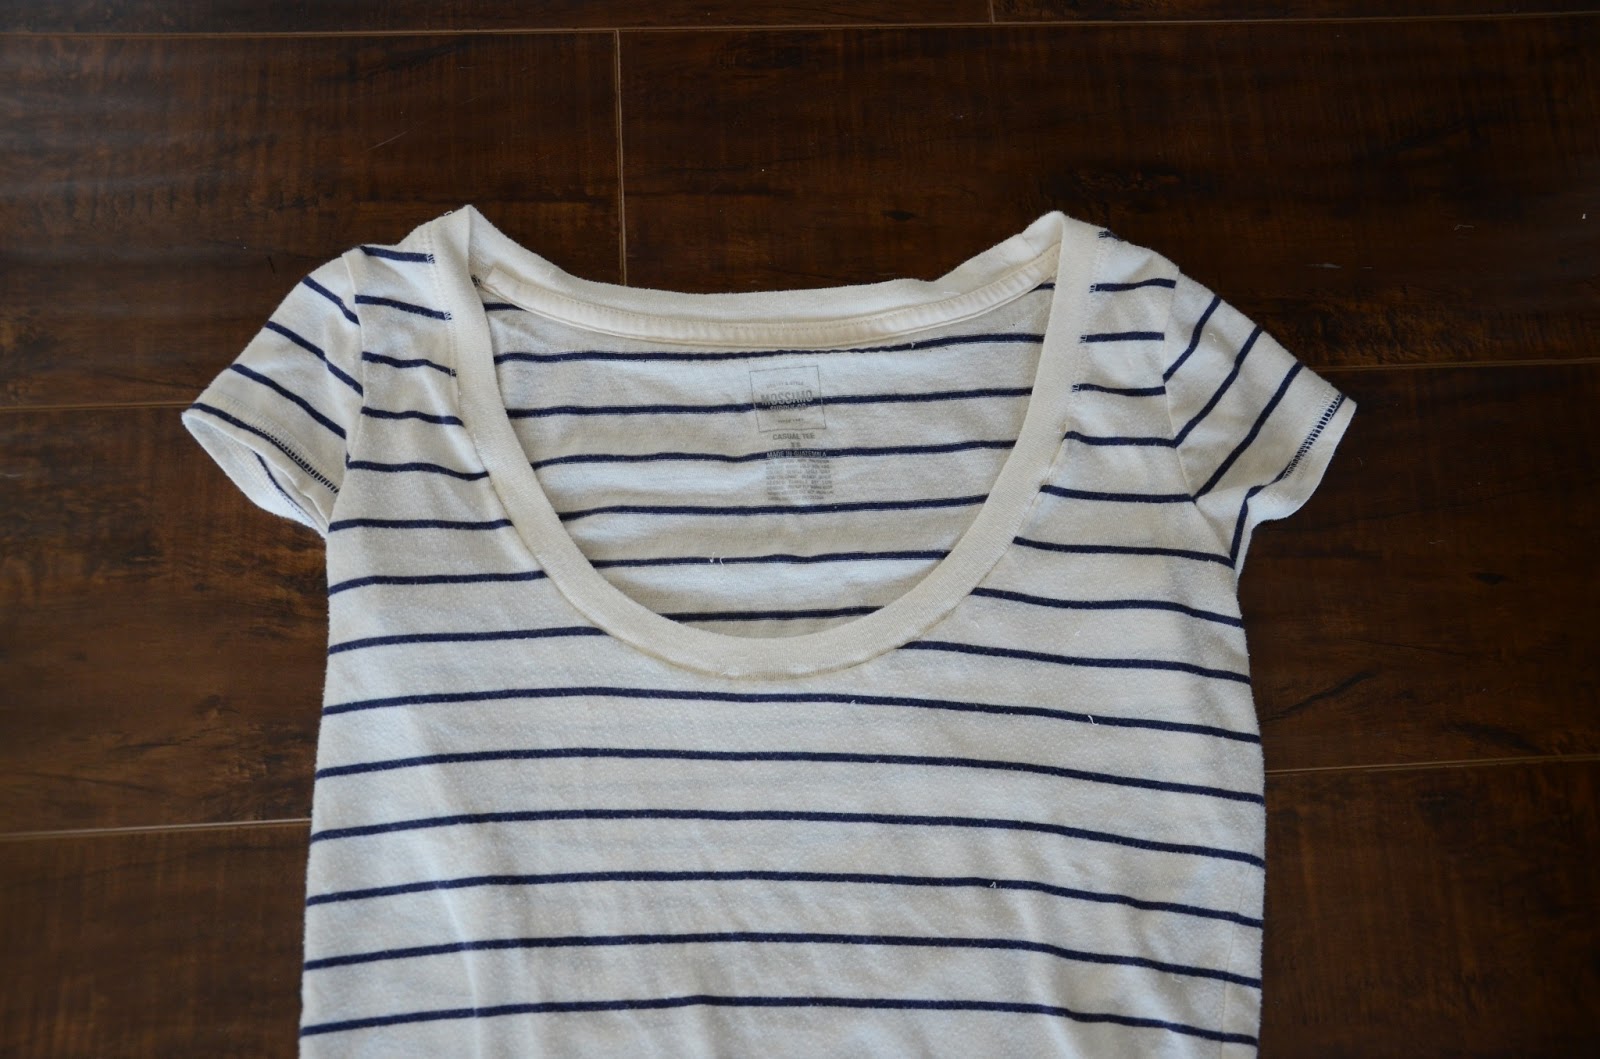
With your seam ripper, detach the tee and the neckline ribbing, as seen below. You can detach across the front from one shoulder to the other, but I only went to a few inches below each shoulder (which you can see two photos down)
your shirt should now look like this:
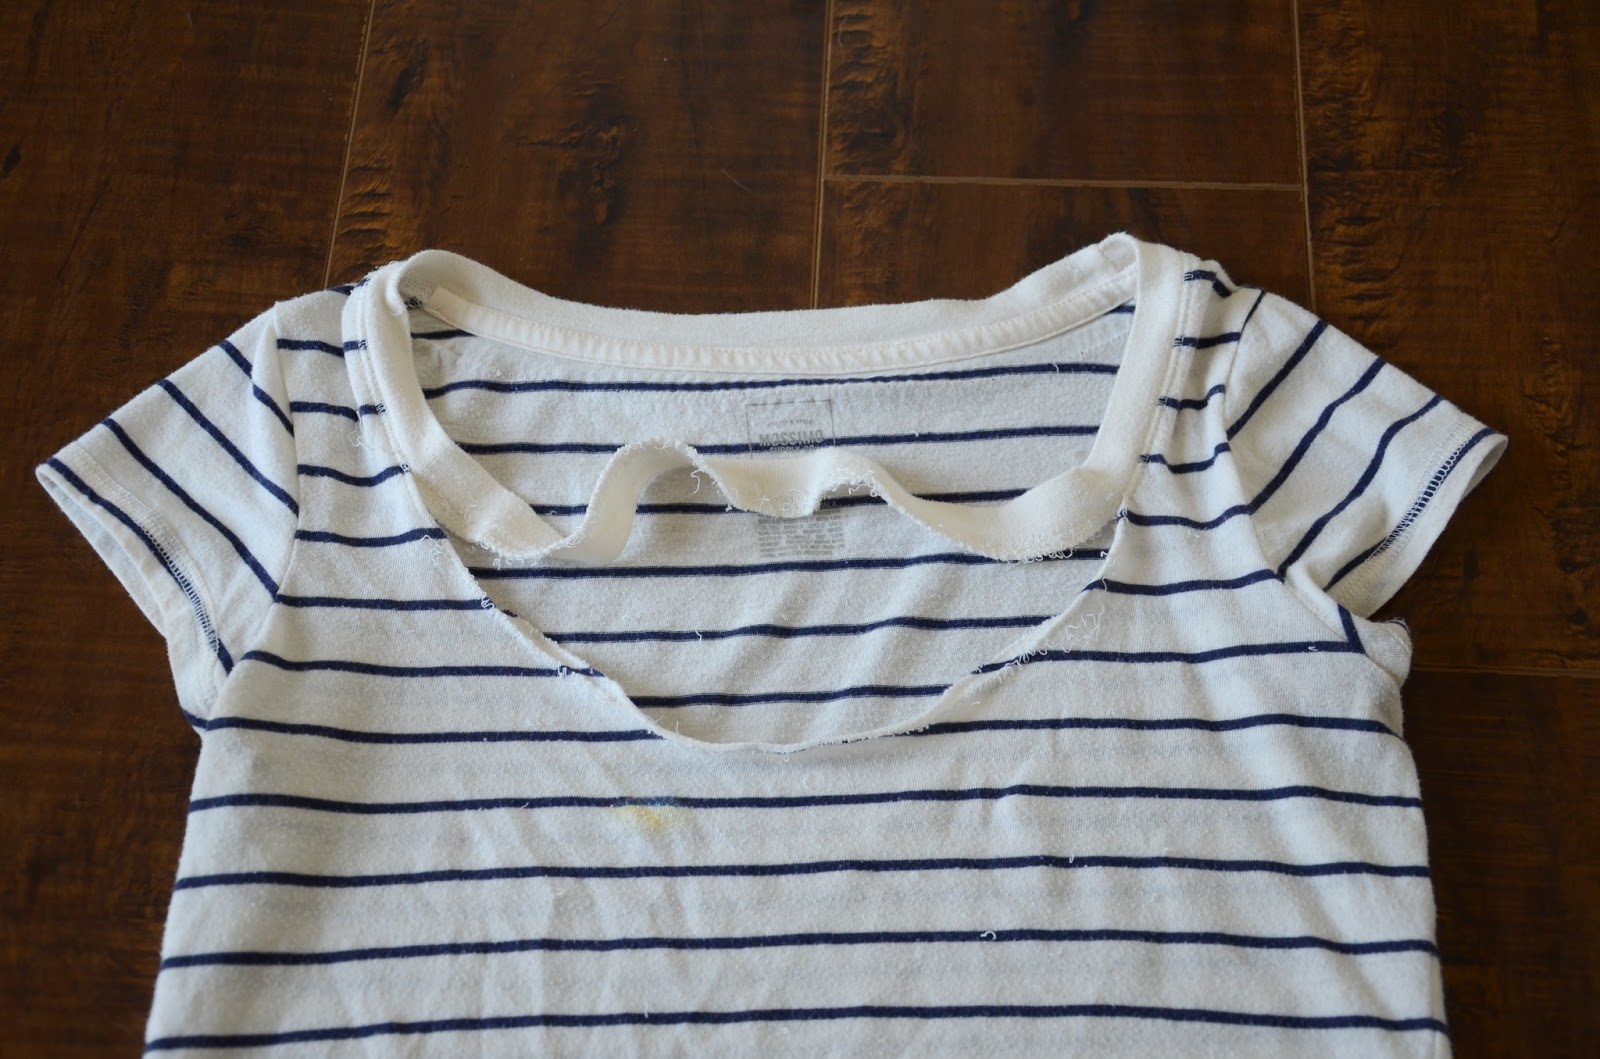
Step 2. With a fabric pencil or marker, mark your new neckline. If you want to change it to a v-neck, make sure you mark that here.
Cut along your marks, as seen below:
For the v-neck: sew the neckline ribbing into a V (as seen below in the photo on the right), and then attach it to the tee just like the scoop neck, but going very carefully around the tip of the V to avoid puckering.
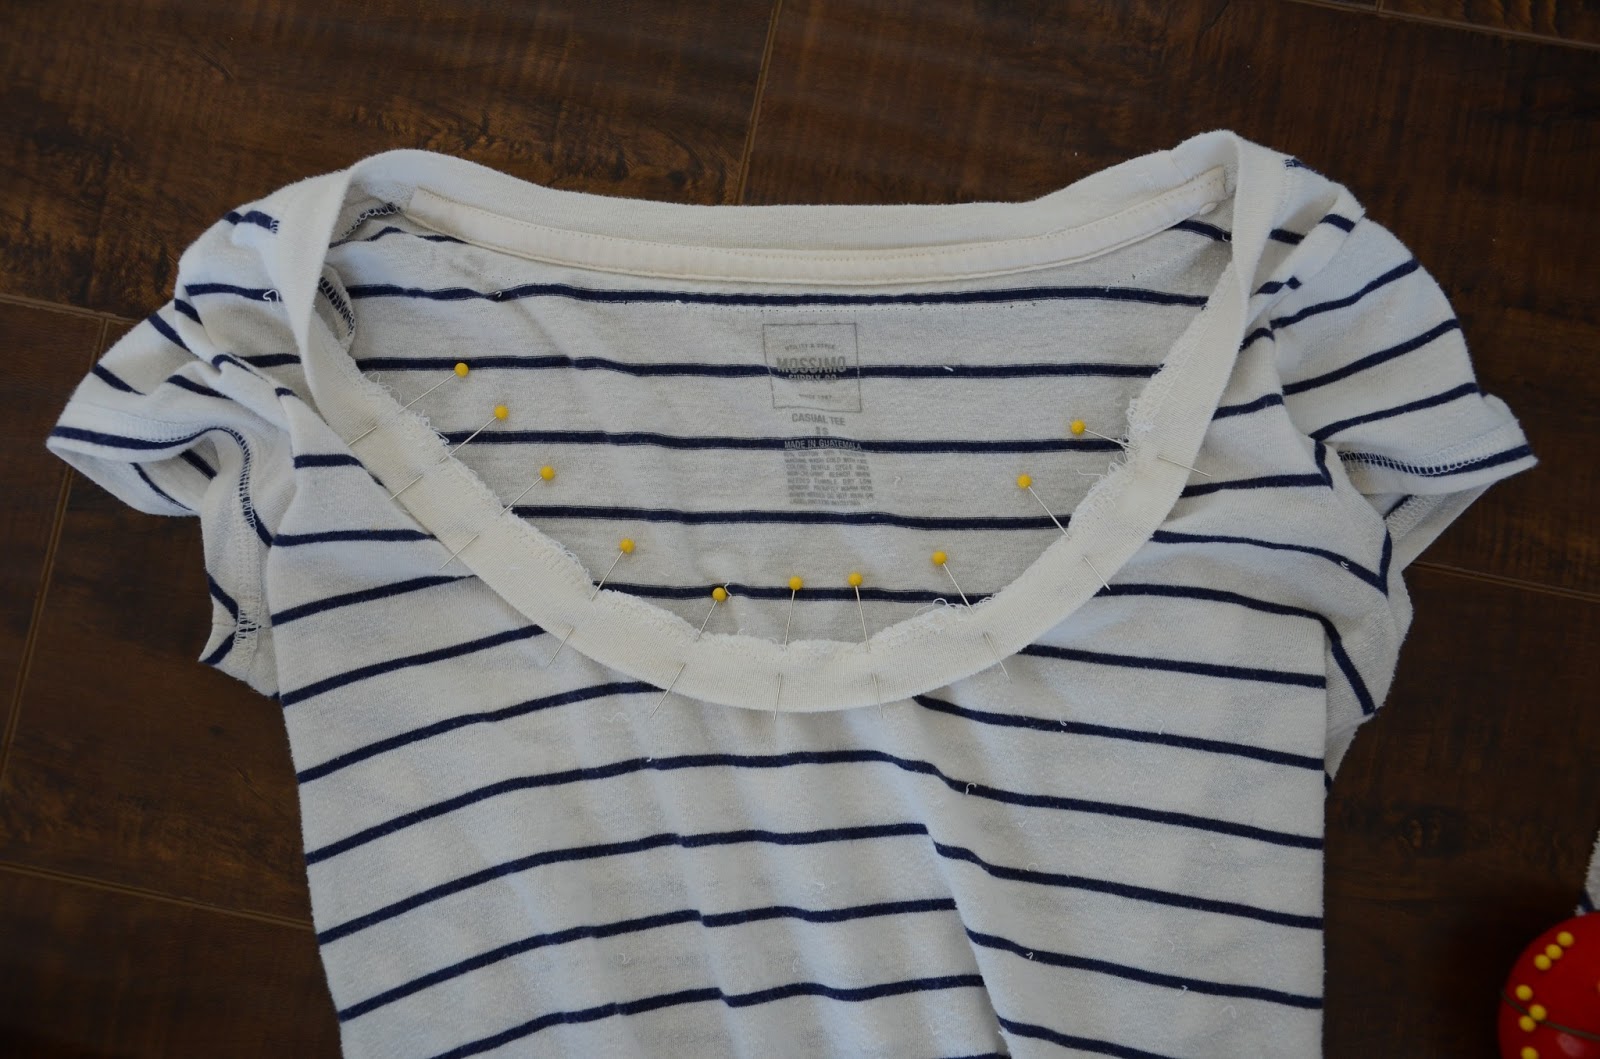
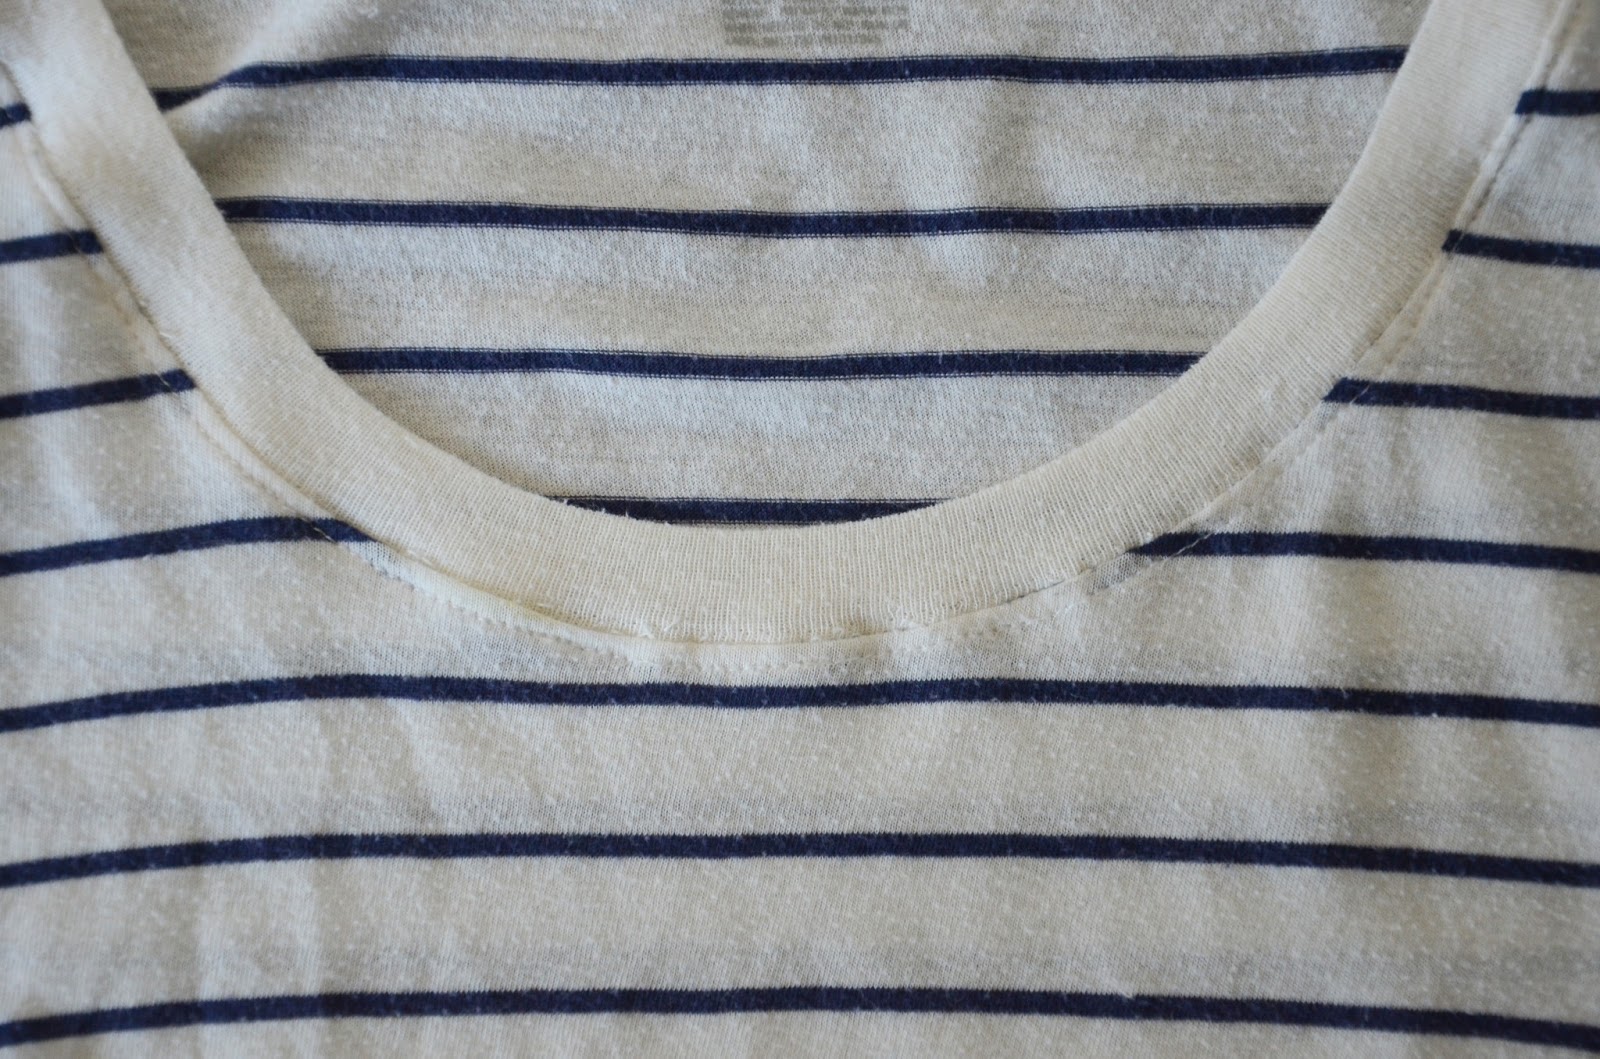
Step 3. With right sides together, pin the neckline ribbing to the tee, stretching the ribbing as necessary so it fits. Then sew the opening closed with a straight stitch, with as little seam allowance as you can manage.
Step 4. Turn the neckline right side out and press.
Then stitch along the tee, about 1/8″ or less below the ribbing, so it lays flat and looks professional, as seen below:
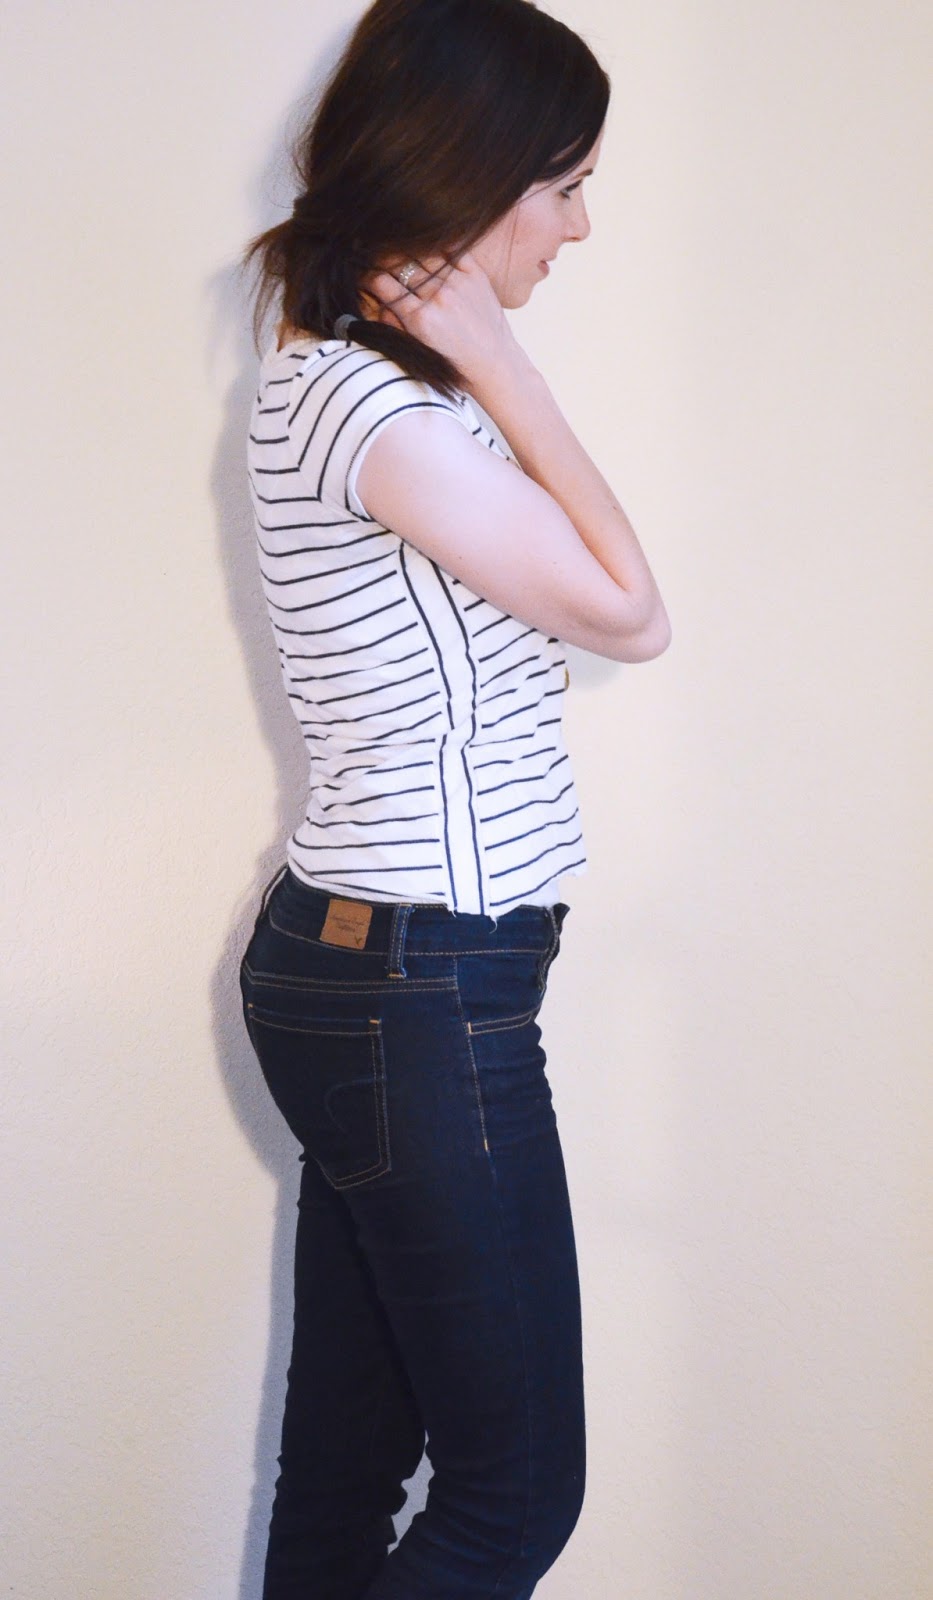
Now let’s add some width to the t-shirt:
Since this tee will eventually become part of a shirt dress, I don’t mind losing some length at the bottom. If you just want to add some width, but don’t want to lose length at the hem, use a different fabric (lace would be darling!) and skip to step 2. If you want a wide width crop top, follow all the directions.
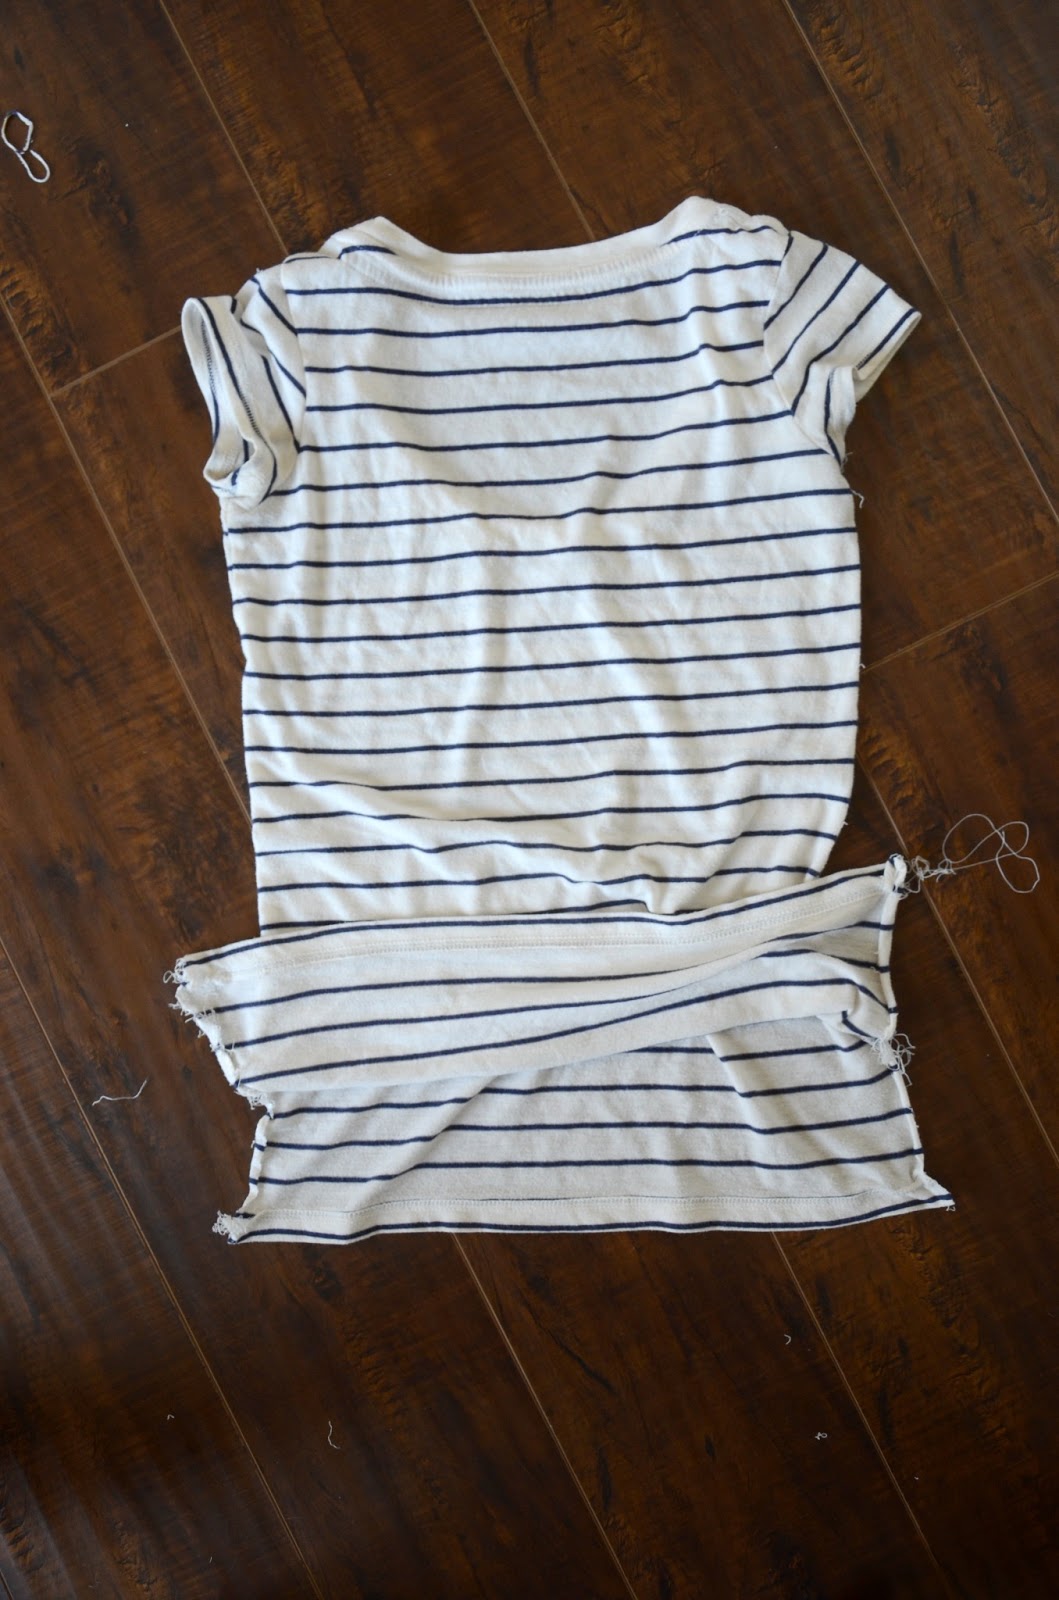
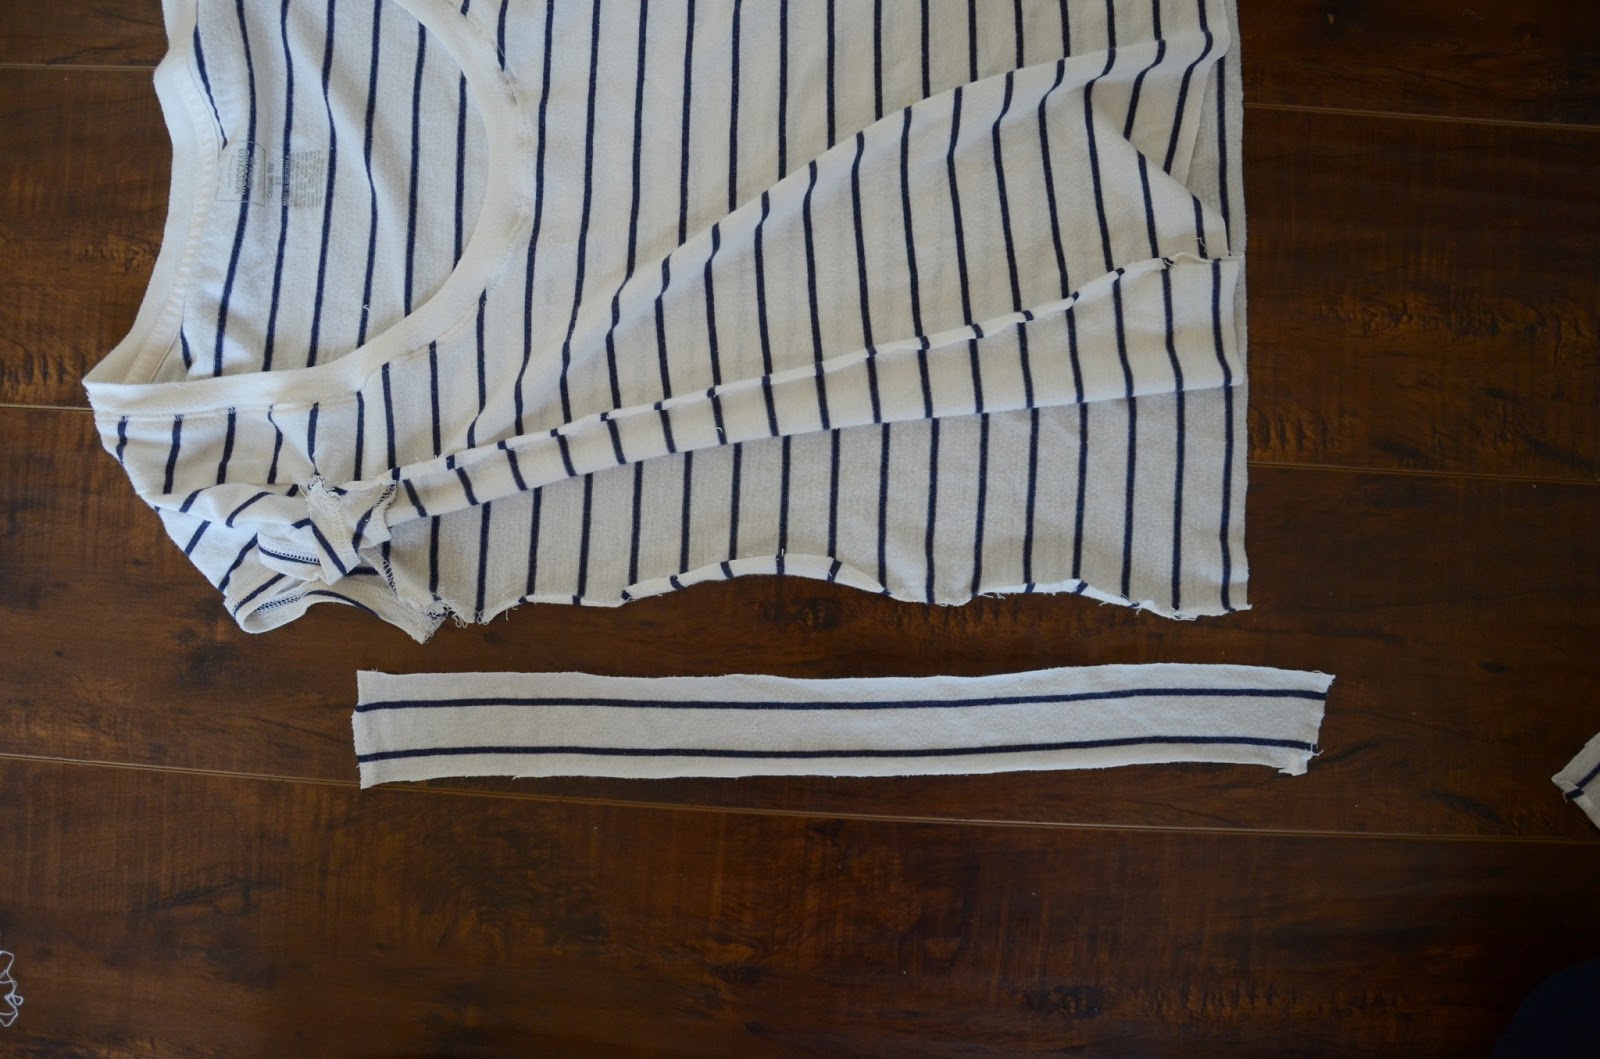
Step 1. Using your seam ripper, unpick both sides of the tee from hem to armpit.
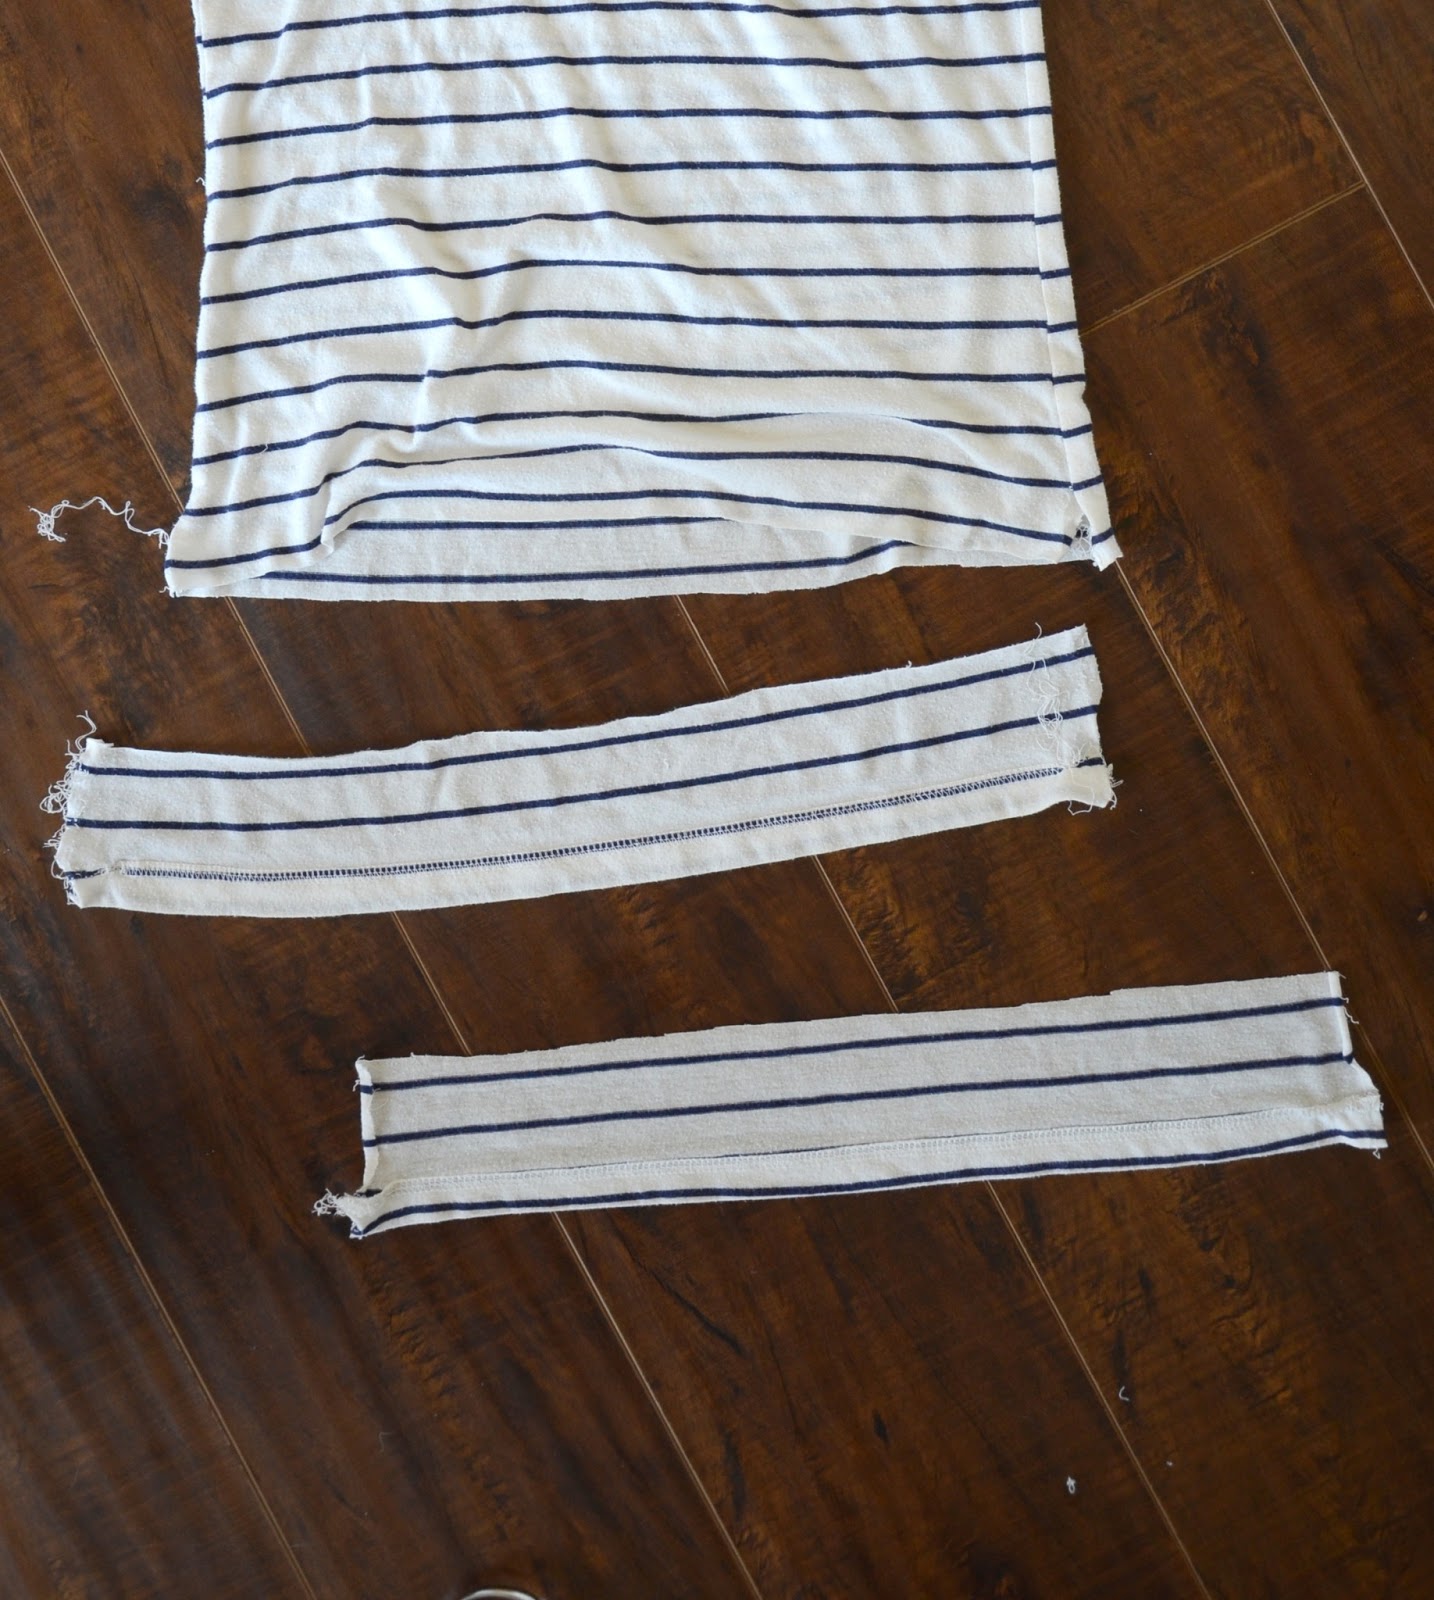
Cut off the bottom 3-4″ of the shirt — this fabric will be used to widen the sides. Cut off the hem, if desired (I did), so you have two 2-inch-wide strips of fabric (as seen two photos down).
(not pictured): hem or serge one end of the strip. Repeat with the other strip.
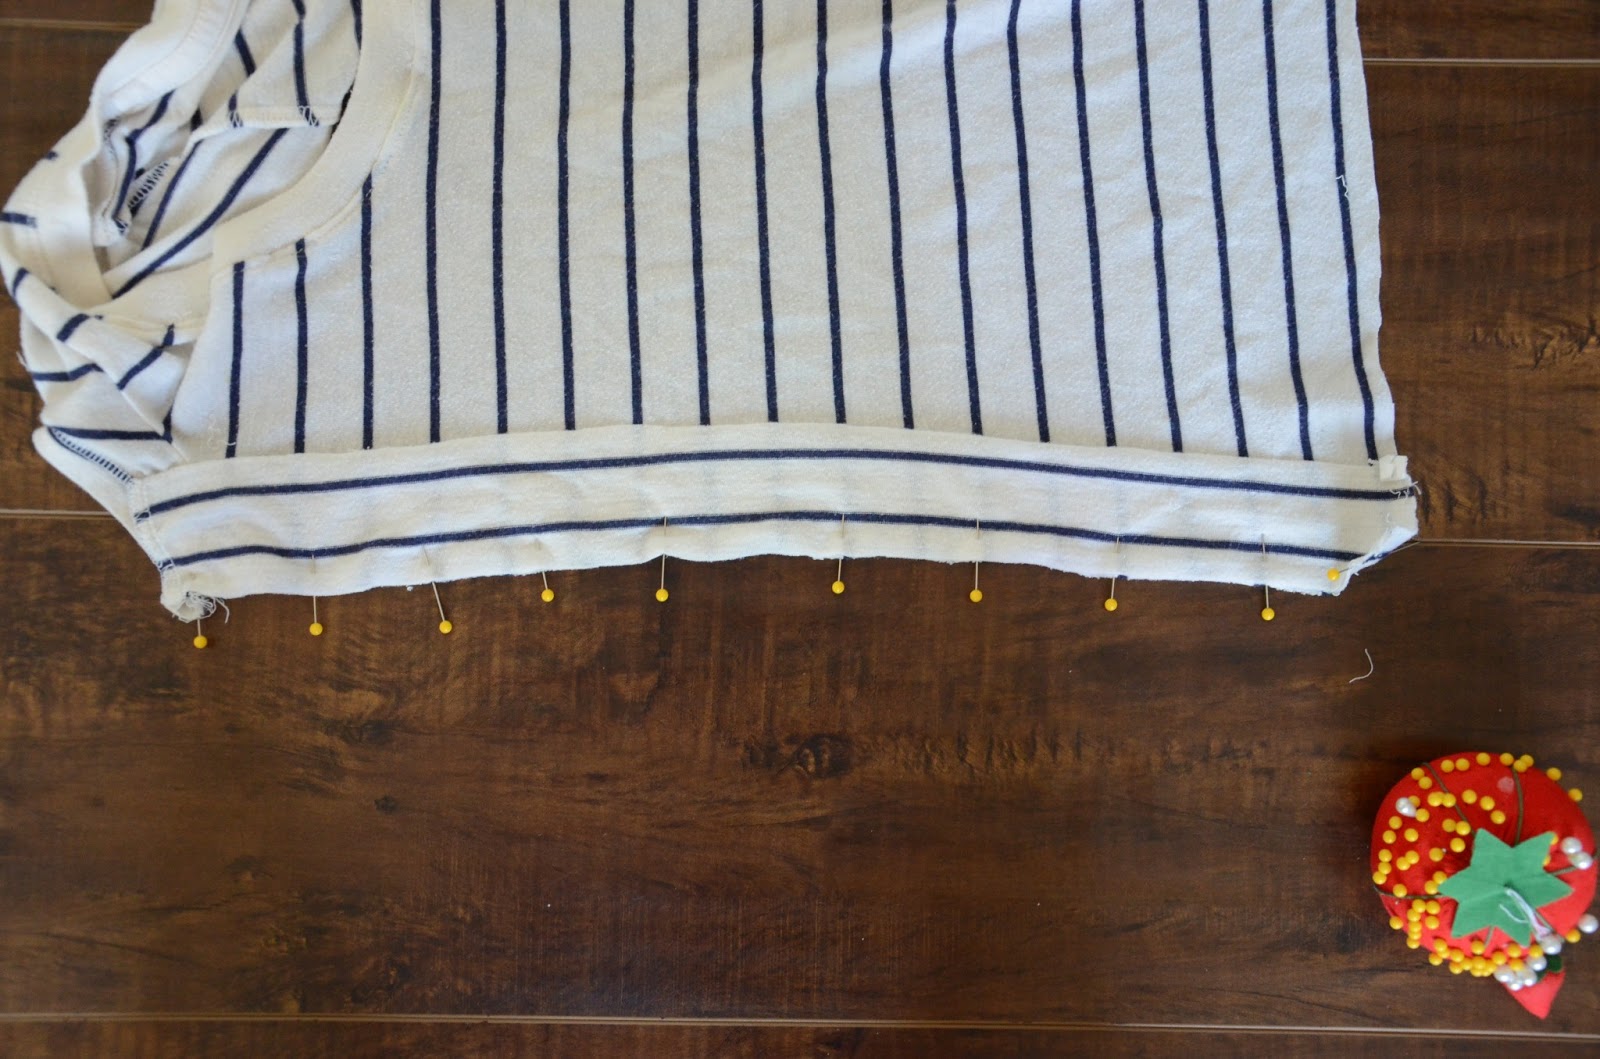
Step 2. With right sides together, pin the strip to the open side of the t-shirt. Make sure the side you hemmed or serged is matched up with the armpit. Sew along the pinned edge with a straight stitch. Repeat on the other side until both strips are attached.
The sides of your shirt should now look like this:
Hem if desired (although it’s not necessary since this material won’t fray), or attach to a skirt to make a shirt-dress (tutorial coming next week! UPDATE: tutorial found here!)
Happy Sewing! And as always,
email me or comment with any questions!


I'm going to use this – thanks!
Cheers
Lori
Do you know that because of some of your tutorials I asked for a sewing machine for Christmas? And got it. Now I Just have to put it to use. Looking forward to the shirt dress tutorial. I hope its similar to the striped dress you wore for your maternity-belly pictures b/c right now that is a dress I long to add to my limited maternity wardrobe.
I love it, but I think the t-shirt is too small to be a t-shirt so I'd have to use option #2, adding from another shirt. Some lace would look smashing. 🙂
Cute! I like the stripe direction-change, makes for some great visual interest 🙂
I love the way you added the stripe for width. cute!
Well, duh! (Me, not you!) Fantastic idea for those of us who have hips bigger than the bottom few inches of a blouse or Tee. You have no idea how many tops I've not purchased or have given away because of this. If I find a shirt that fits nicely through the shoulders and bust, it is always too tight across my stomach and hips. Tops are always too long for me, anyway. THANK you!!
This is a great idea! I am gonna try it… wish me luck cause my sewing skills are not that great…
How neat! I love the idea of adding a little stripe to make it a little lose. Cant wait to see the next part.
Super cute! I can't wait to see how it looks as a dress! 🙂
Keeping me in suspense! I can't wait to see the other half.
So cool! I'm really excited to see it as a dress too!
Can't wait to see the end result. Such a great idea adding with to a t-shirt!
Brilliant! Thanks so much for sharing and I look forward to part 2!
Shirt looks Good… its comfortable and fits very well. High quality t shirt. its an Excellent shopping experience.
http://www.apparelnbags.com/fruit-of-the-loom/index.htm
Do you have to add to the width line or would it be okay to just stop after adjusing the neckline?
Of course you don't have to add the width line. Do whatever works for your shirt!
well arent you the clever one! This is so simple I feel like I should have nown to do some of these tricks to maybe save some blouses I loved but got that stupid stain right where yours was! Thanks so much for your tutorials, you have a new fan!
i wonder if you stretch the neck band ribbing to accommodate the new larger neckline,will it shrink back up when you wash and dry it?
It shouldn’t enough to make a difference!
Thanks for the info about t-shirts. A friend of mine is thinking of getting new t-shirts. I’ll share this info about t-shirts with my friend.