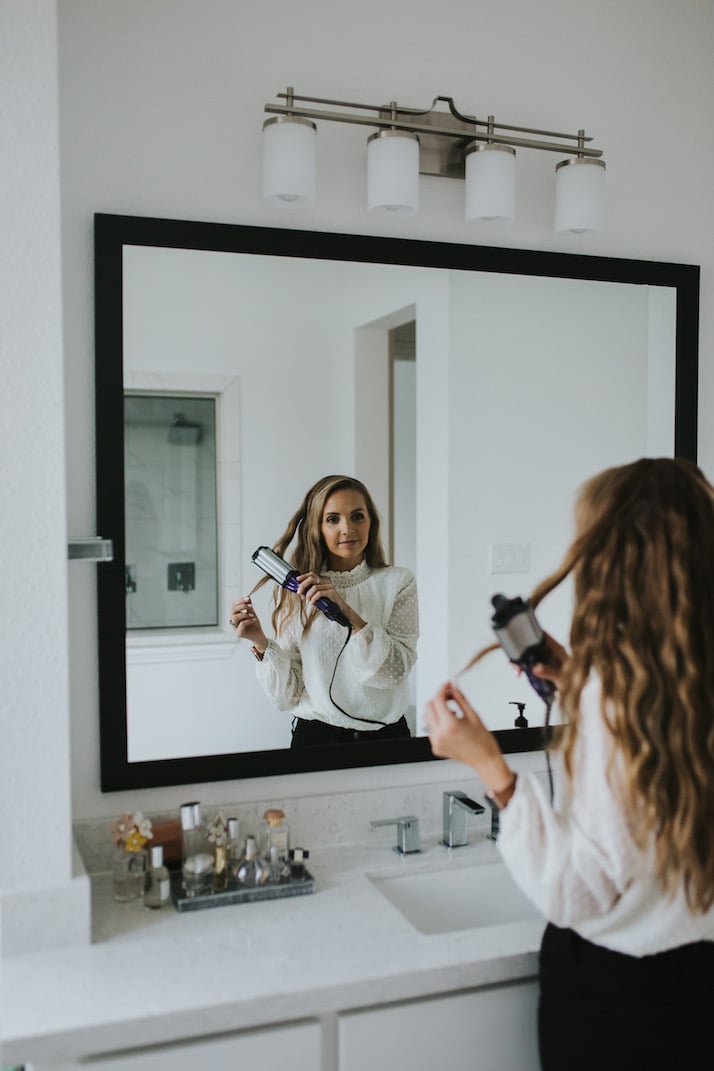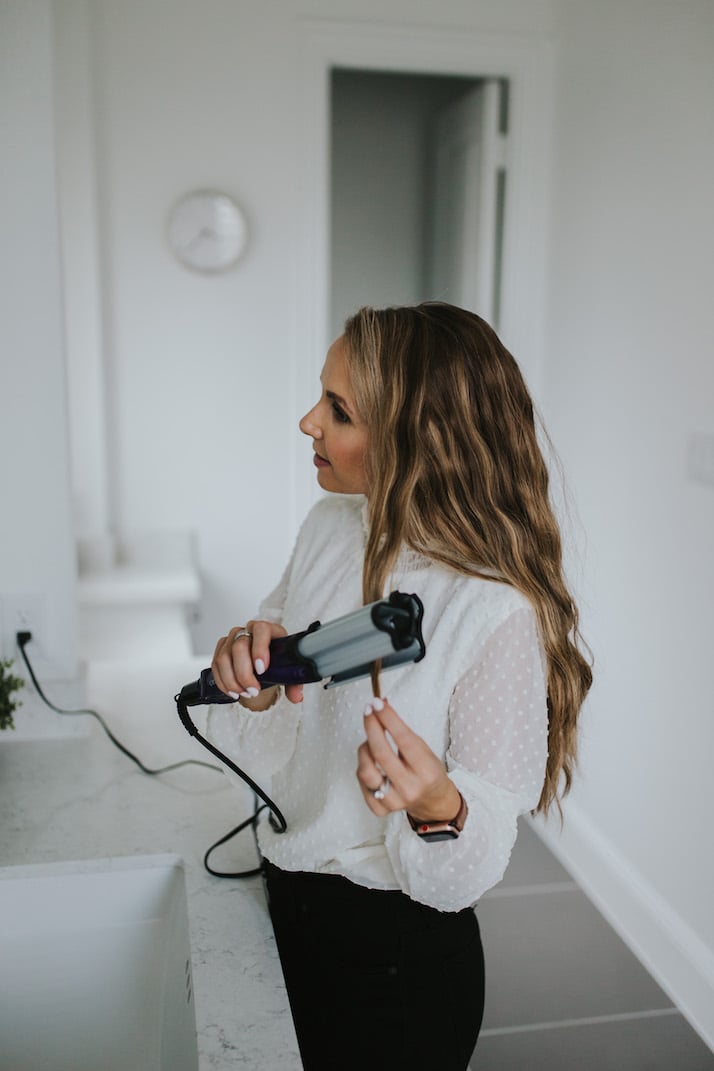
This is a quick and easy tutorial to use the Bed Head Artist Deep Waver create gorgeous beach-y waves
outfit details
white polka dot top
black jeans
waver hair tool
I tried out the popular Bed Head waver hair tool and here is my review
This THREE BARREL WAVER TOOL from BED HEAD has suddenly become so popular, so of course I had to try one out. There was a little bit of a learning curve with it, but now that I’ve used it a few times, I absolutely love it.
This beach-y wave hairstyle is perfect for summer
For summer, it’s a perfect easy hairstyle you can do in just a couple of minutes and give yourself an effortless beachy wave look.
Also, these waves last me over a week with just a few quick touchups, so it’s a really low maintenance hairstyle.


You can buy this WAVER TOOL RIGHT HERE!
Easy steps to create beach-y waves with the three barrel Bed Head waver
Step 1. Turn your WAVER on to medium high heat.
Step 2. Apply a heat protectant to your hair. Your hair should be dry and either straight or naturally waved. This doesn’t work well on super naturally curly hair.
my favorite heat protectant is THIS MOUSSE from Navy Hair Care. Use code MERRICK for 30% off!
Step 3. Take small sections of hair and crimp down from top to bottom, starting a few inches below the top of your head. It’s important to not start crimping at the root — you get the most natural beachy look by starting a few inches down from the root.
Step 4. Repeat step 3 for your entire head, taking small sections and crimping down. Adjust your starting height slightly with each section of hair so your waves aren’t all perfectly level with each other. You want unevenness to create that perfect beachy look.
Step 5. [optional] finish your look off with some sea salt spray!
I made this quick and easy video to show you how I do it!


Your hair looks as usual very cool and healthy. I have to take great care of my hair and scalp to achieve such results. Now I even use the products http://www.zincplex.com/ to get rid of scalp problems. I think after a month of good care my hair will look like yours
Thank you for sharing! I can’t wait to try this tomorrow for work. The instructions that came with it said to start at the root, which I have done, but my hair looked way too big and not the mermaid waves I wanted. Your tutorial was so easy to follow and it looks natural
[…] Check out my hair tutorial with this waver right here. […]
What a beautiful syles.This site is full of valuable ideas and significant information which we can share to our family and friends, thanks to the site administrator you really did a great job.The Cleaning Company Dubai provide good service from https://www.yallacleaning.com/cleaning-dubai/
[…] is the post I followed the first couple of times to get my desired look! This blogger’s hair looks […]
Hey,
such an amazing and helpful guide. I enjoyed reading this after I saw this article because you have presented some good points. Thanks a lot for sharing such a good points about using hair waver. Keep sharing like this. Have a good day..!
If you find yourself in the situation where you are unable to locate solar panels at a reasonable price, I have discovered. I needed to put some money aside for heating and electricity, but I had no idea what would produce reliable results over a long period of time. However, I afterwards regretted nothing and got a solar panel from A>A1SOLAR STORE</ . Based on your needs, this is a fantastic pick and very good quality. I sincerely hope that was beneficial
[…] © Merrick’s Art […]