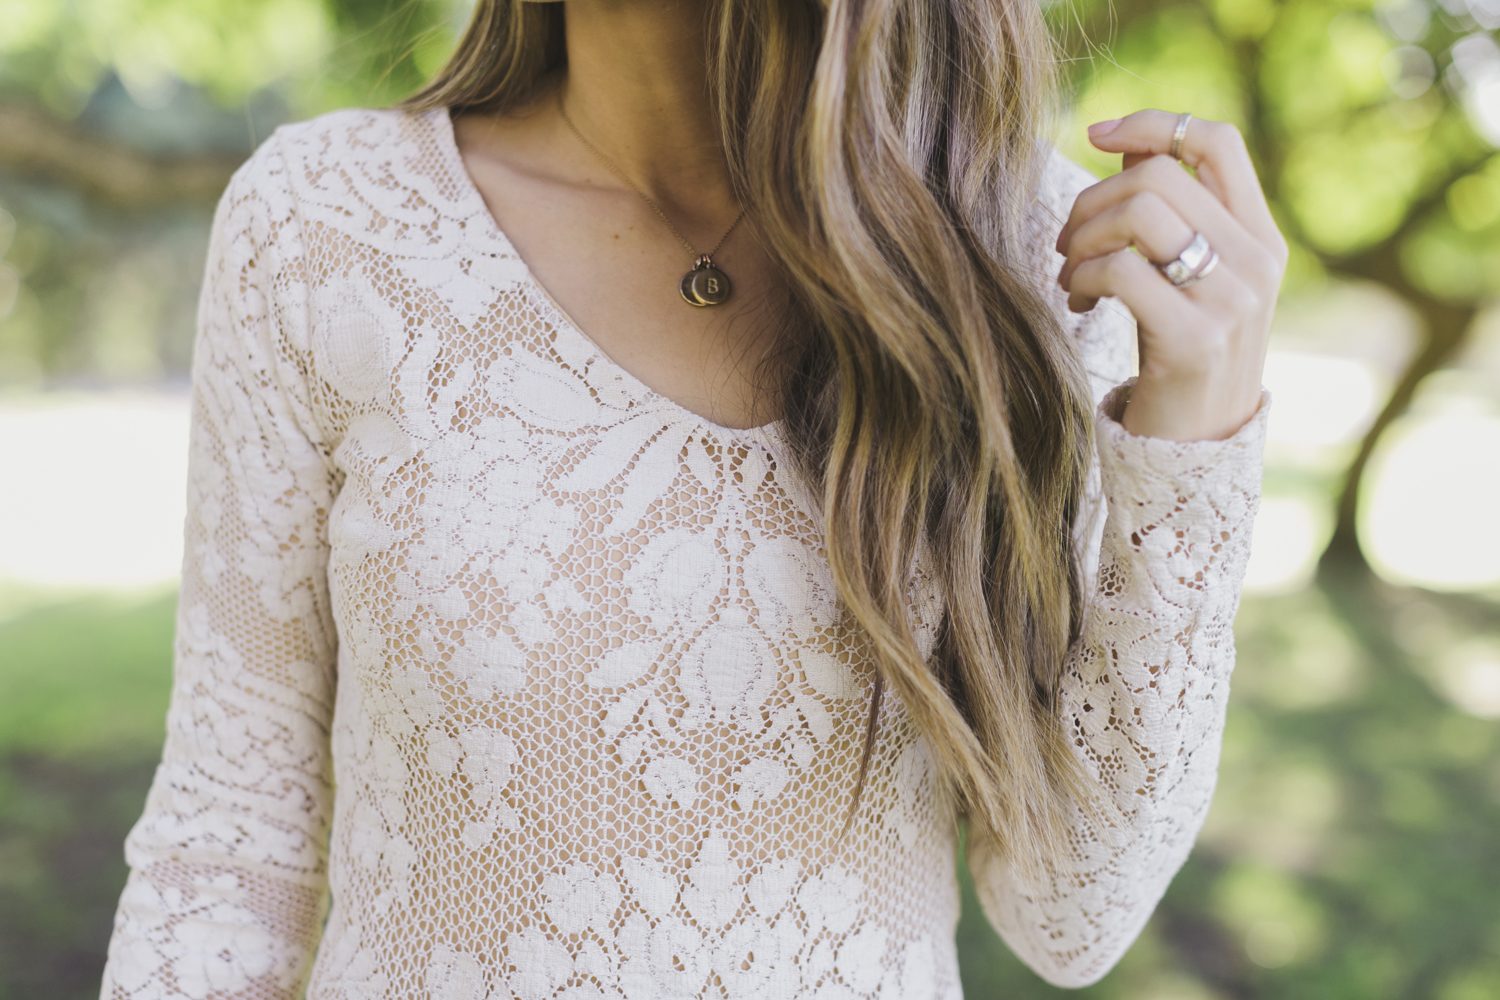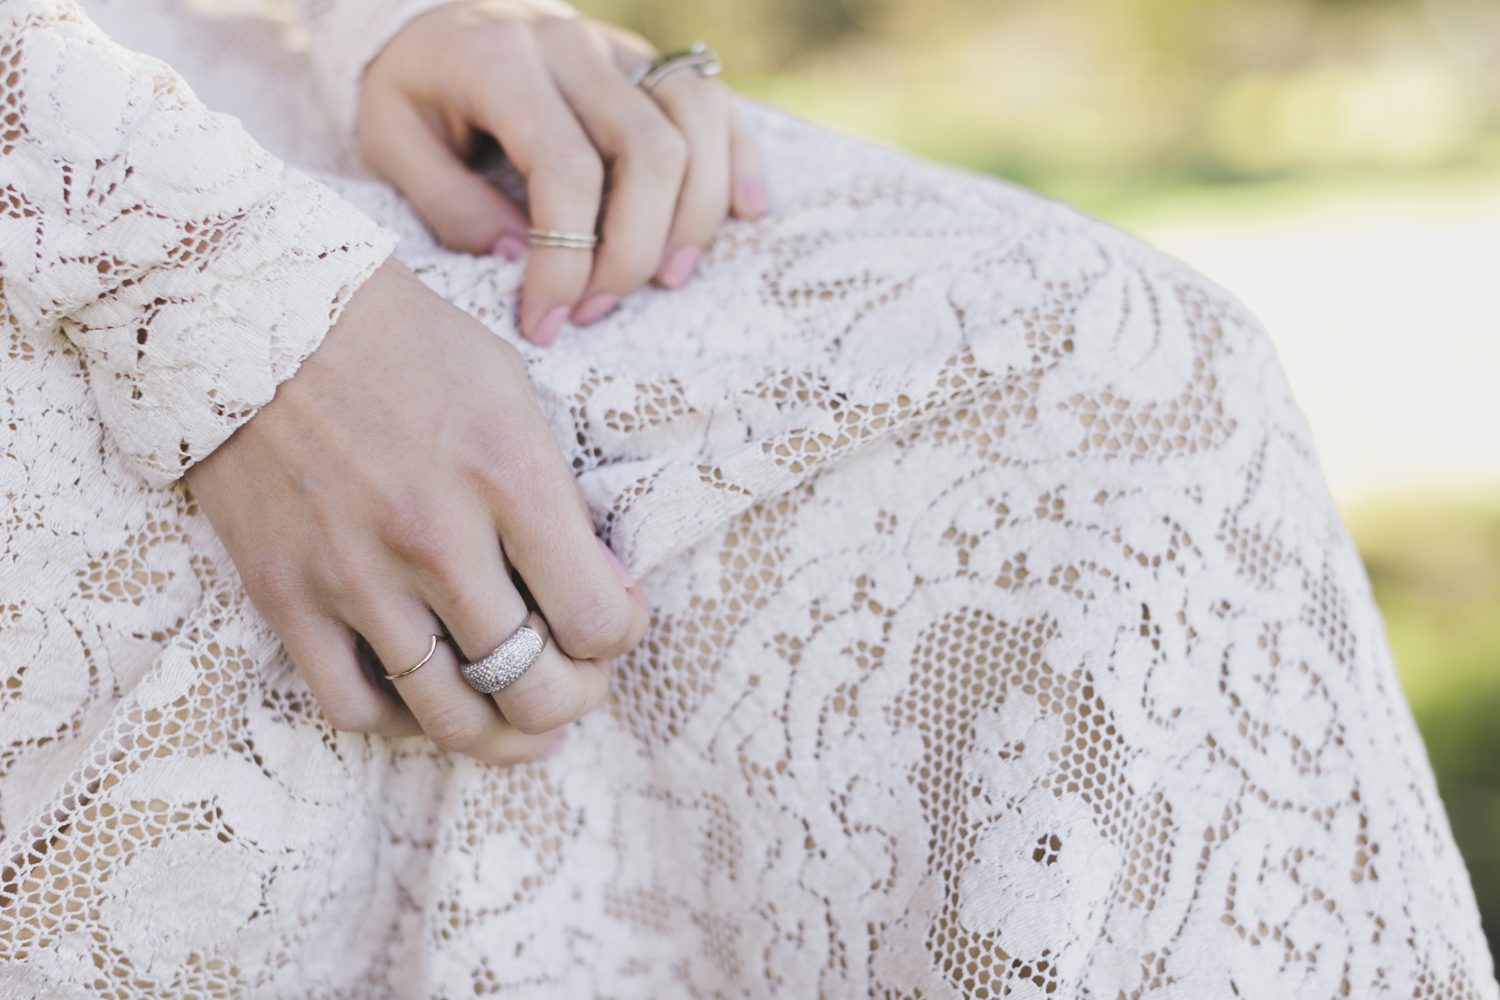
Outfit Details:
Lace Dress Made By Me (Lace Purchased Here), Nude Pumps (Similar Here and Here), Initials Necklace
Oh, you guys. This dress. I’ve been dreaming about this dress for literally YEARS. I was never very into style growing up, so when I got engaged I literally had no idea what I wanted in a wedding dress, or what was even really in style. It was before Pinterest was created, and I was the first of my friends to get married, so I was completely clueless.
We chose a dress that I liked and that was pretty, but looking back it didn’t feel like me, and although I was happy with it at the time, if I was doing it over I would have picked something different. Around my seventh wedding anniversary I had the idea to make a special ten year dress and get that second chance at my perfect dress. So for the next three years, I started planning this dress.


Honestly I had no specific vision in my head, and I spent all three of those years going back and forth on what I wanted it to look like. Maxi length? Midi? Knee length? Lace? Tulle? Beading? Full? Fitted? Long sleeve? Short sleeved? So many options. I saved ideas and inspiration to a secret pin board on Pinterest every few months, but years went by and I still couldn’t decide exactly what I wanted. I’d decide on something and then change my mind when I went back to look at it a few months later.
Ultimately I decided I wanted lace. So then the hunt for the perfect lace began, and this was a serious hunt. Every time I went to the LA Fabric District, or my local fabric shops, or anywhere that carried lace, I would look for the perfect fabric. I scoured the internet for hours. For literally a year I searched for my lace. I wanted something with a design, and I couldn’t figure out where to find lace that wasn’t just a repeated pattern.
Then about four months ago, right before we moved, I was up late working one night and needed a quick break from working. I started searching for lace again, and suddenly had an epiphany. A lace tablecloth! That’s the only lace I’ve ever seen that has a pattern, because it’s designed to have a trim that hangs off the table, and a design in the center of the table.
Instantly I was on etsy searching for vintage lace tablecloths, and within minutes I had found five gorgeous possibilities that were exactly what I wanted. I narrowed the search based on the size and shape of the tablecloth, and also the condition it was in. With it narrowed down to two, I asked for a second opinion from my friend Tara, and we had a winner — this gorgeous vintage Quaker lace tablecloth.
The most ridiculous part of this story is that even though I planned this dress for three years, and I even managed to find and buy the lace several months in advance, I didn’t actually make the dress until the night before we were taking these pictures. I usually work best under pressure anyway, but staying up til 4:15am to finish this wasn’t my smartest move. Mostly because if I screwed it up at any point in the design and sewing process, I had no backup options. I had three yards of fabric to work with, and that was it.
But, happily, I didn’t screw it up, and it turned out exactly how I wanted. This dress feels like me. It’s simple, but elegant and special. I didn’t want any frills, I just wanted something unique and beautiful and special. I love the story that’s behind it, and I only wish I knew the story of this gorgeous lace. But this is the kind of dress that I’d love to pass down to a future daughter.
So with that huge backstory, today I’m sharing how to make this gorgeous dress. You could make it out of any kind of lace, knit, or woven, or you could buy a tablecloth (just make sure it’s at least 60″x80″, since that’s how big mine was. I used basically every scrap, and even had to put inserts in the back of the skirt to make it wide enough, which you can see in the back).

What you’ll need:
– lace fabric (at least 2 1/4 yard)
– lining (same amount as lace)
– 20-22″ invisible zipper
First, cut all your pattern pieces. You’ll need to cut a BODICE FRONT, 2 BODICE BACK’s, 2 SLEEVES, and a SKIRT (I made the bottom of the skirt line up with the edge of the lace so it had a pretty hem). Cut each of these out of both lining and lace. Use the instructions in this video to create your own pattern pieces (I don’t provide printable patterns!). Use a fitted top and a pencil skirt for your pattern pieces. Just add length to the pencil skirt to make it maxi length.
Step 1. First we’re going to do the neckline. It’s really easy when you have a lining, and it gets it out of the way at the very beginning. Take your BODICE FRONT pieces (lining and lace) and lay them flat together with right sides of the fabric together. Sew around the neckline with a straight stitch. Cut a small slit in the seam allowance at the point of the V, almost down to the seam (this makes it so your V won’t be bunched up when you turn it right side out). Now turn your fabric right side out and press your neckline.
Step 2. Take your BACK BODICE pieces (lining and lace) and lay them flat together with right sides together. Repeat the same as step 1, sewing the neckline, and then flipping them right side out and pressing the neckline.
Now both your front and back necklines are finished. Hooray!
IMPORTANT: From this point forward, I will treat the lace and lining as one piece. When I show the wrong side or right side of the fabric, it is with the lace and lining stacked together and acting as one piece of fabric. Do not separate them.
Step 3. Now take the FRONT BODICE and BACK BODICE and pin them at the shoulder seams with right sides together. (Remember, this will be four pieces of fabric — lining, lace, lace, lining — in that order). Sew the shoulder seams up with a straight stitch. Serge or zigzag the seam allowance.
Step 4. Open your BODICE and lay it flat on the floor. Take your SLEEVE pieces (remember, both lace and lining acting as one fabric) and line up the top of the SLEEVE with the top of the shoulder seam of the bodice and then pin them together along the shoulder.


GORGEOUS. My wedding dress was lace like this. I chose a slightly darker lining to really make the lace stand out. I love the long sleeves on this dress. Beautiful.
Ah, I wish I could have found a darker lining for that very reason. So pretty!
OH MY GOSH! That dress might be the prettiest thing I’ve ever seen! You did such an amazing job on it and you look absolutely stunning in it too!
xx, Ashleigh | http://www.fashioninflight.com
You are so, so sweet, thank you!
That dress is amazing! You did such a great job! I’m going to have to scour the internet for a similar one that I can buy!
Paige
http://thehappyflammily.com
This is such a gorgeous dress! I absolutely love it!!! I feel the same way about my wedding dress, as you described and I think I’d like to copy your idea and sew my own for our 10 year anniversary. Luckily I have five years until then, that leaves me plenty of time to practice.
I have a few questions. What kind of fabric did you use for the lining? Would you recommend something stretchy? Also, how do you know where exactly to place the darts on the skirt?
Hi Anna! Yes, I used a stretchy lining. It was actually a dancewear spandex that I found, and I just used the non-shiny side. For darts, I measure them on my dress form. Before I had a dress form, I measured them on myself. I have a video all about it in my sewing course if you’re interested! http://moderngirlsewing.com/
You are looking absolutely incredible in this laced dress! Gorgeous woman!
http://lartoffashion.com
Merrick! You are so talented. This dress is so stunning & you look so beautiful & glowy in it. I wish I had your gifts. You are truly blessed & the post is awesome!!!
I thought I recognized that lace – I love Quaker Lace tablecloths! I made a swing jacket with one I found at Goodwill, and cut the label off the cloth and sewed it to the outside back of the jacket, up near the neckline, like a designer label! I love that they have a little bit of stretch to the fabric and are often made of cotton, too. Your dress is beyond gorgeous and you look so beautiful in it! If people aren’t in the know about Quaker Lace, they would never guess that it’s made from a tablecloth! Congratulations to you and your handsome hubby on 10 years!
I love what you did with the label — what a fun idea! Thank you for your sweet words 🙂 xx
Yes! Do it!! And happy 15 years — what an accomplishment!
Love the initial necklace from your blog and finally picked up three! How were you able to attach more with each one attached to their chains?
Just use some pliers to take them off each chain and reattach them onto one chain 🙂
[…] 16. Lace maxi dress. The pattern and style of this dress are deceptively conservative; it’s the use of lace that makes it an over-the-top wedding dress! If you’re a seasoned thrifted, keep your eye out for antique lace tablecloths to make your dress even more special. […]
Hi, the video is no longer available? Pls help. Lobe the desiGn. I so wanna make it.
[…] Anniversaries are something that carries a huge sentiment, a bond. If you are someone who is going to have a ten year anniversary very soon, then this Maxi lase pattern dress is a perfect party option for you. merricksart […]
What type fabric did you use for the lining?
this pattern looks so stunning i would love to sew it !!
[…] Ten Yr Anniversary Lace Maxi Costume – Merrick’s Artwork […]