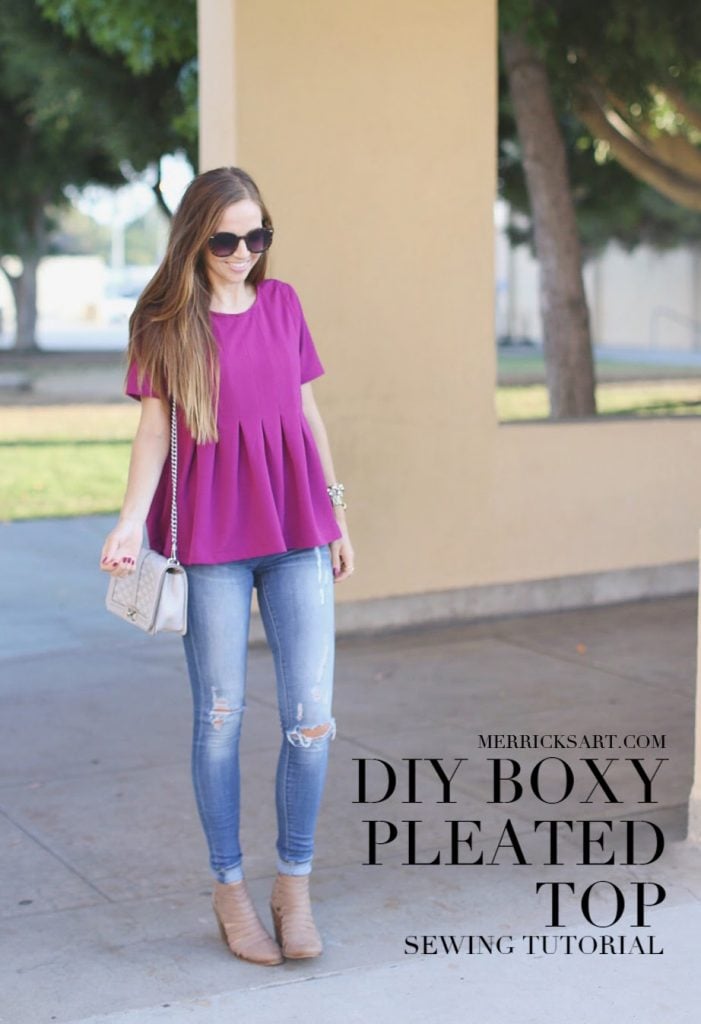
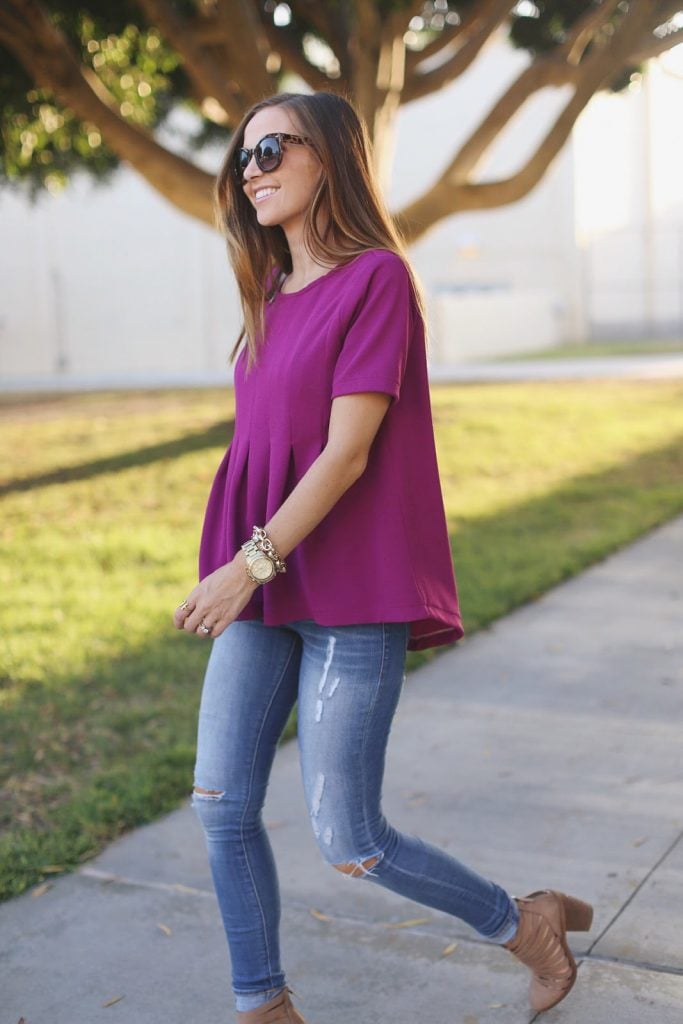
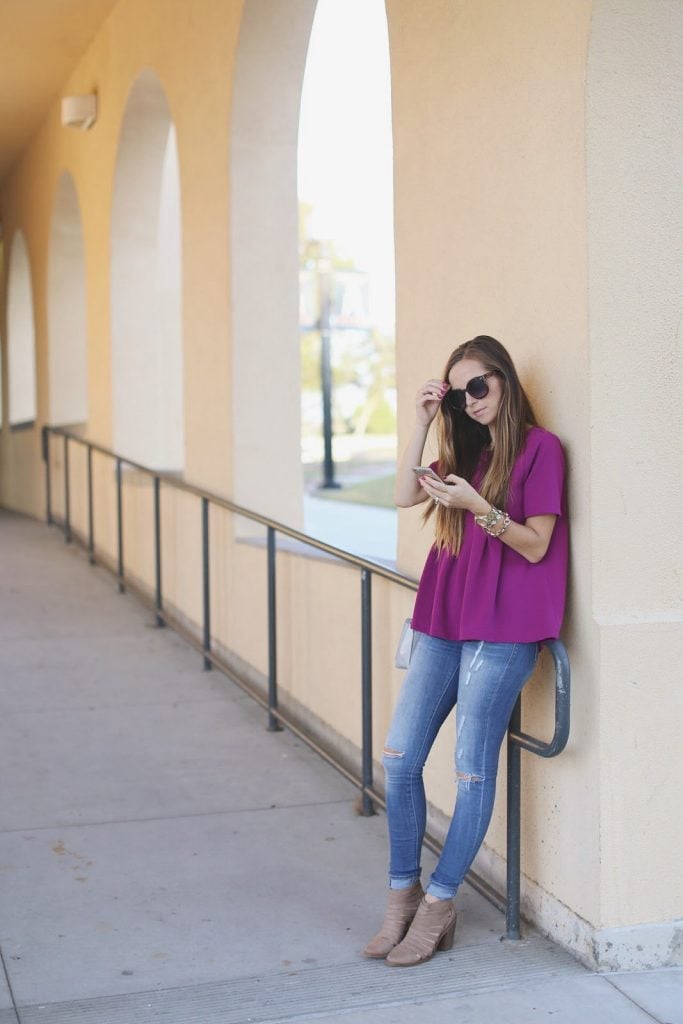
OUTFIT DETAILS: top made by me (other tops in this same gorgeous color here, here and here) | dittos jeans (same, different wash) | old ankle boots, similar here | rebecca minkoff bag | sunglasses
A couple of weeks ago I pinned this pretty pleated top. Most of the time it takes me a few months (or even years) to make something I pin, but this one was stuck in my head and I couldn’t get it out. Plus, after nearly an entire summer of not sewing, I was getting a major itch.
This shirt was definitely a challenge for me to pattern and create, since I had to determine how the pleats would line up and how the measuring would work out, but I love projects that stretch my sewing abilities. And I love how this top turned out.
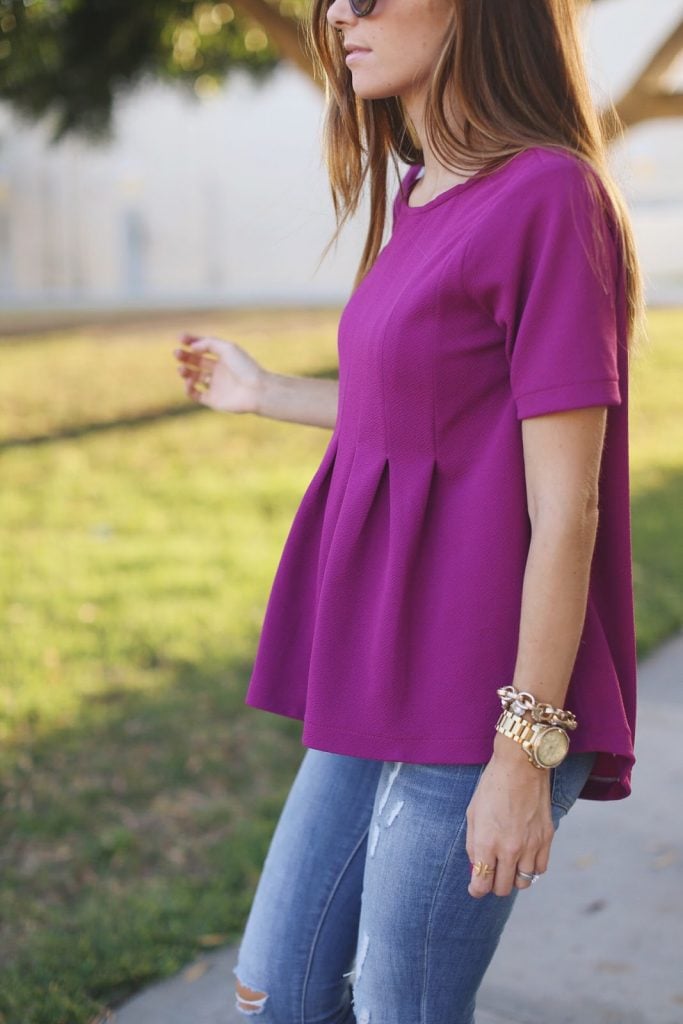
My only complaint is that the inspiration top appears to be made of a thinner polyester fabric, whereas I used a more sturdy textured knit for mine, which made the top a little bulkier and result in me looking about six months pregnant from certain angles. The hazards of finishing a project an hour before you shoot it and forgetting to try it on….c’est la vie.
So when you make this, use a lighter weight fabric and you won’t run into this problem. Unless you are actually six months pregnant and don’t mind looking it. Fair warning.
And don’t forget! If you’re a non-seamstress, The Modern Girl’s Guide to Sewing is the perfect place to learn all of my sewing skills — check it out right here.
photos by rad and happy
materials:
1 yard of 60″ wide fabric (I recommend a lightweight knit, polyester, or another lightweight fabric)
matching thread
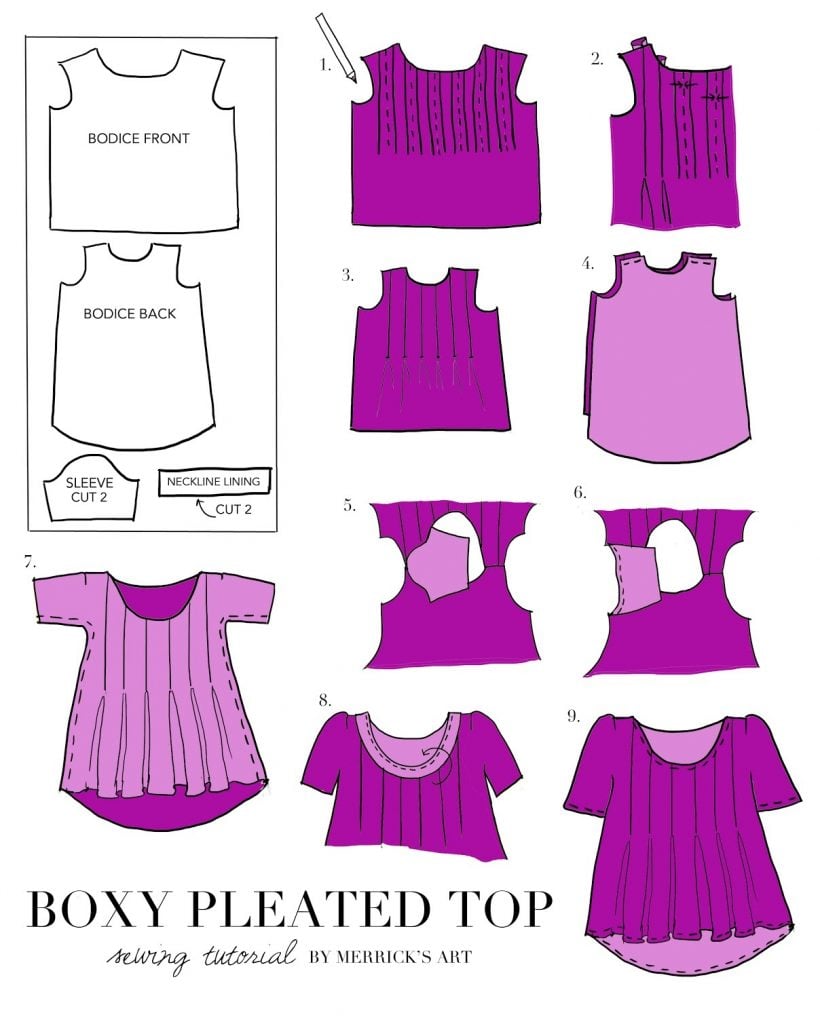
First, Cut your pattern pieces. You’ll need a bodice front, a bodice back, two sleeves, and two rectangles for the neckline lining.
When measuring your bodice front, you’ll need some extra width in the shoulders and center front to account for the pleats you’ll put in. My pleats were 2 inches wide when completed, and the fabric tucked behind (to create the pleat) was also two inches. So each pleat required 4 inches of fabric to create. Determine how wide you want your pleats to be, and how many pleats you want across the front (I did six), and add that extra width to your bodice. If you need help with pleats, we have a video all about pleating right here in The Modern Girl’s Guide to Sewing.
Also your neckline lining pieces should be the same length as your bodice necklines, minus 1 inch on each end. We have a video all about necklines right here.
Step 1. Use tailor’s chalk to mark out all your pleats. The solid lines are where the fabric is sewn together, and the dotted line is the center where you fold the pleat in on either side. Again, if you need help with pleats, our video covers all of it.
Step 2. Once all your pleats are marked, fold the solid lines toward each other and match them up at the dotted line. Sew with a straight stitch. Make sure the mark the end of your pleat seam so they are consistent all the way across your shirt.
Step 3. Once all your pleats are sewn, your bodice front should look like this.
Step 4. Now match up the shoulder seams of the front and back bodice pieces with right sides together.
Step 5. With right sides together, pin the top of the SLEEVE and the top of the shoulder together, as shown. Continue down the rest of the arm hole, pinning the sleeve in place.
Step 6. Sew the sleeve to the arm hole with a 1/2″ seam allowance. Repeat steps 3 and 4 for the other sleeve.
Step 7. With right sides together, pin your top across the sleeve and down the sides. Sew both sides up with a straight stitch.
Step 8. Then, with right sides together, sew the two neckline lining pieces together to create a loop. Pin to the neckline of the dress, matching them up the shoulder seams and then stretching evenly so it fits around the neckline. Sew with a 1/2″ seam allowance around the entire neckline, stretching slightly as you sew so the pieces lay flat. Trim the seam allowance and then tuck the lining inside the dress and press flat.
Step 9. Using a wide stitch, top stitch around the neckline to tack the lining in place. Then hem the sleeves and the dress to your desired length.
Press all your seams, and especially your pleats, and you’re done!









Such a simple and great outfit! You look so pretty!
http://lartoffashion.com
really amazing, i love color, and this outfit is very cool
This is Sara
I love this color! What a cute top.
Nightchayde
Love this top, love this color…always love your posts!! Super awesome tutorial! xo
ig: @stylemelauren:disqus
http://www.stylemelauren.com
I actually love the thick fabric! It looks perfect for the cool fall weather ahead. Can you share a link where to purchase it?
http://www.makingmebymk.blogspot.com
You are amazing! I love how this turned out!
Wishes & Reality
This turned out WAY better than the inspiration!!!! I love it.
Haha, you’re too funny! 😀
how cool, i just might give it a try! btwI lurve those boots!!!!
Love this! Pretty color!
http://www.bluelabelsboutique.com
How cool! And the color is lovely!
Too bad pleated tops don’t look nice on me!
Best Regards,
Angelina
just-angelina.com/
Please HELP, lol! I dont see a link where to get the pattern. Is it free or purchase?
I don’t provide printable patterns with my tutorials — just instructions. But you can use this video to make patterns from your own clothing so you can make this! https://www.youtube.com/watch?v=vgh7EHTnQPk