 I’m not sure how much longer I can possibly drag out Alt Summit, but here we are over a month later and I’m still bringing it up. The last night was the mini parties, and for this night I wanted an outfit that was fun. I don’t know where the idea came from, but suddenly a graphic top and a pleated striped skirt was stuck in my brain and not going anywhere.
I searched high and low for some good fabric, until one day I ran across the perfect striped fabric at IKEA of all places. I know! It’s a home decor fabric so it’s a super heavy weight cotton, but since I wanted something full and poofy, it did the trick. I’m not wearing it these photos, but for the parties I threw my tulle skirt on underneath it and it became a big, huge bell, swinging around all night. I loved it.
The zebra sweater, glitter pumps, and big, colorful statement necklace were the perfect finishing touches, and made an unbelievably fun night even better. Before we get to the outfit and tutorial, I had to share a few quick photos from the party night…
 |
| kissing booth with Leanne and Ryan // chatting with the gorgeous Whippy Cake & Bella the Blog |
 |
Ok, on to the main event.
 |
| photos by Jylare Smith |
___________________________
sweater: old navy
necklace: c/o lulu*s
skirt: made by me (similar)
shoes: made by me
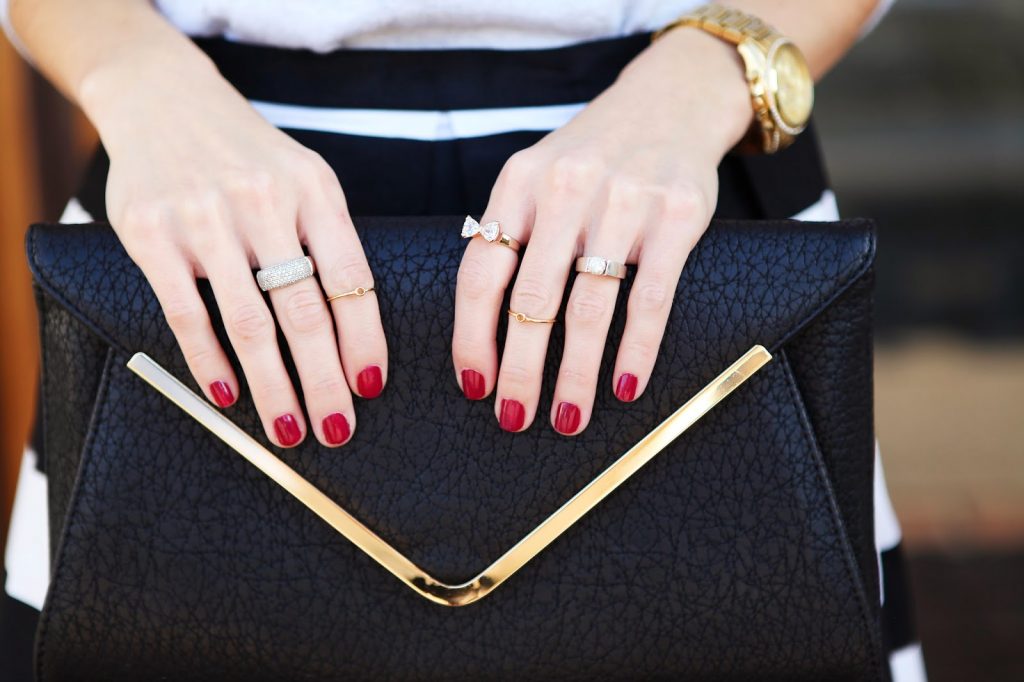
bag: similar
nails: c/o cult cosmetics “los feliz”
watch: michael kors
sunglasses: c/o lulu*s
Click through for the full tutorial!
Materials:
- 2 yards (more or less depending on your size) fabric — I used this heavy weight cotton from IKEA which is stiffer than anything I normally sew with, but it works for this skirt.
- matching thread
- zipper (I used invisible)
- clasp closure
1 // Measure from your waist to your knee-cap and cut your fabric accordingly. Now it should be 2 yards wide and [your measurement] tall.
2 // Pin 3″ wide box pleats across the entire 2 yards and then use a basting stitch to hold it in place (after I pleated the whole thing I measured it around my waist and ended up cutting off a few pleats. You may need to adjust the width of your pleats a little so the two ends connect perfectly at the zipper).
3 // With right sides together (R.S.T.), sew up the skirt, inserting a zipper at the top of the seam, as shown. Zigzag or serge the raw edge.
4 // Measure your natural waist and then cut a 3″ tall strip of fabric in that length, adding one inch for your seam allowance.
Fold in the short ends and hem, as shown.
Then fold the whole strip in half, length-wise, as shown.
5 // With right sides together, pin the waistband to the skirt, making sure to line up the open end of the waistband with the zippered side of the skirt. Attach the waistband with a straight stitch, making sure to sew slightly below your basting stitch to cover it up. Zigzag or serge the raw edge, and press the waistband up and flat.
Add a clasp closure to the waistband so the open ends overlap and close on your waist.
6 // Hem your skirt to your desired length, and you’re done!


Argh, this is exactly the kind of tutorial I needed! (That, and a cute pleated shorts one at some point)
How do you keep everything symmetrical? By the time it comes to add the zip in, everything looks kind of messy and off-centre. Maybe I'm just a bad sewer 🙁
Demi
http://carbonchic.com.au
Use lots of pins! The stripes do make it a little tricky to keep everything looking symmetrical, but if you pin everything carefully and cut straight along the stripes, you should be good!
Finally finished! Thanks for the inspiration 😀 Check it out: http://www.carbonchic.com.au/2014/03/polka-dotted-pleats/
I don't have any zip heads though so I just kind of winged it and added in a zip to the back underneath a pleat, haha.. thank God I didn't need to match up the polka dot pattern. I think yours turned out a bit better but you've probably been sewing for a lot longer, haha!
This is adorable! I'm so math oriented, I have to break it down strictly into numbers. For the 3" pleats: 3" on your body is 9" of fabric. (3" for the face of the pleat, plus four 1 1/2" folds of fabric behind the pleat itself). My waist measurement is 27", so it works out super well for a multiple of 3". I would have nine 3" pleats, and would need a total width of 81" (9" per pleat), plus a 1" seam allowance. So 82" of fabric for my body.
This would also let me purchase just the fabric I needed, or would save me from basting and finding out I should have done a slightly larger or slightly smaller pleat to symmetrically suit my waist size.
I'm definitely not math oriented, but this is perfect! I mentioned in the tutorial that some people might need to adjust the 3" pleats measurement so that their pleats match up perfectly on either side of the zipper; this math will be super helpful to anyone needing to figure out all the measurements, so thank you!
Love that fabric!! I had no idea Ikea had fabric like that! Time to make a trip to Ikea… 😉
When is it NOT time to take a trip to IKEA?? There's also something that I realize I NEEEEED…amiright? 😉
these are some of the prettiest pictures of you to date!
You are so nice! Thank you!
Wow! Is there anything you can't make? This skirt is fabulous! Great job!
Paige
http://thehappyflammily.com
Just gorgeous, love it! I have just this kinda fabric (but blue and white) sitting around since last year…now I finally know what to do with it! Hope I have enough to make two as I'd love to try one for my little girl as well as myself…I think a 5 yr old version would be adorable! Thanks so much for sharing.
I love this! I bought the same fabric from IKEA in red, in hope of making a skirt like this. I can't wait to make one using your tutorial!
Love love love the illustrated tutorial! And fabric from IKEA? Genius. What a great project 🙂
Maria
http://adifferentfashionmm.blogspot.com
Thank you for the tutorial!!! I've been wanting a striped skirt and can't wait to sew my own! I've had my sewing machine for a while now, but have been a little intimidated to start sewing haha. I think having this cute skirt is motivation enough 🙂
Hanna
goldpolkadots.com
So you say 2 yards of fabric, more or less depending on your size. May I ask what size you are, for reference?
Thanks for the tutorial! This is the first skirt I've tried to make. Sorry I had to cut my face out of the picture, I was looking down and I had a gross double chin thing going on. The fabric I used has little fruits and veggies all over it 🙂 http://img.photobucket.com/albums/v17/bunnysuitdriver/skirt_zpsef2f7872.jpg
I made nearly this exact same skirt for a taping of the Ellen show in December, but a tad shorter and fuller. they must have liked it because they requested that I sit on the end. that fabric has such a great stiffness for this style. great minds think alike!
I just found your blog and am loving all these great tutorials…I actually did this exact same thing also with Ikea fabric! It was the perfect skirt for hiding postpartum pounds too. Love it 😉
http://whiskem.blogspot.com/2013/09/bell-skirt-tutorial.html
I didn’t realise IKEA sold fabric. Next time I am around I will have a browse. Also the skirt has come out very nice. I used your tutorial as reference to make my own, I used light weight cotton but it still had some volume (perhaps because I ended up making the waist too large, as a result I carefully gathered the skirt into the waistband).
Nice skirt, and nice presentation.
https://modisteword.com/wardrobe
LOVE IT!! I’ve been looking for a silk satin B&W fabric to do exactly this pattern. I’m going to IKEA today!! Brilliant! Love your website. Love your ideas Thank you!!!!!!
I’m going to try this but the fabric I found was quite thin. I wanted a thick fabric but couldn’t find anything I liked. So I’m wondering how would I go about adding a lining into this tutorial? I’m a beginner so any help is soooooo appreciated
If you’re a beginner, I wouldn’t bother with a lining — just wear a slip!
made the skirt. love it. thx for the tutorial
Love it! These turned out so gorgeous — great job!
thank you for tutorial, Here are my skirts I made for myself and my little princess 🙂
and pictures 🙂
Hi I’m new at sewing and I just don’t understand how to attach the waistband? For the life of me I can’t figure it out…the waist band is folded so does that mean the raw pleated skirt edge goes inbetween the fold? And if so how would so see that with out the raw edge of the waist band showing? As you can see I’m abit lost. Any help would be appreciated!
Hi! The raw pleated skirt edge WILL NOT go in between the fold…the two raw edges of the waistband will match up with the raw pleated skirt edge, making the folded edge point down toward the hem of the skirt. Then sew over all three raw edges. The folded edge of the waistband will become the top of the skirt, so once you attach the waistband to the skirt you’ll fold it upright and press it in place. Does that make more sense?
hi, greetings…
great skirt, great tutorial… i WILL be trying…
i want to know…. what kind of cloth did you use?
Mine is a heavy weight cotton, but you can use anything. Cotton, rayon, polyester, ponte knit…just do something with a little weight to it.
Ohh great, Very helpful. Thanks for sharing this info in such a detailed manner.
I love this skirt so much. It’s exactly what I’M looking FOR. I’M About to buy some fabric. I am a complete newbie to sewing. I’m wondering, if there’s a weight of fabric that would be ideaL? I’m buying fabric online. Is there typically a fabric weight? Is that measured? or quantified in some way? Or am I just looking for heavy weight fabric?