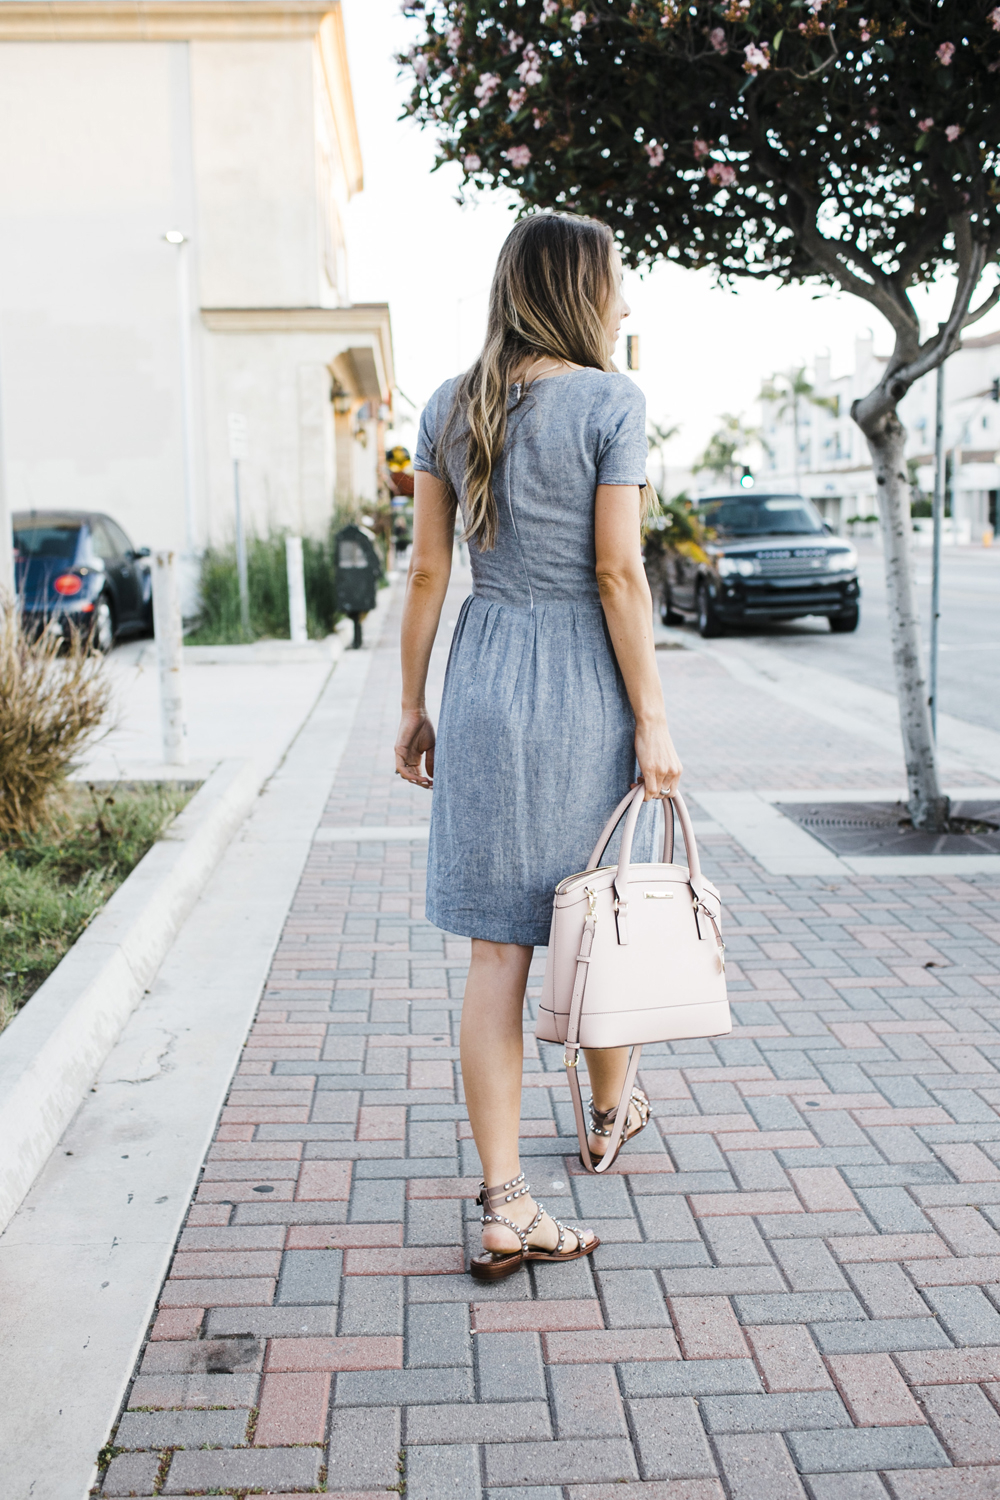
Outfit Details:
Chambray Dress Made By Me (Similar Dress Here), Similar Olive Jacket, Studded Sandals, Blush Satchel Bag
Fit and flare style dresses are my very favorite style of dress. They’re so flattering because they nip in your waist, and are easy to move and live in if you make them in a comfortable fabric.
I made this denim one a few years ago and shared the tutorial, but I’m bringing it back again today since it’s one of my favorites and is perfect for spring and summer. I tossed a jacket over the top for an extra layer but during the summer it’s a great stand alone dress.


Here’s how to make it. And if you’re new to sewing and want to learn more, check out my online video sewing course! It’s only $60 right here.
Here’s what you’ll need:
2 yards lightweight denim or chambray fabric (I bought mine in LA at the fabric district, but this one is very similar)
Matching thread
20-22″ invisible zipper

1. First cut your pattern pieces. You’ll need a BODICE FRONT (cut on the folded edge), 2 BODICE BACK pieces, NECKLINE LINING (cut 2), 2 SLEEVES (cut along the folded edge), and 2 rectangular pieces for your SKIRT. The length will depend on your preference. Find the width by measuring your natural waist, dividing that number in half, and then multiplying it by 1.5. Each of your two SKIRT pieces should be this width, so the TOTAL circumference of your skirt once it’s sewn together is 1.5 times the circumference of your natural waist.
2. Sew darts into your BODICE FRONT piece. I added bust and center waist darts — you can do however many you need for the perfect bodice fit.
3. Sew the BODICE FRONT and two BODICE BACK pieces together at the shoulder seams (with right sides together).
4. Now it’s time to attach the sleeves. Line up the top of the sleeve with the bodice shoulder seam (as shown) with right sides together. Pin in place.
5. Continue pinning the sleeve to the bodice, and then sew along the arm hole with a straight stitch. Repeat for the second sleeve.
6. With right sides together, sew the sides of the bodice up with a straight stitch.
7. Sew the two neckline pieces together to form an “O,” and then attach the NECKLINE LINING to the BODICE neckline with a straight stitch (there’s a more detailed illustration and instruction for this step over here). Then tuck the lining inside the neckline, press flat, and stitch around the neckline with a wide stitch to hold the lining underneath.
8. Take your two SKIRT pieces and sew them together at the side seams, then cut down the middle of the back skirt piece so it’s open like the back of the bodice (This is where your zipper will go).
10. Pin the skirt to the bodice with right sides together, as shown. Sew across the entire waistline, attaching the skirt to the bodice.11. Insert your zipper following the instructions on the package, and then sew up the remaining opening of the dress. Finally, hem the bottom of the dress, and the sleeves to your desired length, press all your seams, and you’re done!


There aren’t many dresses I love but right when i saw this I said “I’m buying that” then see you made it!! It is adorable!
I’m new to your blog. I want to sew the fit and flare dress…. but is there a pattern or do I draw the bodice pieces myself?! Thank you
Hi Meghan! I don’t provide printable patterns. I created this video to show how to create your own patterns: https://m.youtube.com/watch?v=vgh7EHTnQPk
Hope that helps! xx
I KEEP HITTING THIS LINK BUT IT SAYS THE VIDEO ISNT AVAILABLE ANYMORE?
Is there any other fabric you suggest using -aside from denim- to make this dress?
Honestly anything! It would be great in a thick ponte knit, or any kind of woven — rayon, cotton..anything!
Your tutorials are so helpful and ive learnt a lot. Thank you! I was wondEring why you put the necklining on before inserting the back zipper. Could you also do the neck lining last? Also, in this tutorial you mentioned making an O with the Neck lining. Would that interfere with the back zipper? Thanks for Your help! You really provide great inspiRAtion.
Hi,
Great dress! Could I leave the sleeves off, or make capped sleeves instead without ruining the whole line of the dress? Thanks!
Phyllis White
(don’t know why this is typing in all caps – don’t mean to be shouting!)
I wonder how you do it. But tell me, did you do something other than clothes? Perhaps you are one of the best jeweler and designer? I was just reading an article on Reddit about the best jewelry — https://www.reddit.com/r/ChrisSpace/comments/bdt2hl/top5_musthave_skull_jewelry_in_2019/ and would like to do something similar myself