
Outfit Details:
Handmade Lace Peplum (fabric available here), Blank NYC Jeans, Marc Fisher Lace Up Heels (on sale for 50% off!), Rebecca Minkoff Quilted Bag, Similar Statement Earrings
I’ve been in such a Valentine mood the last few weeks, with pink, blush, and red everything. I ordered this pink knit from Fabric.com a few weeks ago and made this knife pleat dress, and while I was ordering I threw this red lace in my cart, not knowing what I’d make with it.
I thought about making a dress or a skirt, but I decided I wanted something a little less fancy. Something I could wear casually too. So I finally decided on this short sleeved peplum top and I love how it turned out.


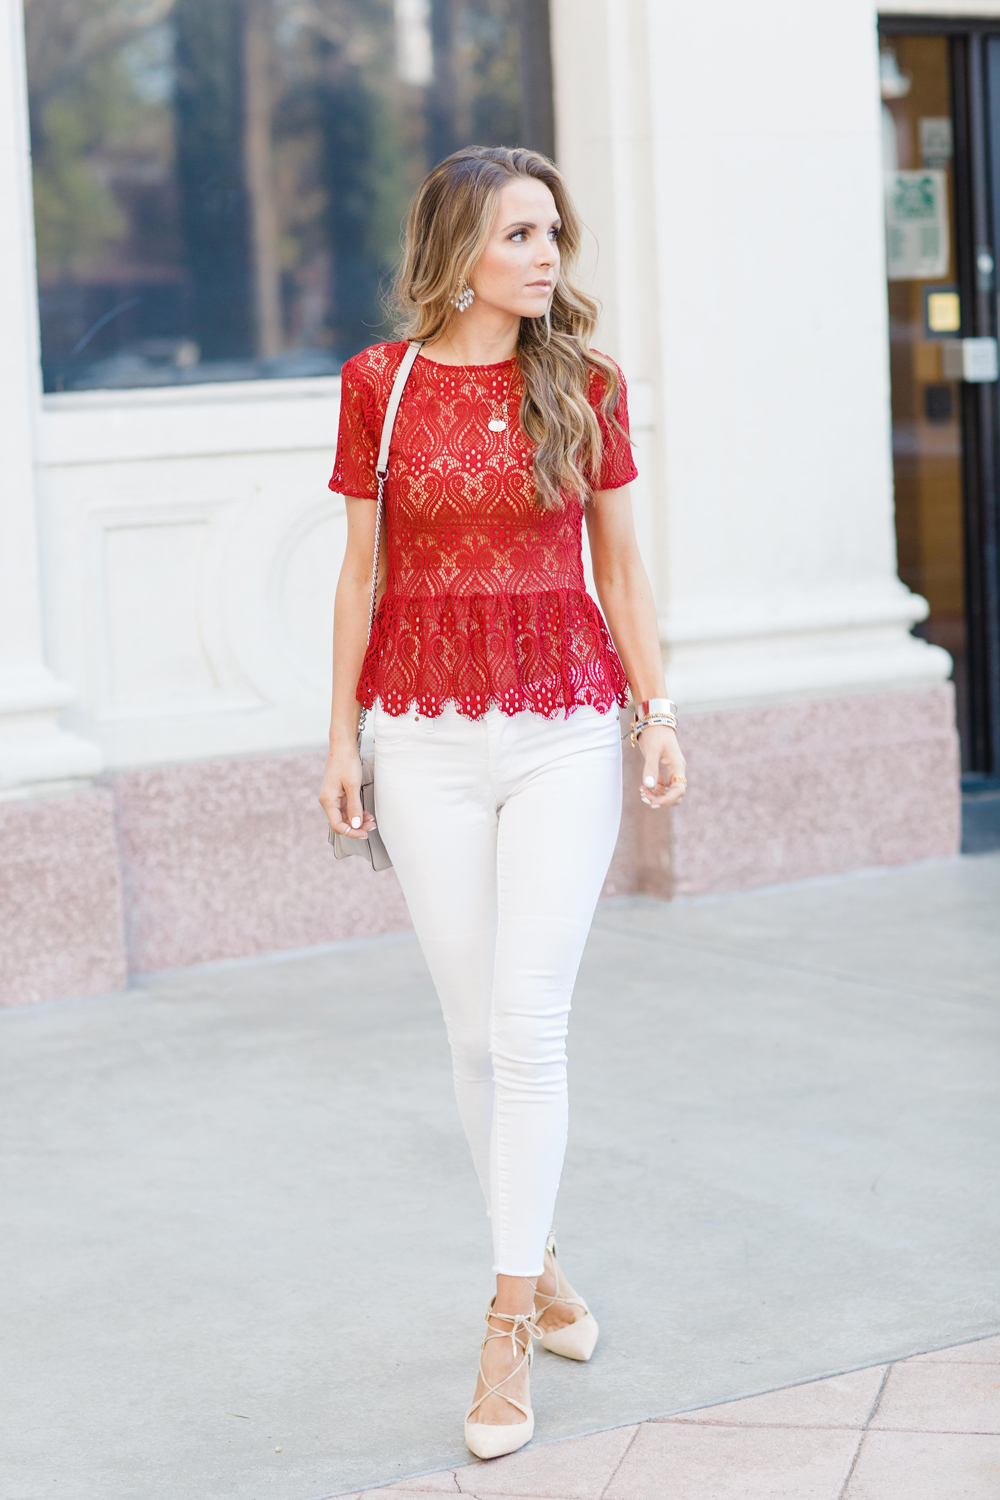

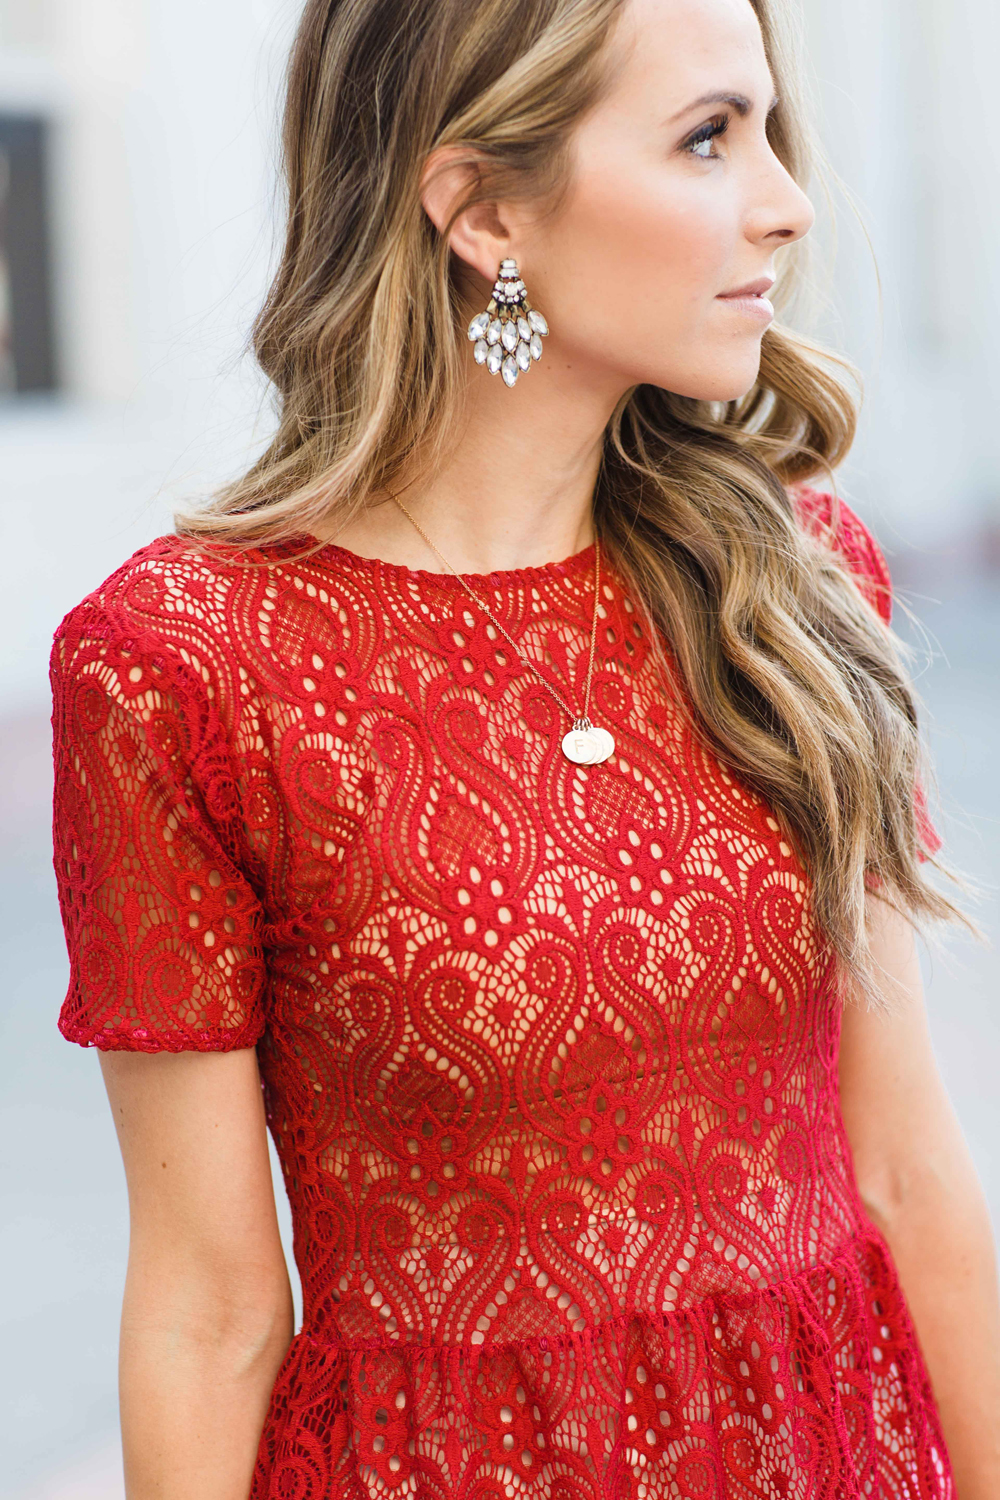

This lace is so perfect for any kind of project. It’s sturdy so I’m not worried about tearing or damaging it, it has a four way stretch so it didn’t require a zipper, it’s really soft and comfortable, and it has a beautiful drape. Plus it’s lightweight enough that you can gather it without it being stiff and bulky.
I’m sharing the tutorial below! Also, for those of you who often ask, I don’t provide printable patterns, but you can use this video tutorial to make your own pattern, and cut the pieces outlined in step 1 below.

- BODICE FRONT (cut on the folded edge)
- BODICE BACK (cut along the folded edge)
- NECKLINE LINING (cut 2 – I used a nude knit fabric so it was invisible)
- SLEEVES (cut 2 – along the folded edge)
- 2 rectangular pieces for the PEPLUM (width measurement = the bottom width of your BODICE pieces x 1.5. Height measurement = 8″ roughly. You can do more or less).
2. Sew darts into your BODICE FRONT piece.
3. Sew the BODICE FRONT and BODICE BACK pieces together at the shoulder seams (with right sides together).
4. Now it’s time to attach the sleeves. Line up the top of the sleeve with the bodice shoulder seam (as shown) with right sides together. Pin in place.
5. Continue pinning the sleeve to the bodice, and then sew along the arm hole with a straight stitch. Repeat for the second sleeve.
6. With right sides together, sew the sides of the bodice up with a straight stitch.
Shop this Post


You’re looking so beautiful and elegant in this outfit! I like your lace top so much, its a fabulous piece for a Valentine’s Day dinner date. 🙂
http://lartoffashion.com
Thank you, Natali!
Wow, the red lace is stunning and such a perfect choice. Love that it’s stretchy enough to not need a zipper either. I love how flattering peplum tops are and the scalloped edging on this fabric was too good to waste.
http://www.iamchiconthecheap.com/
Thanks! And yes, that hem is my favorite part! xx
Hi Merrick–I know you shared a post a very long time ago recommending places to shop for fabric online, but I’m curious. How do you know what fabric will work for your projects without being able to feel it? I would love to see a guide for purchasing fabric online!
Great idea. i’ll work on putting that together. Thanks for the idea!
How much fabric did you use to make this top? (I am about the same size as you and I think I am going to try making this!).
Also in step 3 you mention two bodice back pieces, but I only see one in the initial instructions? Am I missing something? Thanks!
Hi Keeley! Sorry, typo on my part. Fixed now. You just need one bodice back piece. thanks for catching that!
And I ordered 3 yards, but I only used about 1 yard of it. You can get 1 1/2 yards if you want to be safe, but I don’t think you’ll use all of it. xx
This top is stunning! You did an incredible job!
Paige
http://thehappyflammily.com
This is such a gorgeous top! If you don’t mind me asking what are you wearing under? I always have a difficult time trying to find nude garments to wear under sheer tops.
Wow, that top is absolutely beautiful! You did a wonderful job on it!!
I like your image and the way you combine red. In fact, it looks very fresh and bold. I use something like this, but I like red more in combination with a dress or something more open. Usually I use another accessory from the site https://www.bikerringshop.com/products/claw-of-dragon-wallet-chain to better complement my look