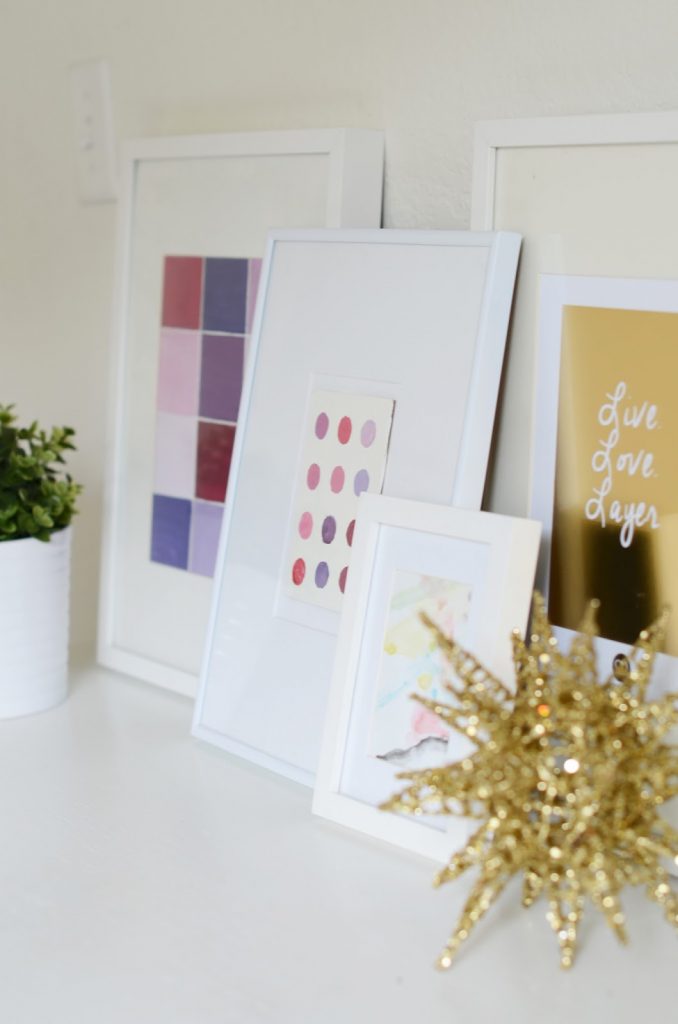
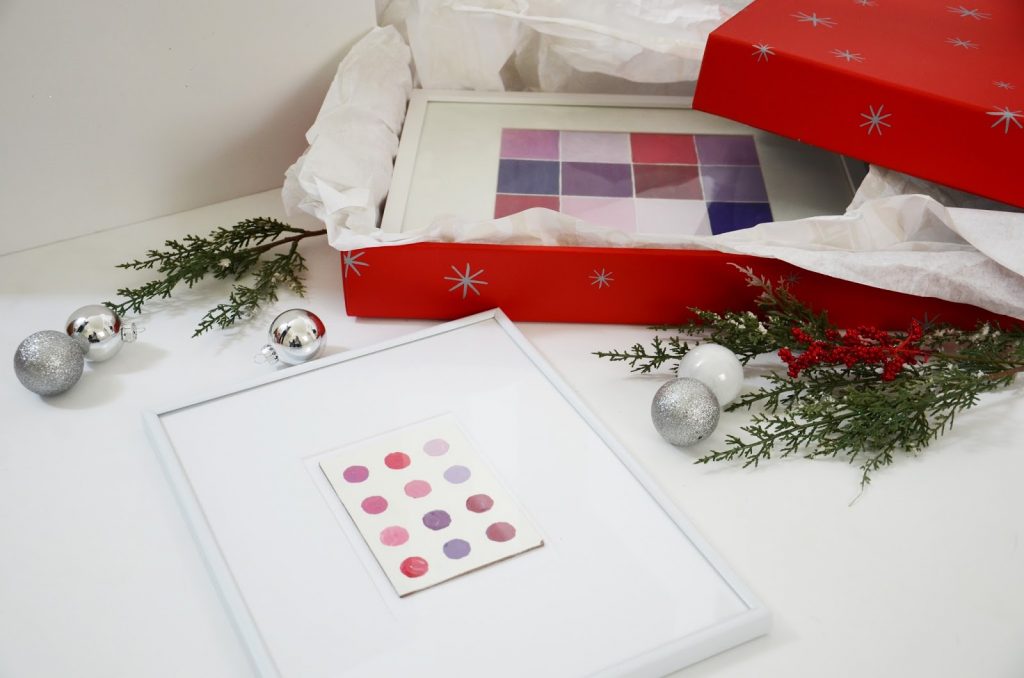
Once upon a time I was a painter. Did you know that? That’s why this blog is called Merrick’s Art, if you didn’t know! For years, my entire life was painting until I fell in love with sewing and never looked back. So it was kind of strange (but definitely fun) to pick up a paintbrush for the first time in years to make this project. Wall art is such a perfect gift for anyone on your list, is so easy and fun to customize and personalize however you’d like, and it’s a super quick project so you still have time to make a few before Christmas!
Now before you go and tell me that you have no artistic talent at all, I’ll tell you that if you can hold a paintbrush and squeeze some paint out of a tube, you can do this project. It’s so easy, and your friends will be so impressed!
Click through to find the full tutorial!
Materials:
– painting board, canvas, or paper
– acrylic paint (craft paint works great)
– medium sized paint brush
– pencil
– tape (optional)
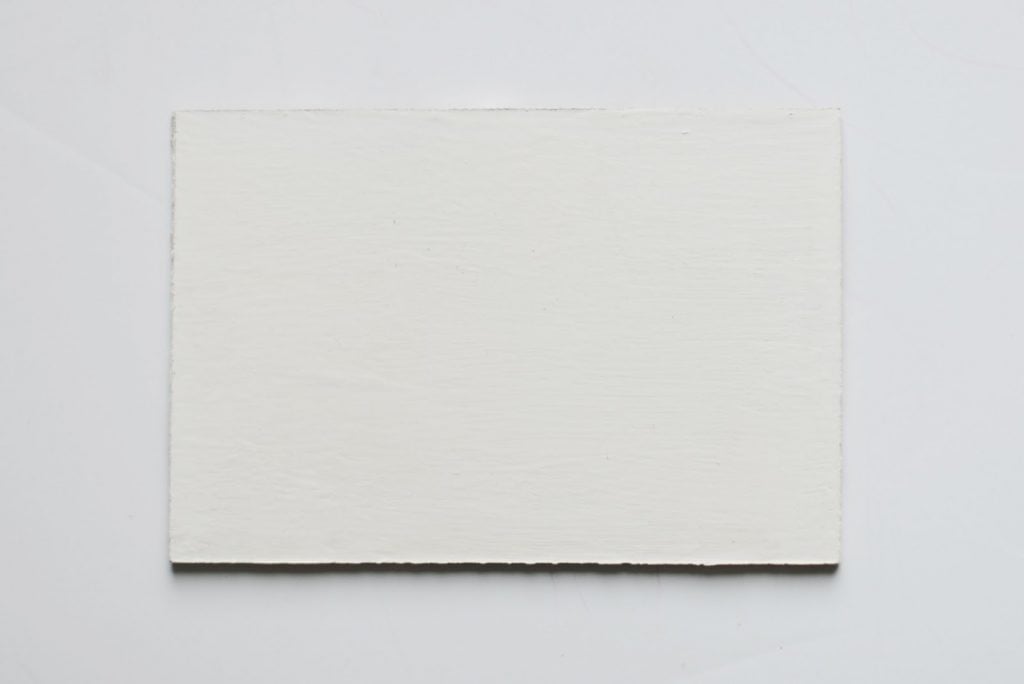
1. First, choose your painting surface. You can buy
ready made canvases or
painting paper at any craft store, or you can use a little cut of particle board and paint it with a few coats of
white gesso paint to prime it (this is what I did, because I already had it).
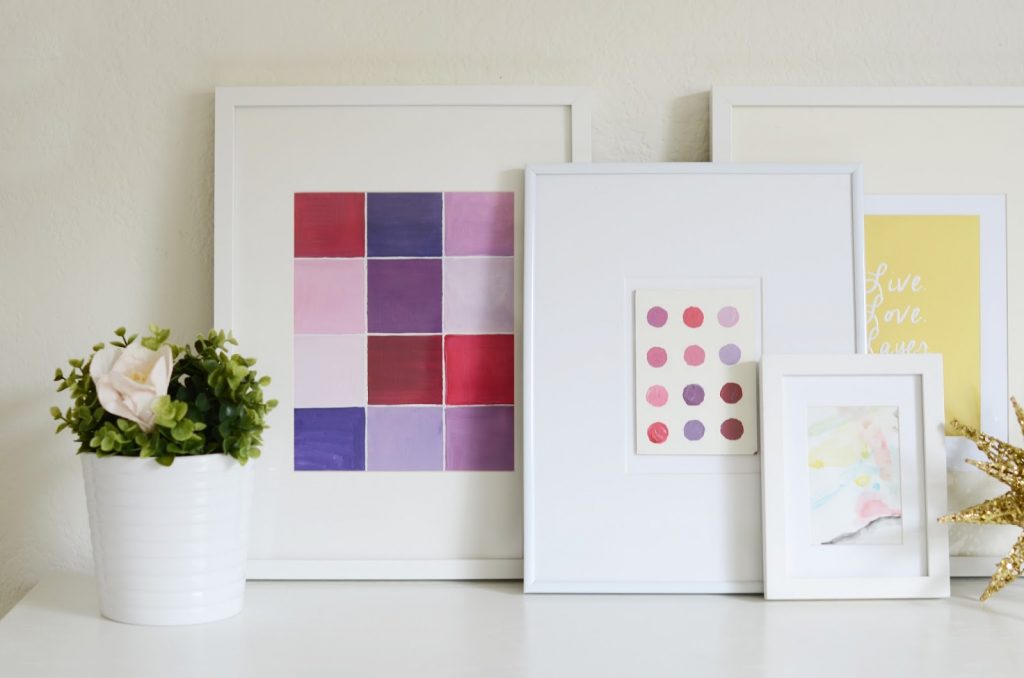
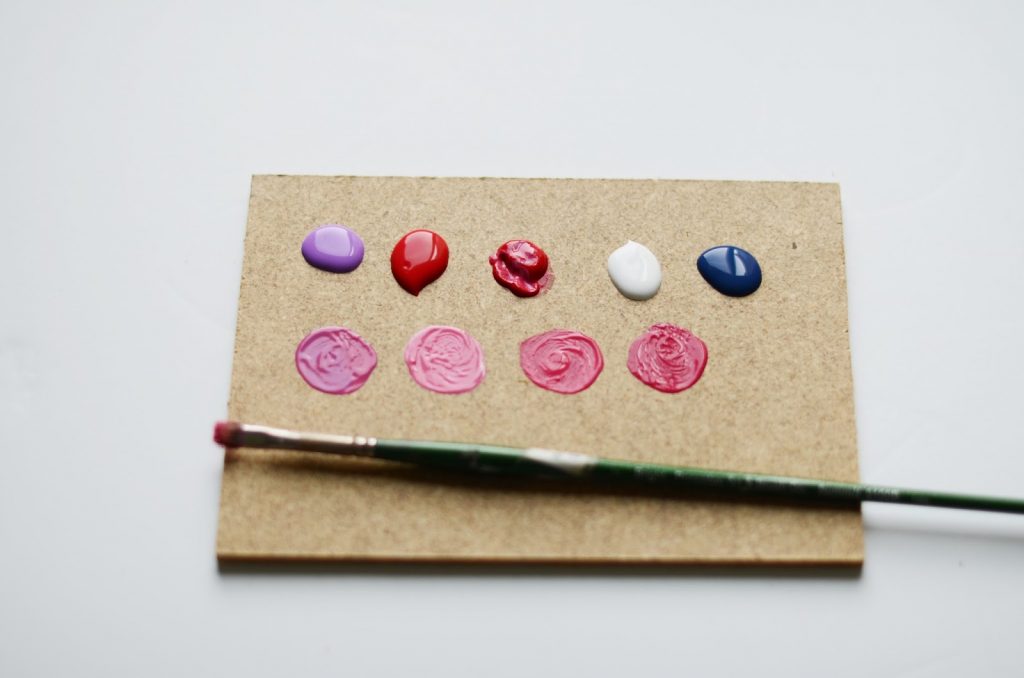
2. Determine your color scheme. I went with pinks, purples, and reds because I thought it looked so feminine and pretty (almost like little lipstick or nail polish strokes!), but you can do whatever colors you want.
3. Squirt a little bit of each paint color onto a paper plate.
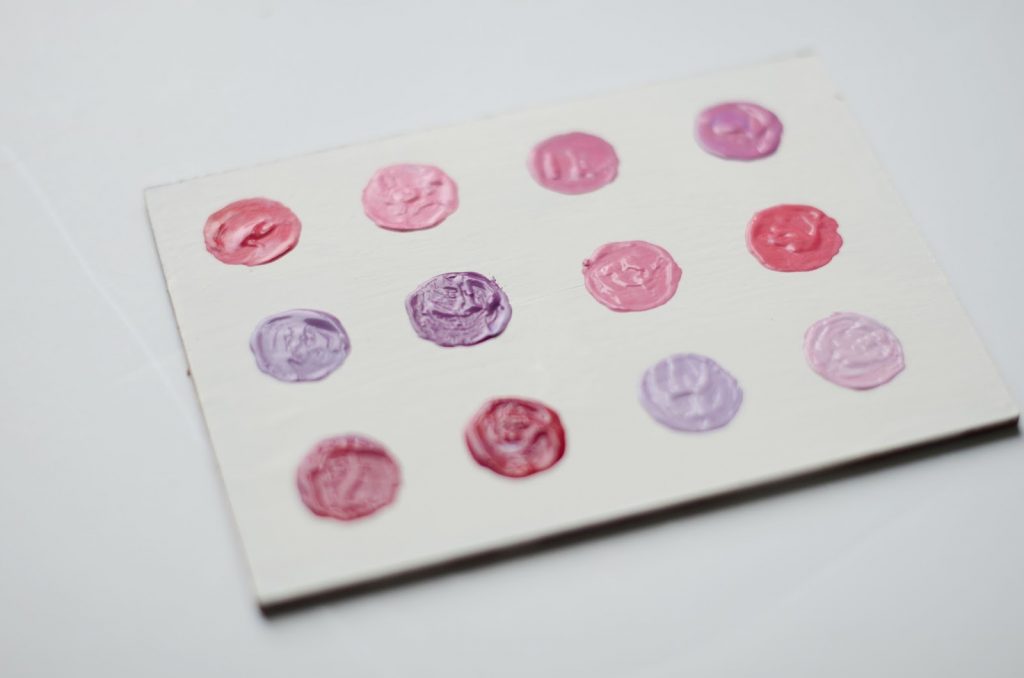
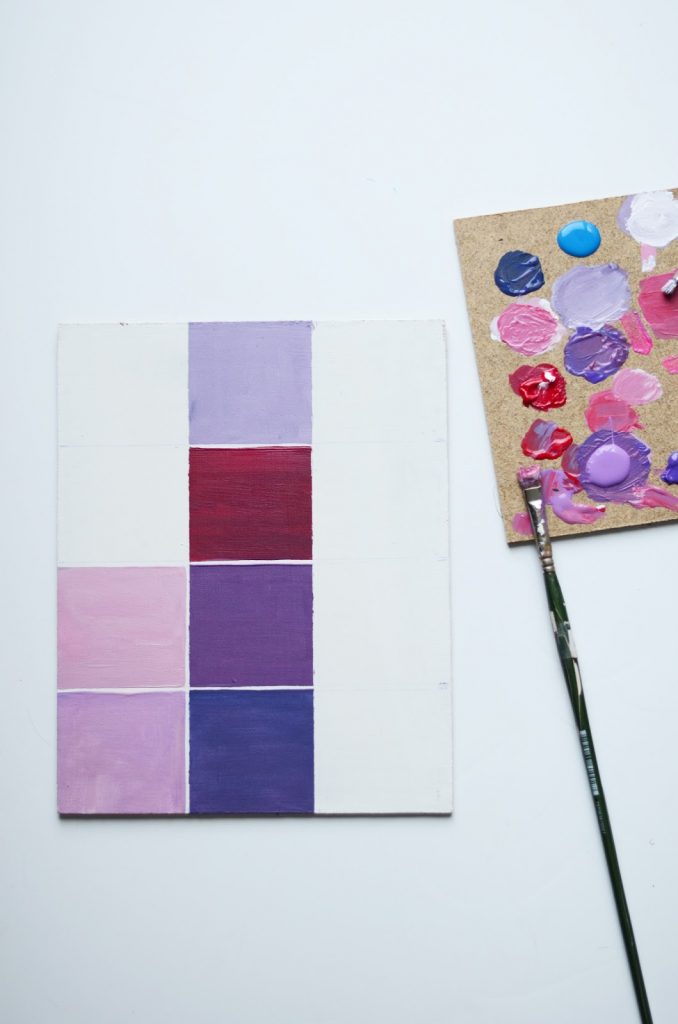
4. For the circles painting, use your pencil to mark where you want each circle to go. For the squares painting, use a ruler and divide the board or paper into equal squares.
5. Now it’s time to paint. Don’t be too careful, and won’t worry about mixing colors — that’s the fun part! For the circle painting, fill your paintbrush with a big scoop of paint, and then carefully swab the board in a circular motion. Repeat for all the circles.
For the squares painting, use tape to section off the boards if you’d like, or just be careful around the lines. I used a square tipped paint brush and went carefully, leaving a small even gap between each color block.
6. Let the paint dry, sign your name in the corner if you want, and you’re done!